Edit Application Attributes
As an application owner, you can update the general and extension attributes of applications you manage. These attributes control how the application is identified and described within your organization.
Steps to Edit Application Attributes
-
Log in to the Resource Admin portal.
-
From the Resource Type dropdown, select Applications.
-
Search for the application you want to update.
-
Click the gear icon on the application record and select Manage Application Wizard.
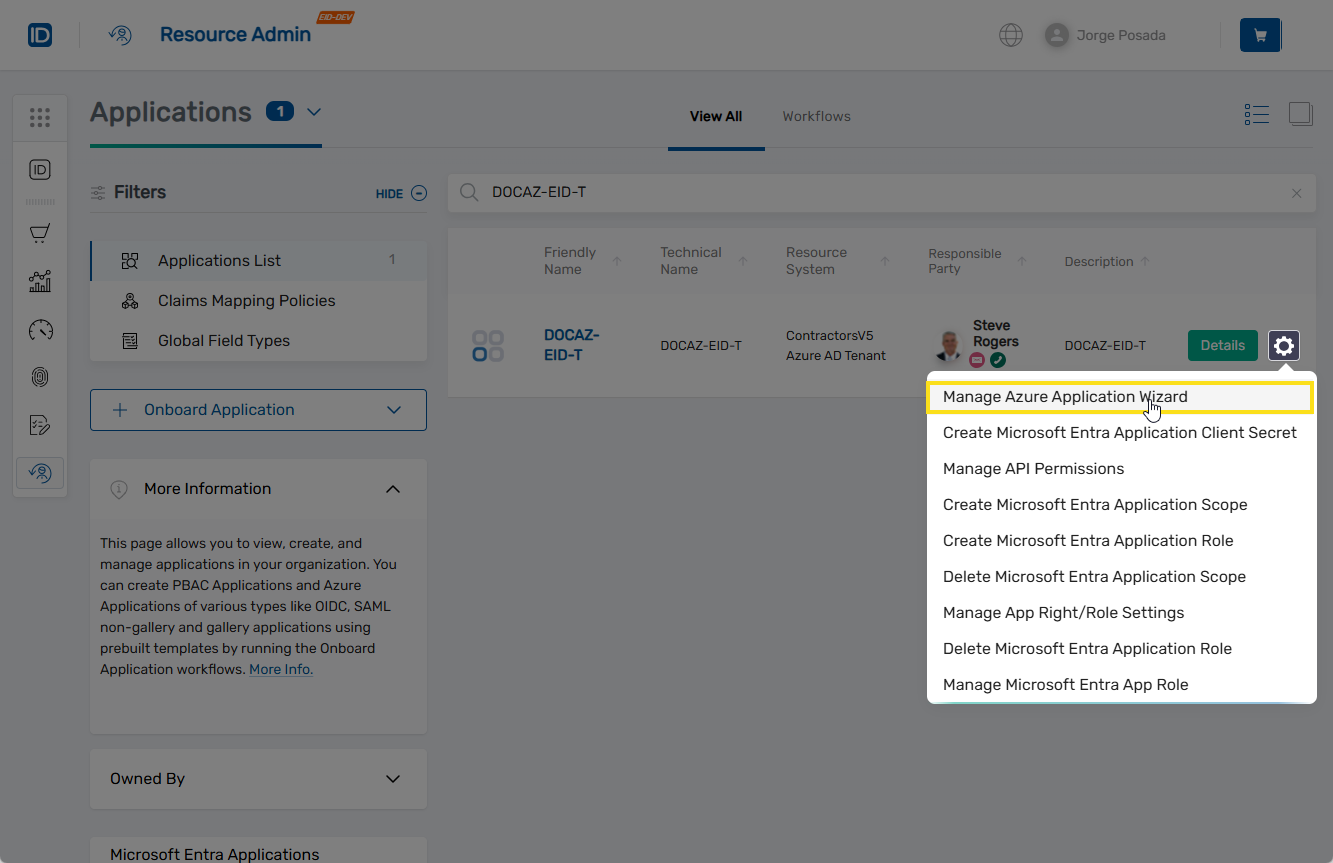
-
Under Select Options, choose Edit Azure App Name and Features.
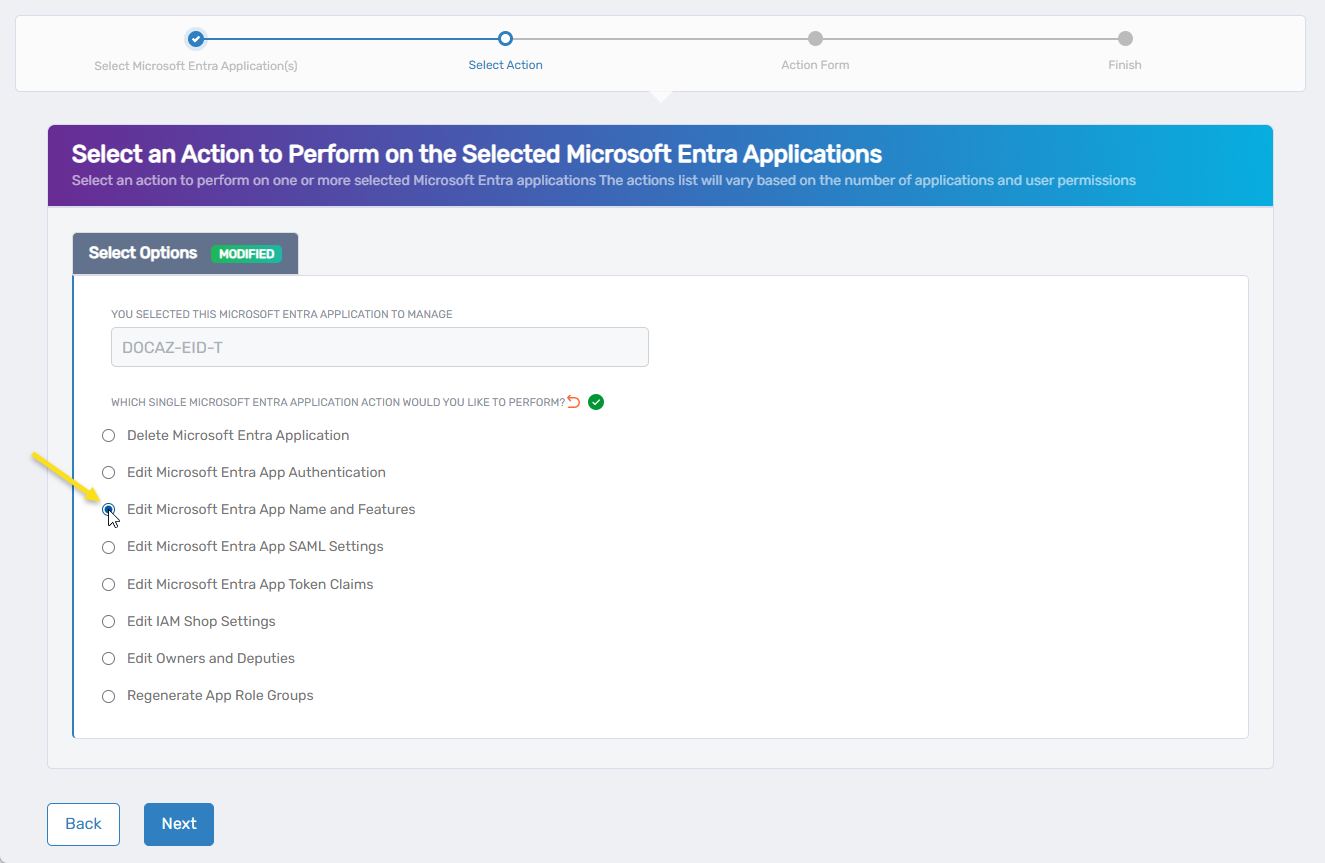
-
Click Next.
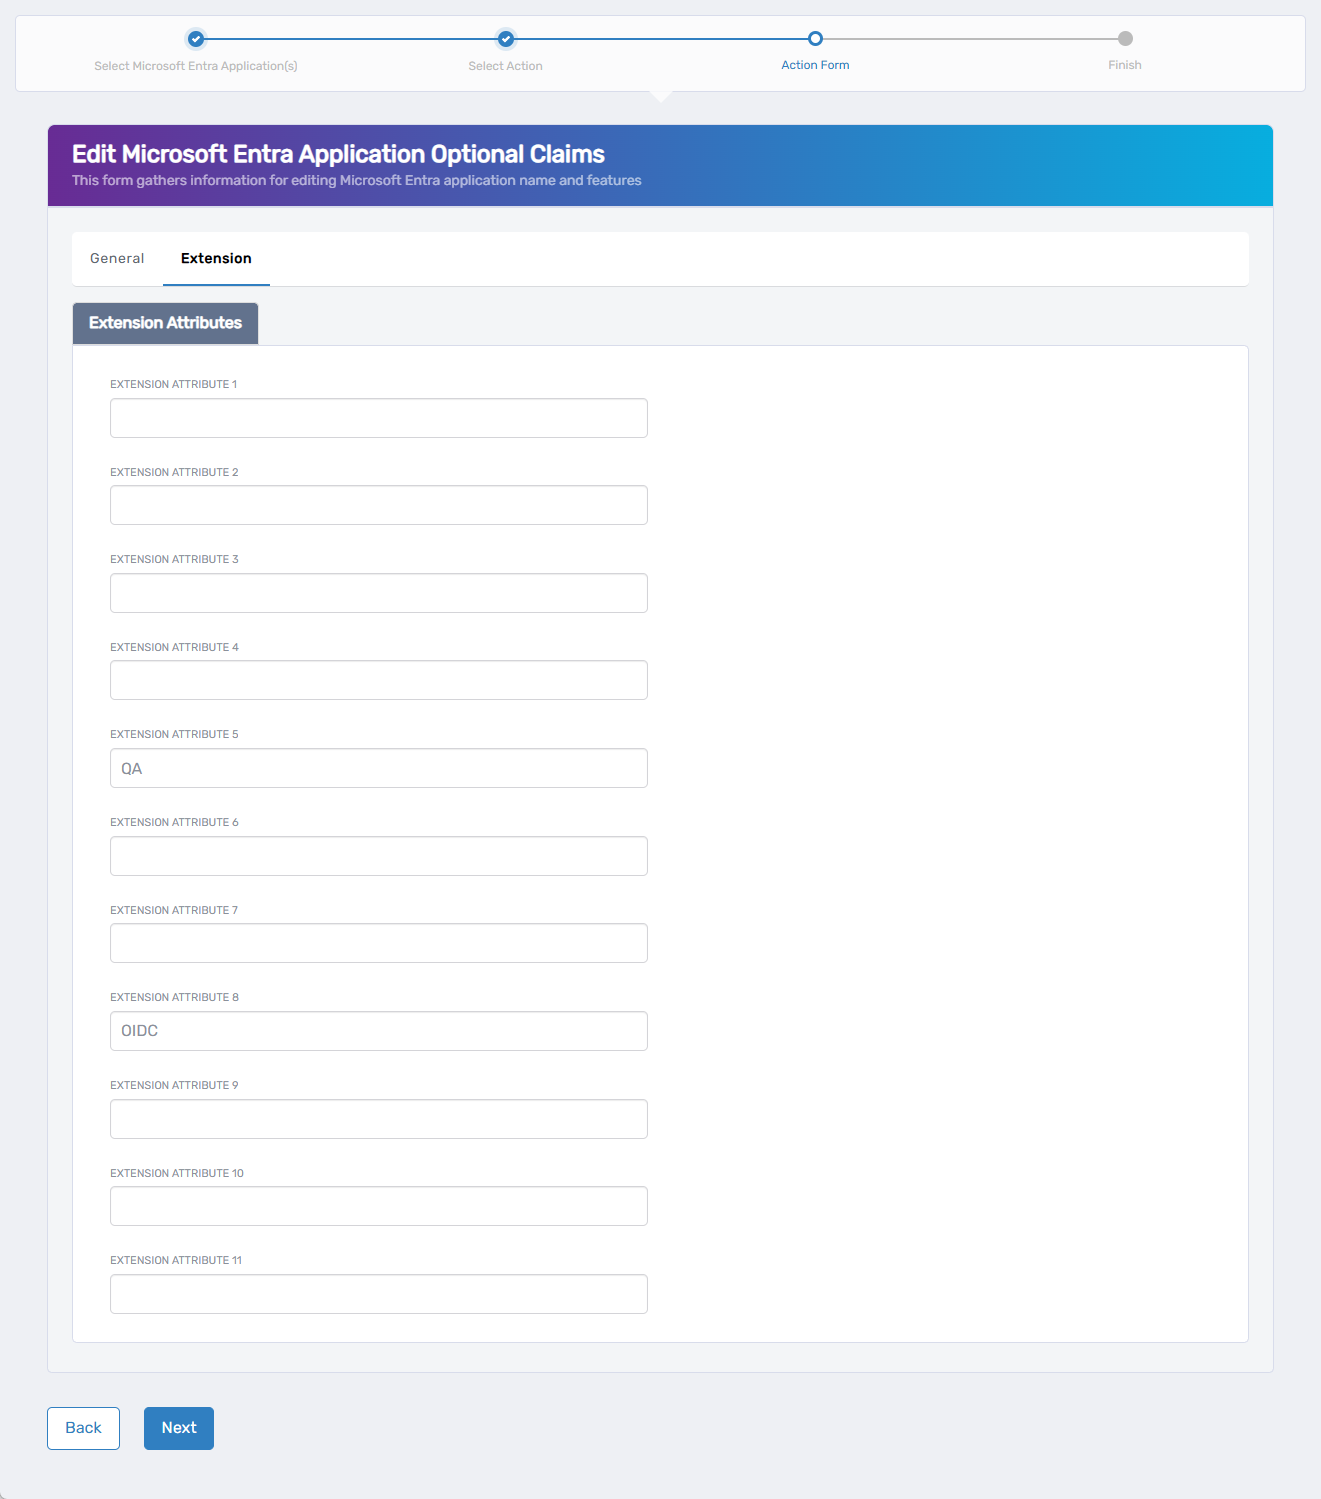
You should now see the Edit Azure App Name and Features form.

-
On the General tab, update the desired fields.
-
To edit extension attributes, click the Extension tab and update the desired values.
-
When you have completed all updates, click Next to proceed.
-
Review the Operation Execution Summary confirming the update completed successfully.
-
Click Submit to continue.
-
On the Finish or Start Over Workflow screen, choose one of the following:
- Manage the same Microsoft Entra application(s)
- Manage different Microsoft Entra application(s)
- Finish the workflow
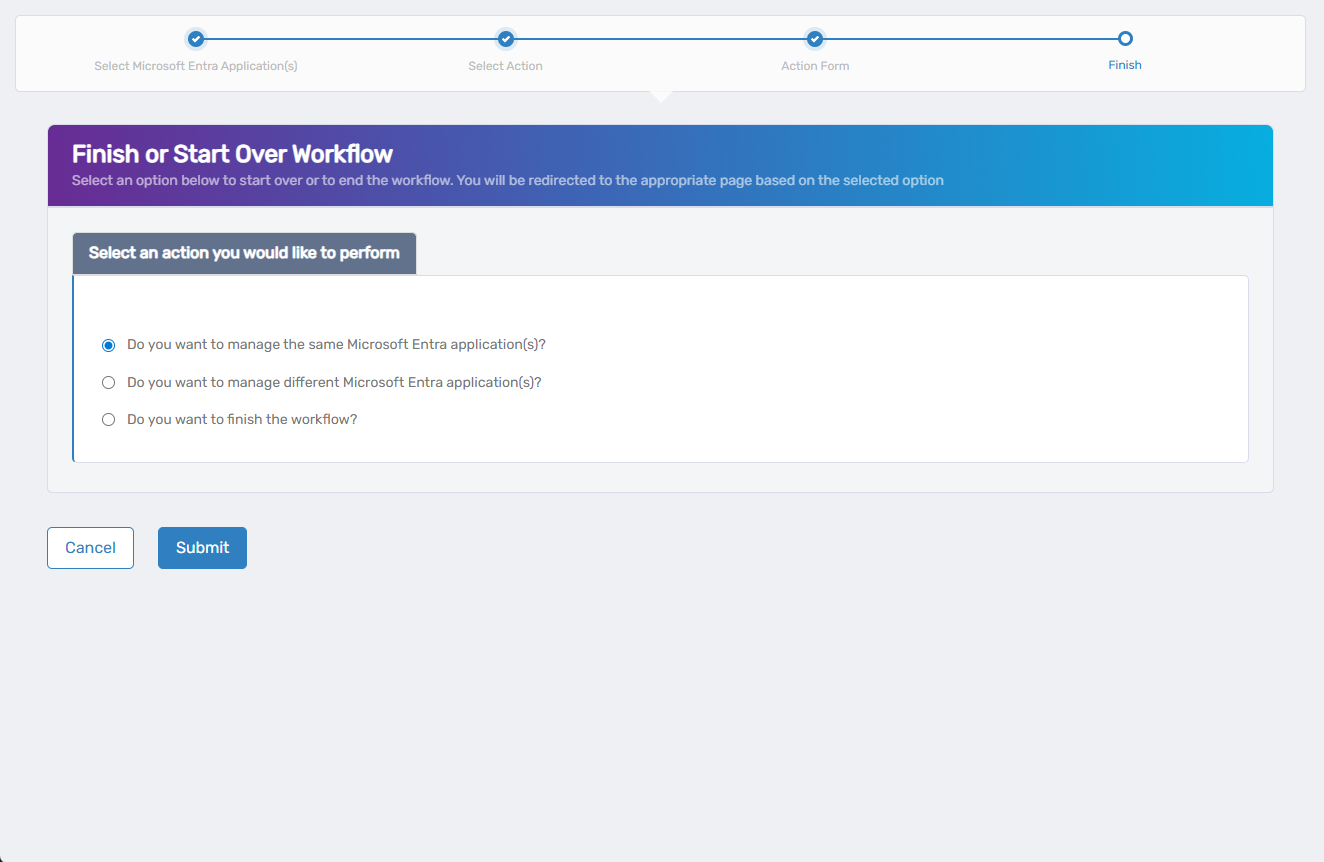
- Click Submit to confirm your choice.
You'll be redirected based on your selection—either back into the wizard or out to the Workflows page.
What Happens Next
- Application attributes are updated in both EmpowerID and Microsoft Entra ID. Changes take effect immediately.
- All changes are logged in EmpowerID's audit trail for compliance and visibility.