Register Shared Folders
This procedure brings existing shared folders under EmpowerID management, enabling access control, governance, and centralized administration. Registration creates an EmpowerID resource object mapped to the existing physical shared folder.
Register a Shared Folder
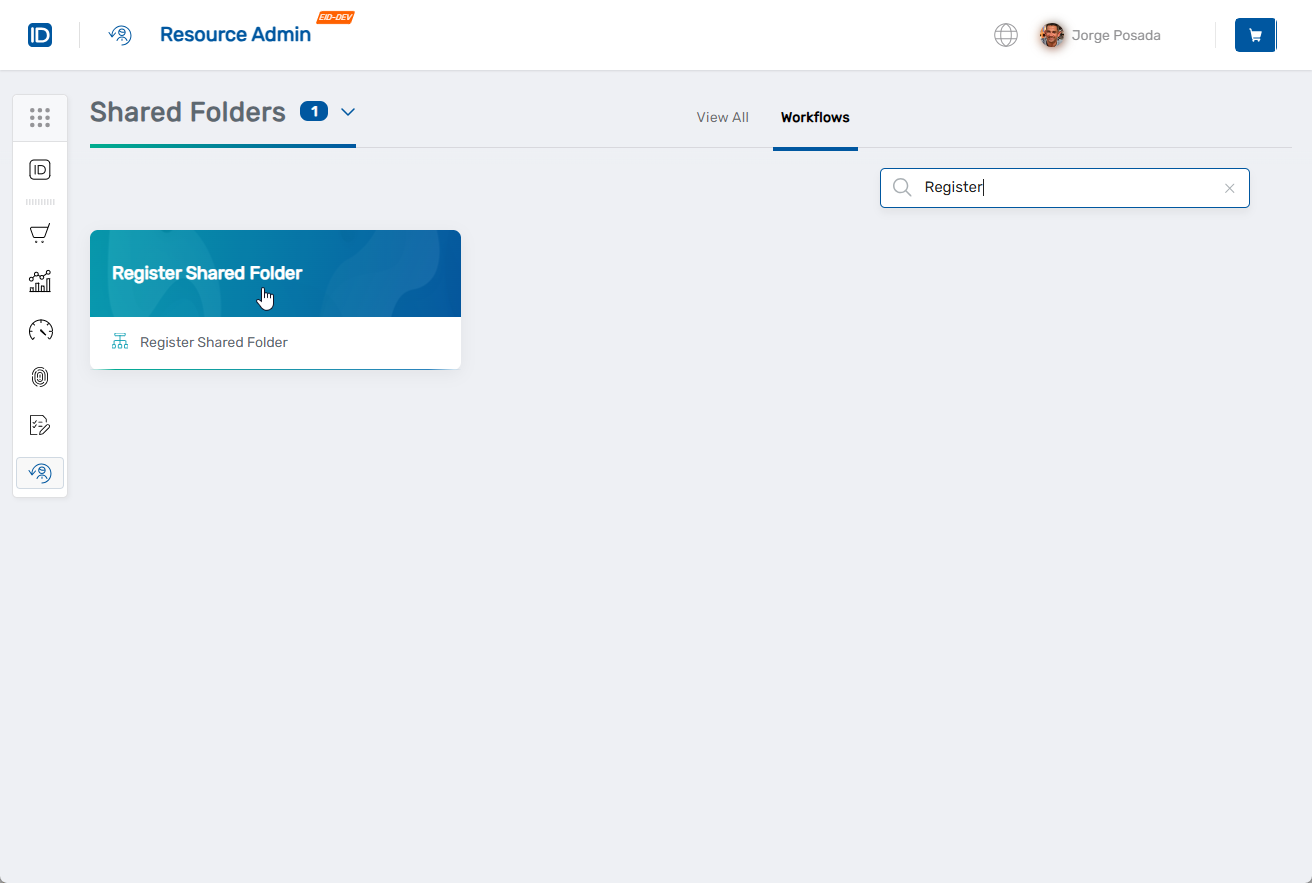
- Navigate to Resource Admin.
- Select Shared Folders from the resource type menu.
- Click the Workflows tab.
- Click Register Shared Folder.
- Enter search criteria and click Search.
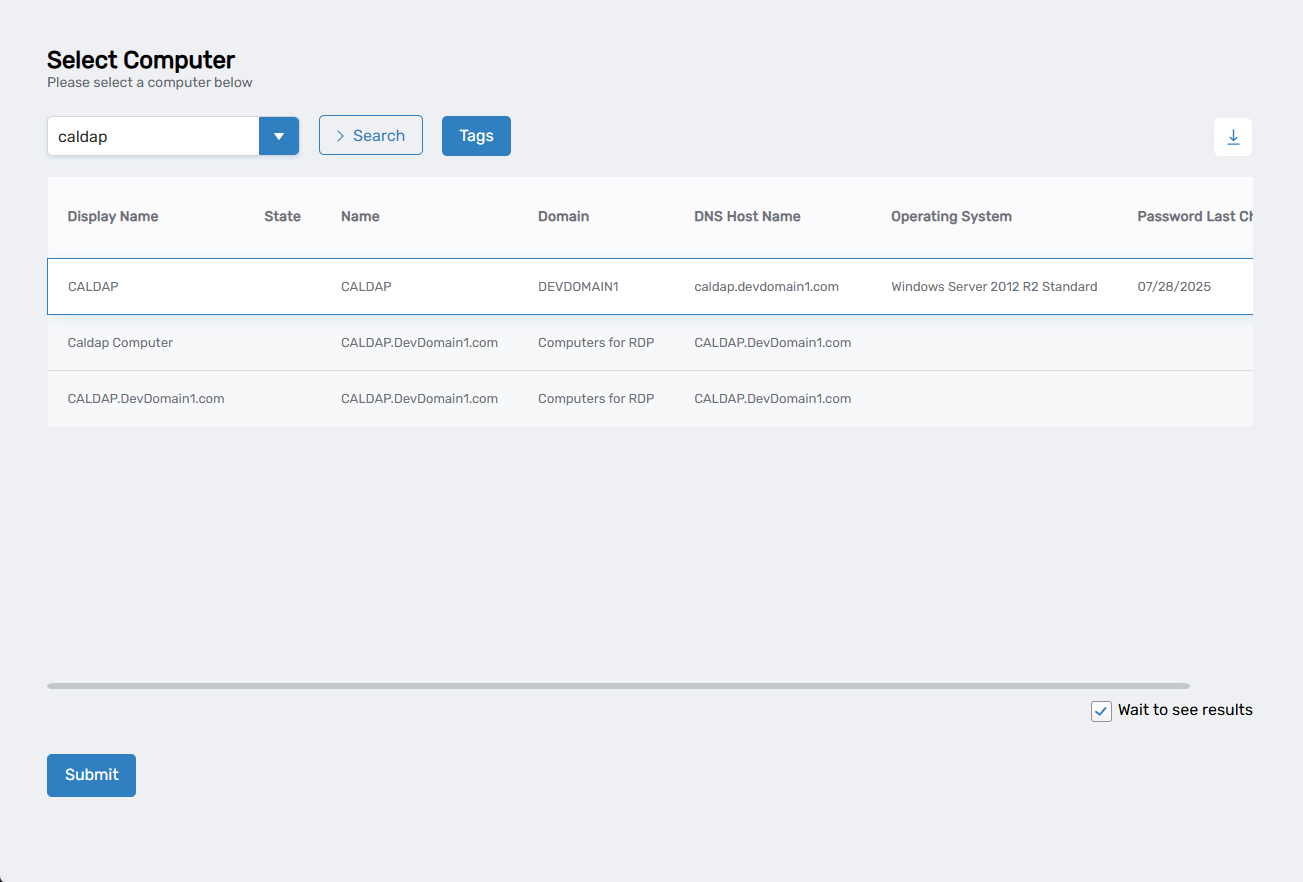
- Select the computer hosting the existing shared folder by checking the box next to it.
- Optionally, uncheck Wait to see results to create a collaboration task in My Tasks for later completion.
- Click Submit.
- Enter the details of the existing shared folder:
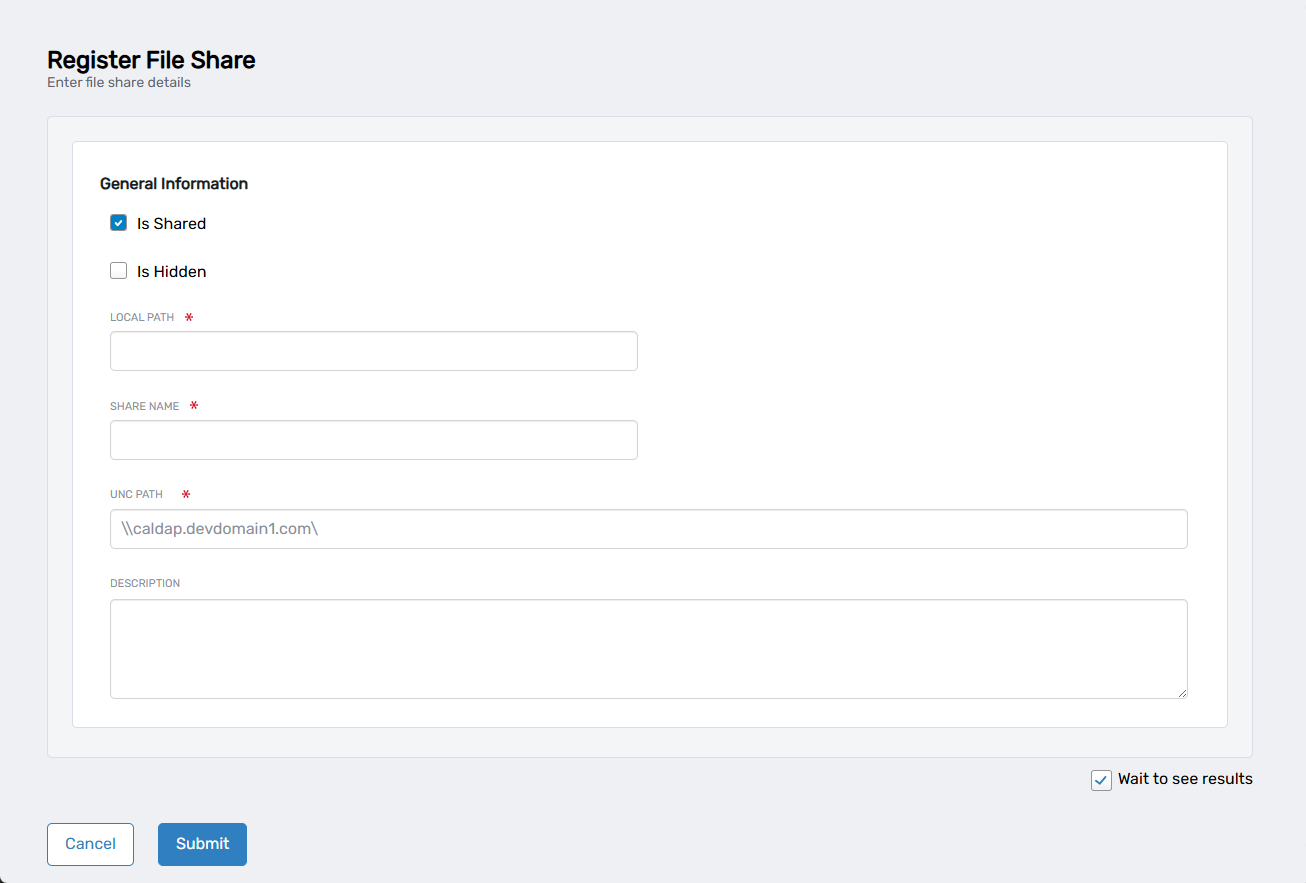
- Is Shared: Check to confirm the folder is available as a network share (checked by default)
- Is Hidden: Check if the share is hidden from network browsing
- Local Path: Enter the complete local path of the existing shared folder
- Share Name: Enter the current network share name
- UNC Path: Automatically generated based on the computer and share name
- Description: Add details about the folder's purpose or business use
- Optionally, uncheck Wait to see results to create a collaboration task in My Tasks for later completion.
- Click Submit.
Results
- Existing shared folder is registered as an EmpowerID resource object
- Folder becomes available for EmpowerID access control and governance
- Access policies can be configured for the folder
- All folder access becomes auditable through EmpowerID reporting
- Folder appears in Resource Admin for ongoing management