Set Up Core Identities
Configure Core Identity functionality to link multiple Person objects representing the same individual. Core Identity provides centralized management when users have separate standard and privileged accounts or multiple personas across different systems.
Overview
Core Identity enables:
- Linking multiple Person objects to a single central identity
- Automatic joining of new Person objects based on matching attributes
- Consolidated management of an individual's multiple identities
- Separation of access and attributes tied to specific roles
tip
Core Identity is particularly useful for managing scenarios where individuals require both standard and privileged accounts (e.g., separate user and administrator identities in Active Directory).
Prerequisites
- Administrative access to EmpowerID System Settings
- Understanding of organizational attribute matching requirements
- Knowledge of Person attributes used for identity matching
Enable Core Identities
- On the navbar, expand Admin, then EmpowerID Servers and Settings, and select EmpowerID System Settings.
- Search for "JoinToCI".
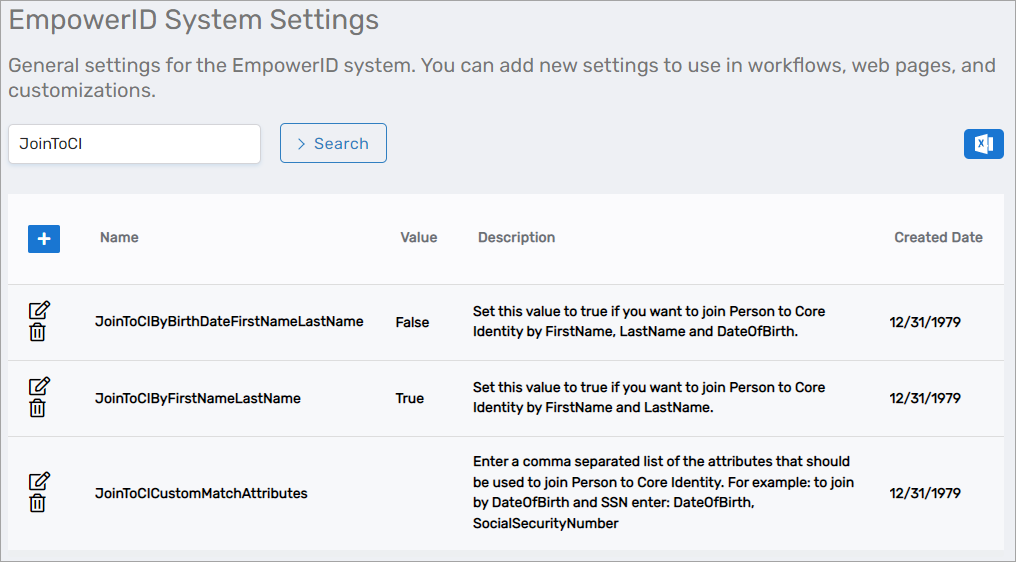
- Configure one or more joining rules:
Available Joining Rules
| Rule | Match Criteria | Use Case |
|---|---|---|
| JoinToCIByBirthDateFirstNameLastName | First name, last name, and birth date | Most accurate matching when birth dates are available |
| JoinToCIByFirstNameLastName | First name and last name only | Simpler matching without birth date requirement |
| JoinToCICustomMatchAttributes | Custom comma-separated attribute list | Flexible matching based on organizational needs |
Enable Pre-Configured Rules
To enable a pre-configured rule (e.g., JoinToCIByBirthDateFirstNameLastName):
- Click the Edit button next to the rule.
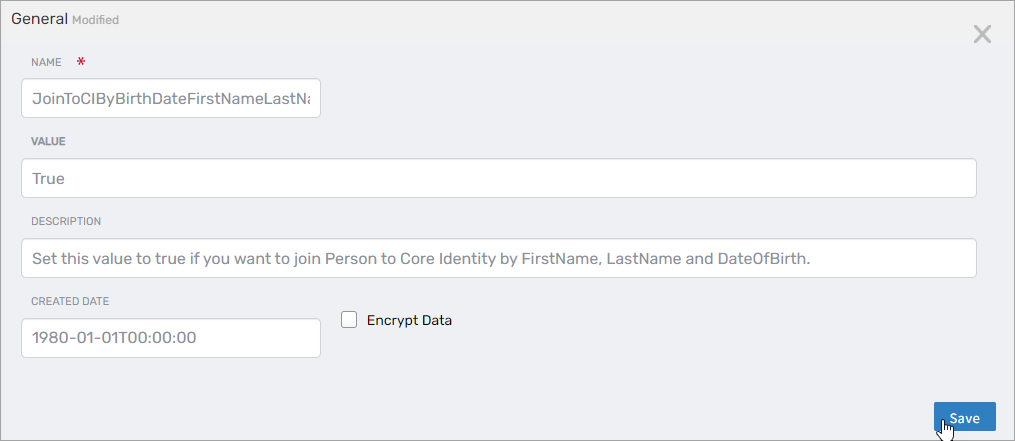
- Change the value to true.
- Click Save.
Configure Custom Matching Rules
To create a custom matching rule:
- Click the Edit button next to
JoinToCICustomMatchAttributes.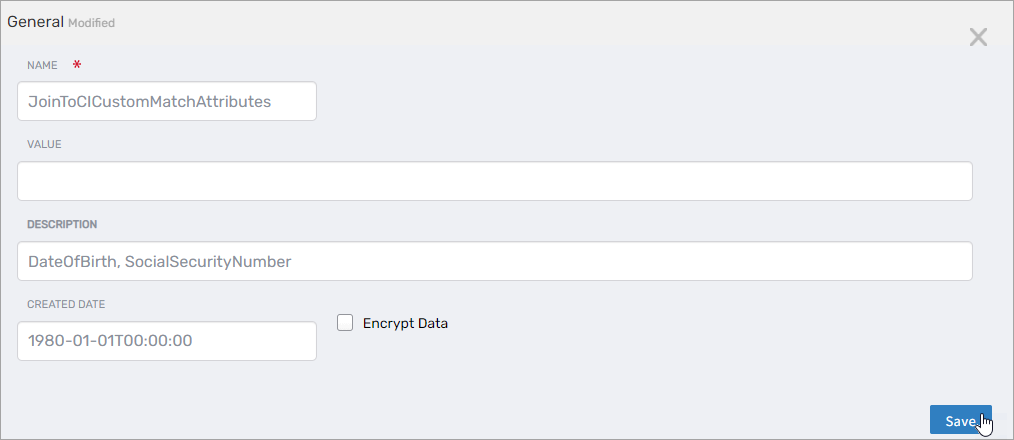
- Enter a comma-separated list of Person attributes to match (e.g.,
Email,EmployeeID,FirstName,LastName). - Click Save.
How It Works
- During the next inventory run, EmpowerID detects Persons whose attributes match the configured criteria
- A Core Identity is provisioned automatically
- Matching Persons are linked to the Core Identity
- In future inventory runs, new Persons with matching attributes are automatically linked to existing Core Identities
View Core Identities
- On the navbar, expand Identity Administration and select People.
- Click the Core Identities tab.
- Search for a Core Identity and click the Core Identity ID link.
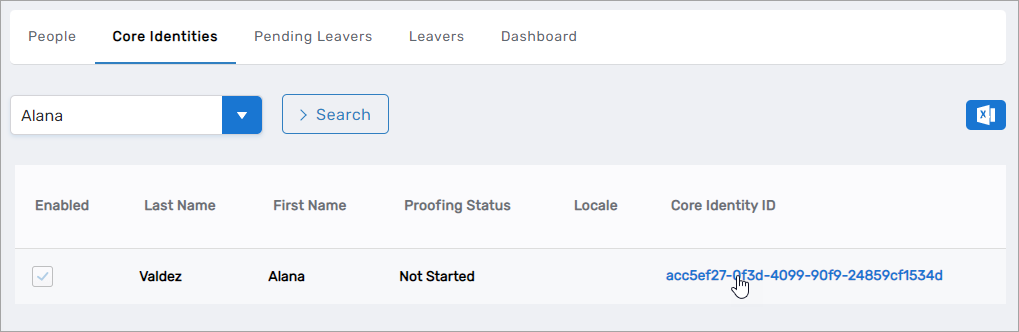
This opens the View One page for the Core Identity.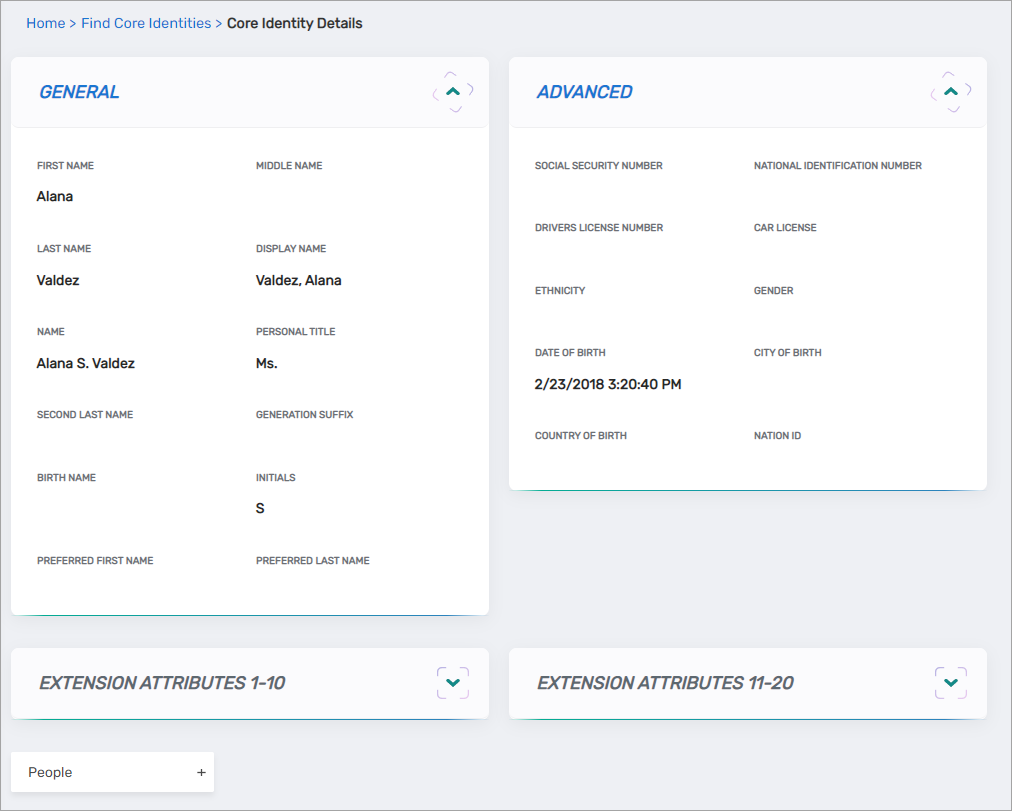
- To view all linked Persons, expand the People accordion.

View a Person's Linked Personas
- Navigate to the View or View One page for the target Person using one of these methods:
- Use the Global search bar (quickest method)
- Navigate through the Find Person page
- Select the Report tab and the Identities subtab.
- Expand the Personas Linked to Same Core Identity accordion.
 All personas linked to the same Core Identity are displayed.
Select and Switch Personas
When multiple Persons are linked to a Core Identity, users can select which persona to use for authentication:
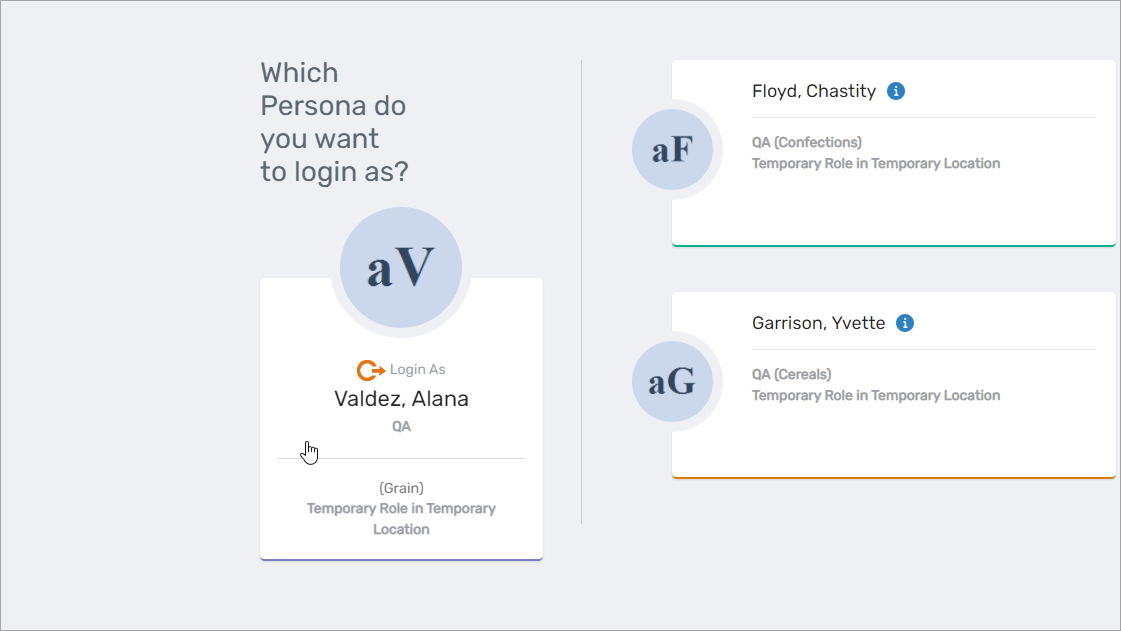
Initial Login
- Log in using credentials for any Person linked to the Core Identity.
- If multiple personas exist, select the desired persona from the login options.
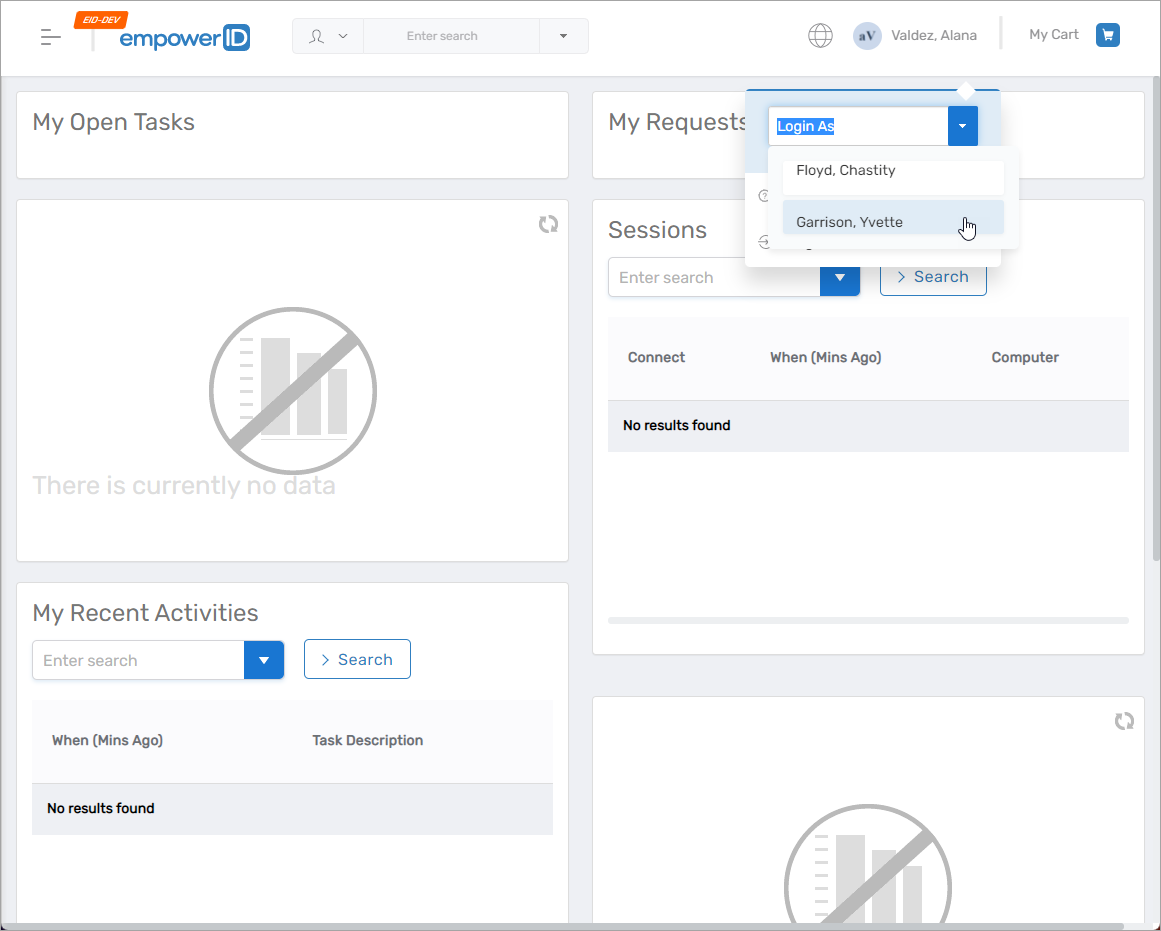
Switch Personas After Login
- Click your username at the top of the page.
- Select the desired persona from the Login As field.
Results
- Core Identities are automatically created based on matching rules
- Multiple Person objects representing the same individual are linked
- Users can seamlessly switch between linked personas
- Centralized management of an individual's multiple identities
- Improved governance and compliance for privileged access scenarios