Importing Users and Groups
Import user and group data from external applications into EmpowerID using delimited flat files when direct connector integration is not available or desired. This process uses tracking-only account stores to represent external applications and enables management of imported data within EmpowerID.
Overview
EmpowerID provides three workflows for importing data from delimited flat files:
- Create Accounts from File - Imports user accounts
- Create Groups from File - Imports groups
- Create Group Accounts from File - Imports group memberships
Each workflow reads the uploaded flat file and creates corresponding objects in the specified account store. The workflows prevent duplicate creation by checking for existing records before import.
Changes made to imported accounts and groups in EmpowerID are not reflected in the source application. Maintain data synchronization by making parallel changes in both systems.
Prerequisites
Before importing users and groups:
-
Create a tracking-only account store for the source application. See Creating Tracking-Only Account Stores.
-
Prepare three separate delimited files containing:
- User account data
- Group data
- Group membership data
-
Ensure required fields are present in each file:
Object Type Required Fields User Account Name, LogonName, FriendlyName Group Name, LogonName, FriendlyName Group Membership AccountLogonName, GroupLogonName tipField names in your flat files do not need to match EmpowerID field names exactly. You will map them during the import process. Additional fields beyond the required ones can be included and mapped as needed.
Import User Accounts
-
On the navbar, expand Single Sign-On and select Applications.
-
Search for the tracking-only application and click its Display Name link.
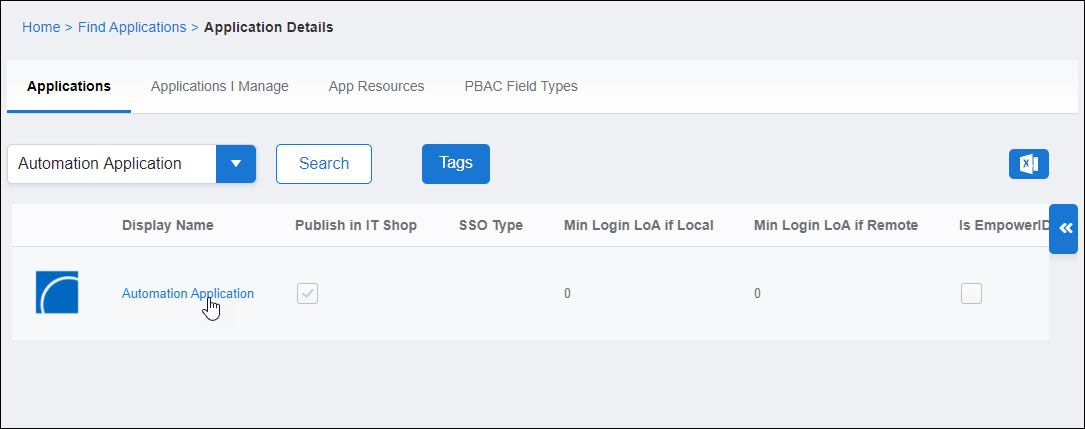
This opens the View One page for the application.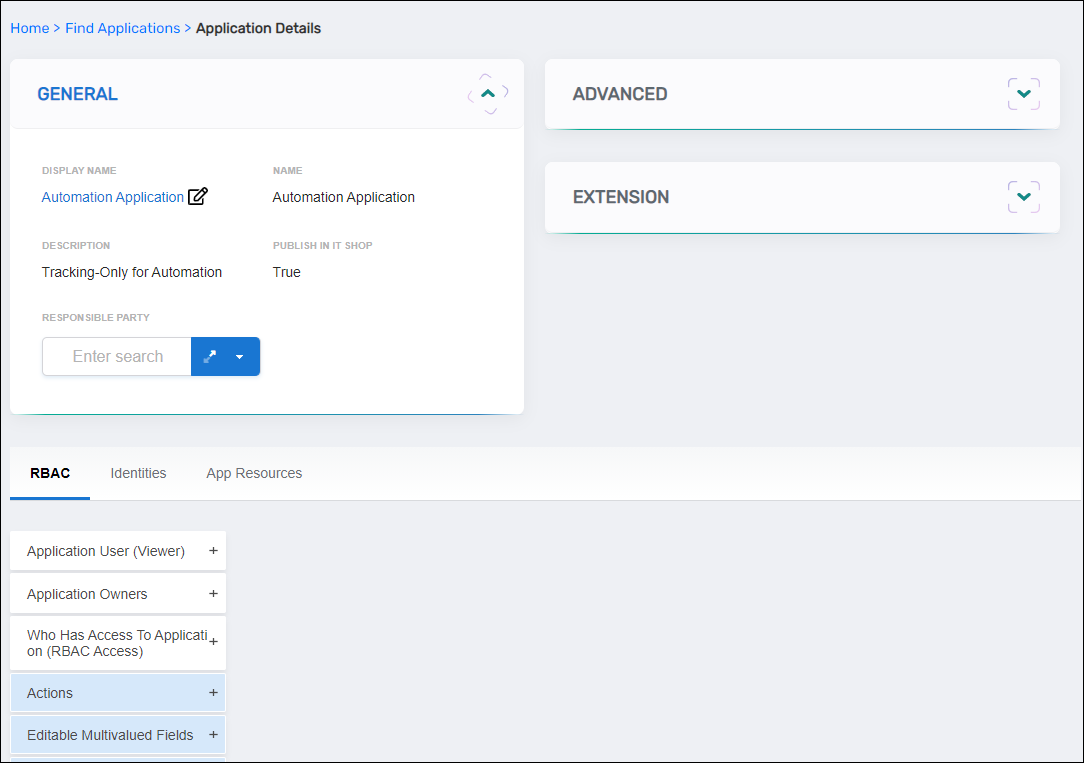
-
Select the Identities tab and expand the Application Accounts (In Account Store or Linked Group) accordion.
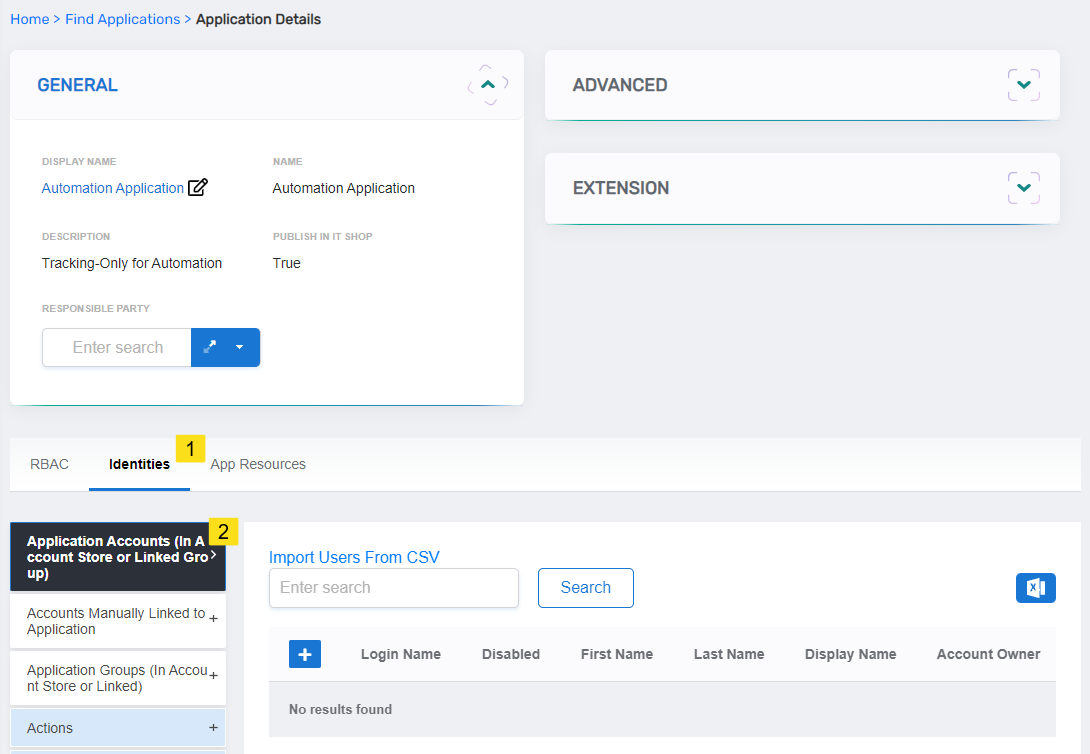
-
Click Import Users From CSV.
This initiates the Create Accounts From File workflow.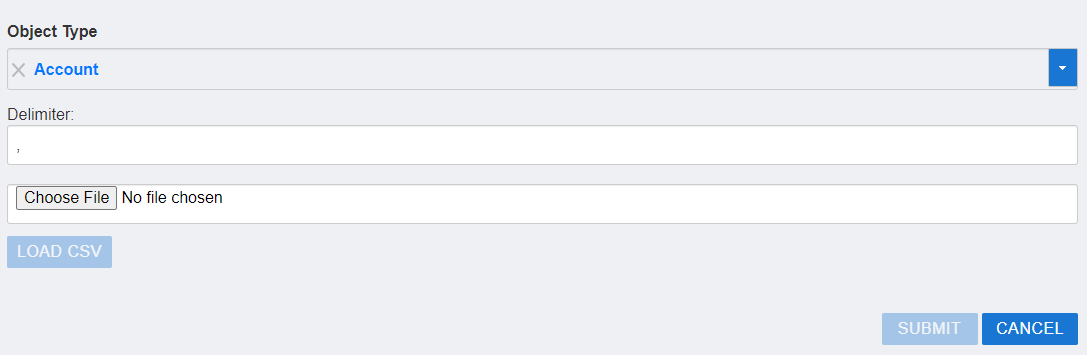
-
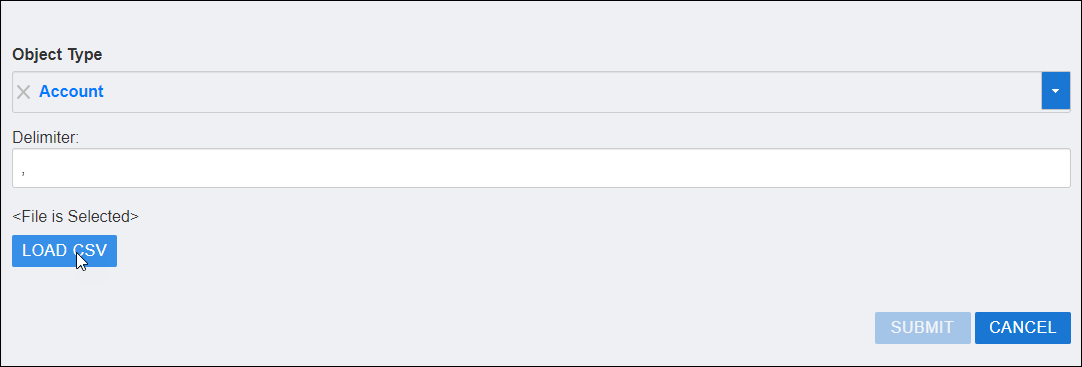
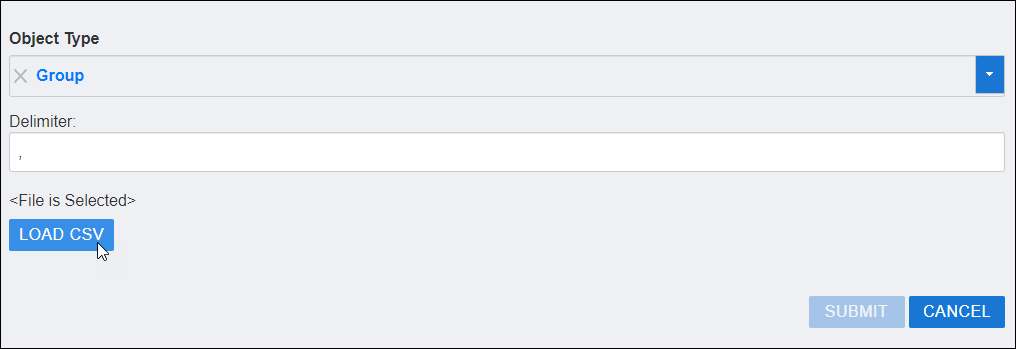
In the Delimiter field, enter the field delimiter used in your flat file (default is comma).
-
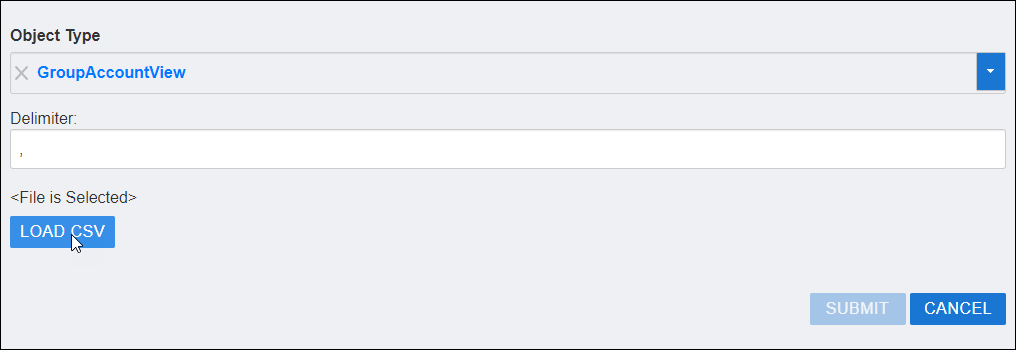
Click Browse and select the file containing user accounts.
After selection, the button text changes to "File is Selected" and the Load CSV button becomes active. -
Click Load CSV.
The form displays the imported data with column headers shown above drop-down menus and records shown in the grid.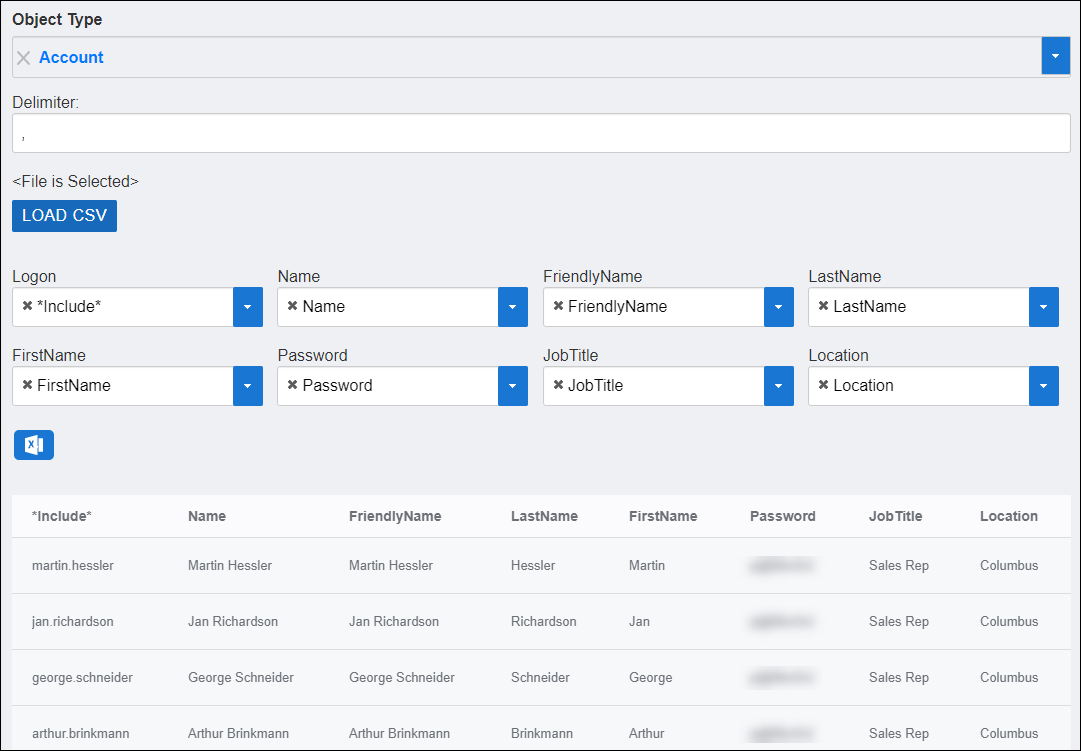
-
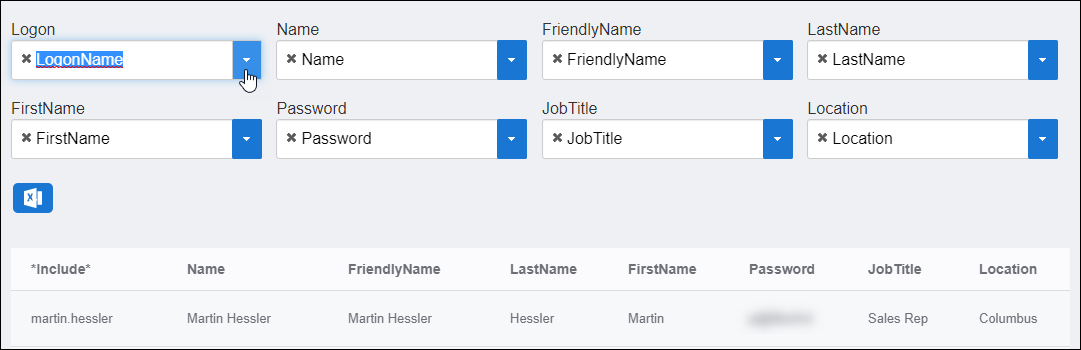
Map required fields to their corresponding EmpowerID account fields:
- In each drop-down menu, type the EmpowerID field name (Name, LogonName, or FriendlyName)
- Click the field to select it
noteIf your column headers already match EmpowerID field names, the workflow maps them automatically. Fields without corresponding EmpowerID fields are ignored during import.
-
Click Submit.
After import completes, the new user accounts appear in the accordion.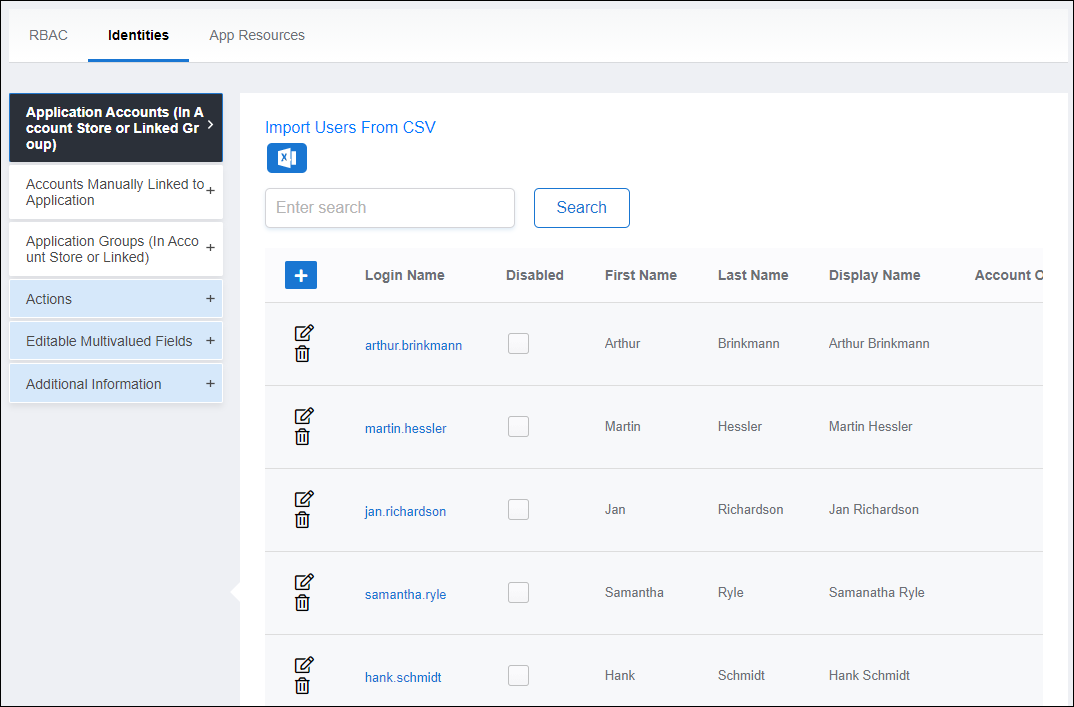
Import Groups
- On the navbar, expand Single Sign-On and select Applications.
- Search for the tracking-only application and click its Display Name link.
This opens the View One page for the application. - Select the Identities tab and expand the Application Groups (In Account Store or Linked Group) accordion.
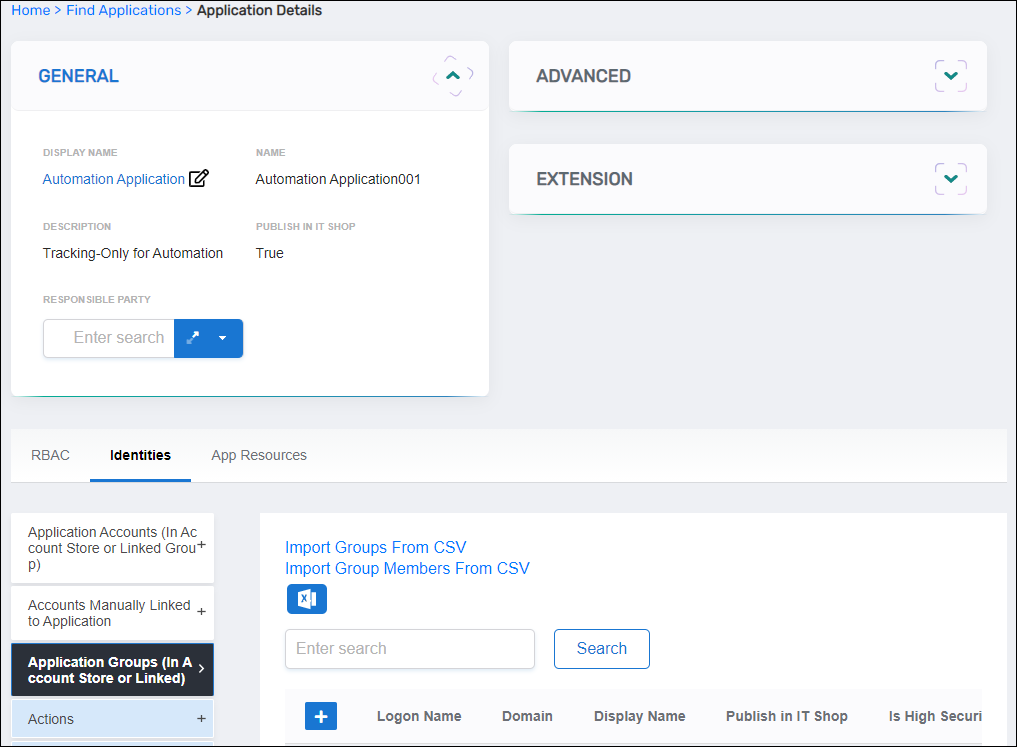
- Click Import Groups From CSV.
This initiates the Create Groups From File workflow.
- In the Delimiter field, enter the field delimiter used in your flat file (default is comma).
- Click Browse and select the file containing groups.
After selection, the button text changes to "File Selected" and the Load CSV button becomes active. - Click Load CSV.
The form displays the imported data with column headers shown above drop-down menus and records shown in the grid.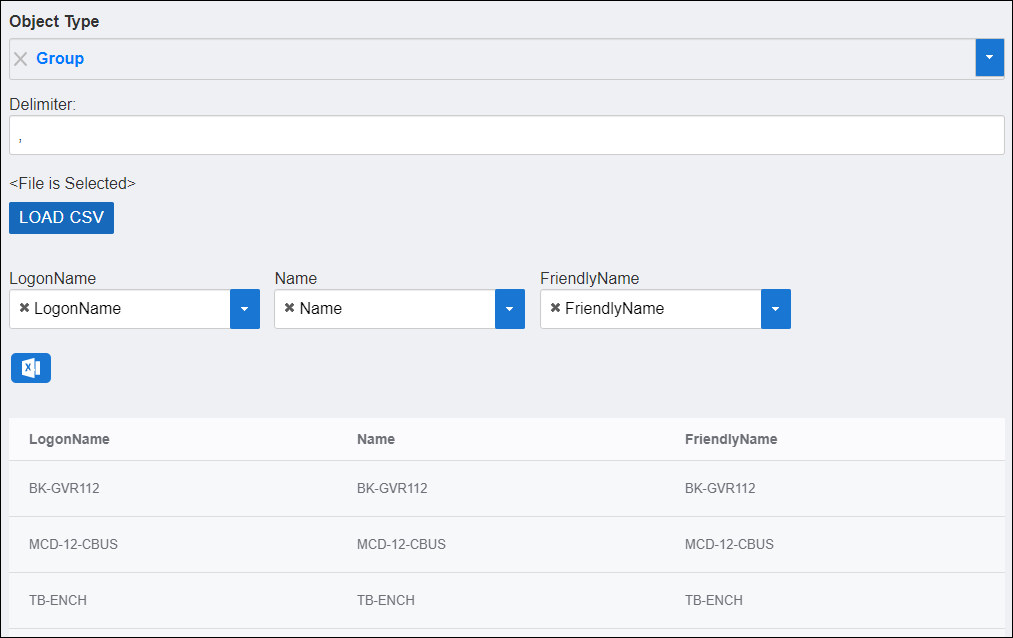
- Map required fields to their corresponding EmpowerID group fields:
- In each drop-down menu, type the EmpowerID field name (Name, LogonName, or FriendlyName)
- Click the field to select it
- Map any additional fields to their corresponding EmpowerID fields as needed.
- Click Submit.
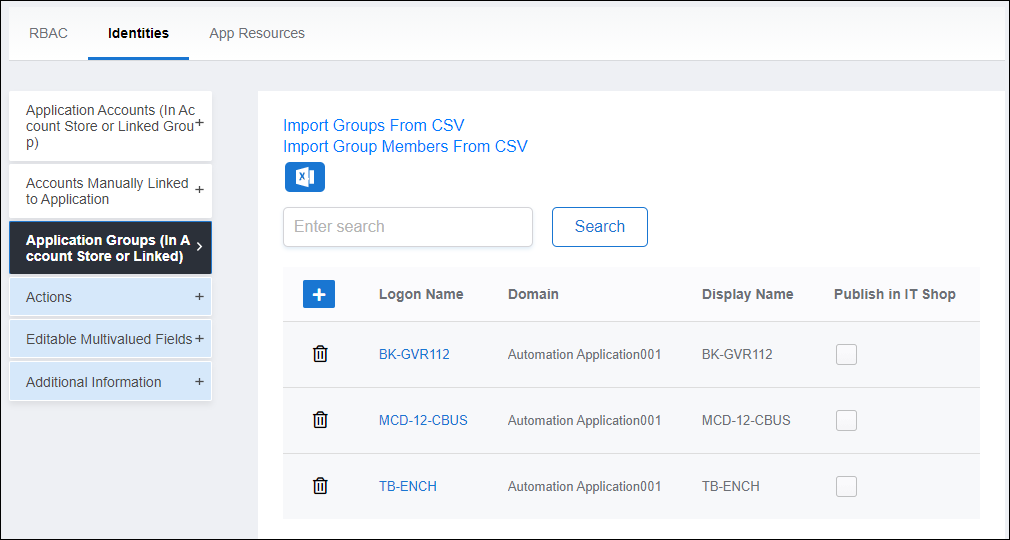
- After import completes, click Search in the Application Groups accordion to view the newly imported groups.
Import Group Memberships
-
On the navbar, expand Single Sign-On and select Applications.
-
Search for the tracking-only application and click the returned record.
-
Expand the Application Groups (In Account Store or Linked Group) accordion on the Application Details page.
-
Click Import Group Members From CSV.
This initiates the Create Group Accounts From File workflow.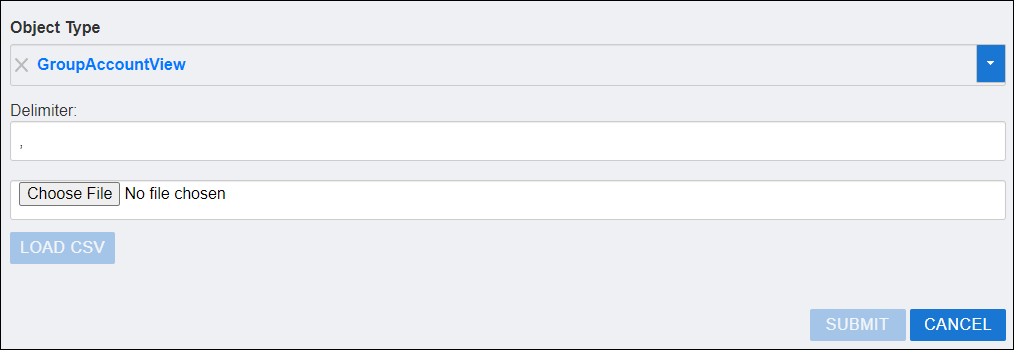
-
In the Delimiter field, enter the field delimiter used in your flat file (default is comma).
-
Click Browse and select the file containing group membership information.
After selection, the button text changes to "File Selected" and the Load CSV button becomes active.
-
Click Load CSV.
The form displays the imported data with column headers shown above drop-down menus and records shown in the grid.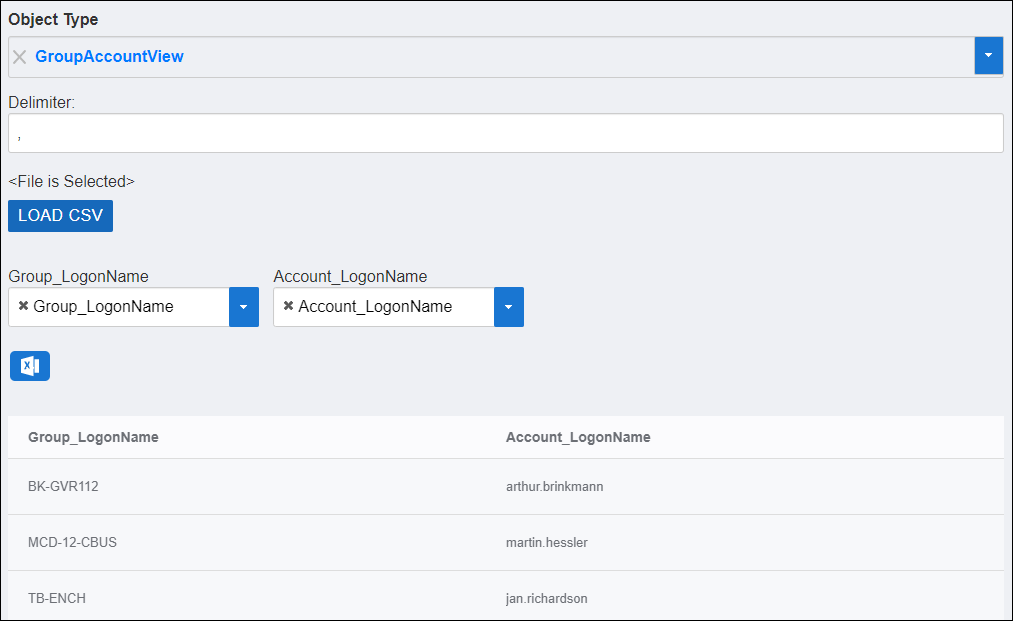
-
Map required fields to their corresponding EmpowerID fields:
- Account_LogonName for the user account
- Group_LogonName for the group
-
Click Submit.
Verify Group Membership
After importing group memberships, verify the import was successful:
- Select the Group filter on the global search bar.
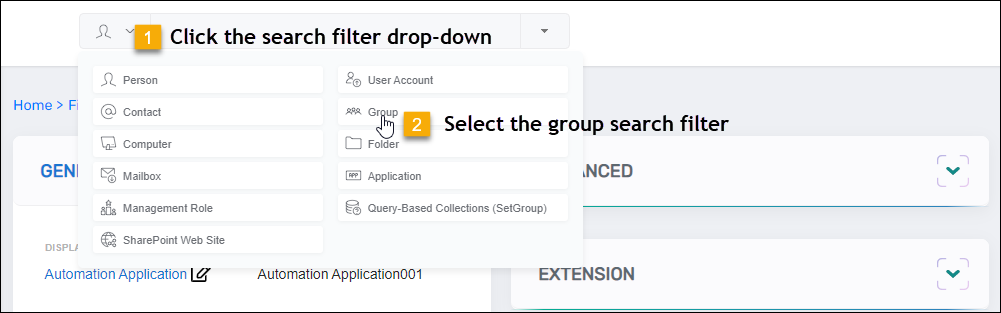
- Enter the name of an imported group and click the tile for that group.
This opens the View page for the group.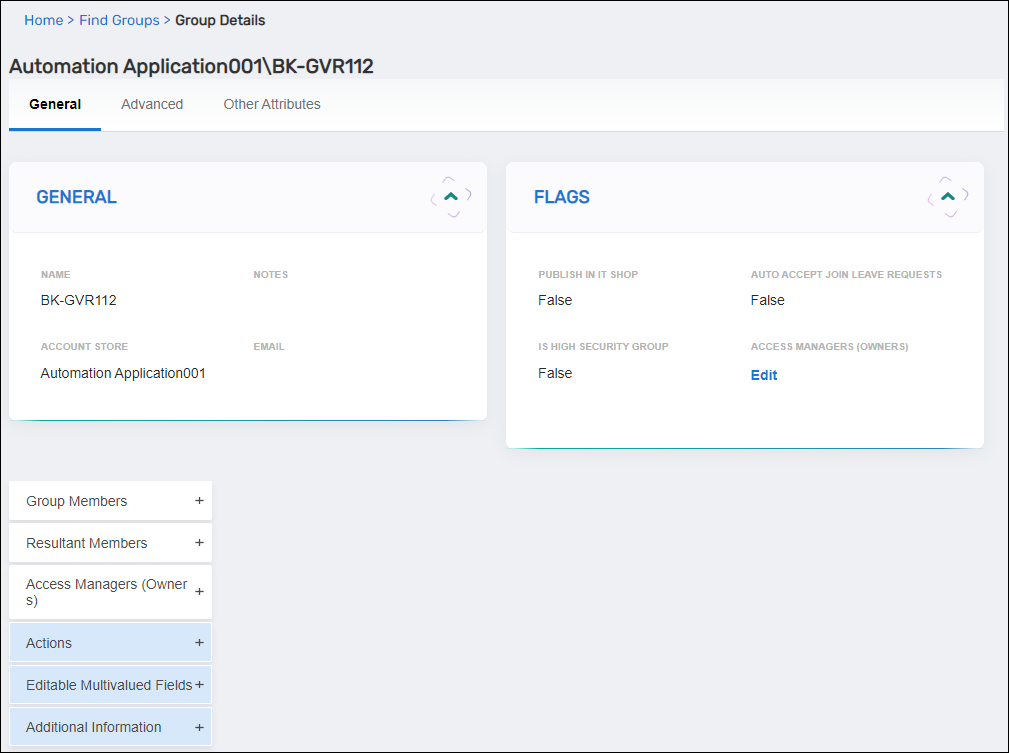
- Expand the Group Members accordion.
The imported group members are displayed.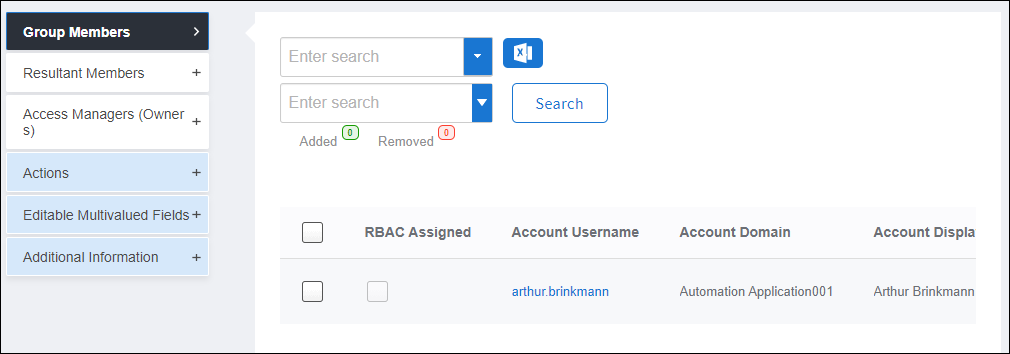
Results
- User accounts, groups, and group memberships are imported into the tracking-only account store
- Imported data is available for management and auditing in EmpowerID
- Existing records are preserved; duplicates are not created
- Changes to imported data can be made through EmpowerID's standard management interfaces