Enable Computers for Privileged Session Management
Before a computer can be used in a Privileged Session Manager (PSM) workflow, it must be explicitly configured for PSM access in EmpowerID. This includes enabling RDP or SSH, specifying a gateway, and optionally configuring Just-in-Time (JIT) access settings.
This article provides step-by-step instructions for enabling a computer for use with PSM.
Steps to Enable a Computer for PSM
1. Open the Computers Page
From the EmpowerID navigation bar:
- Expand Privileged Access
- Click Computers
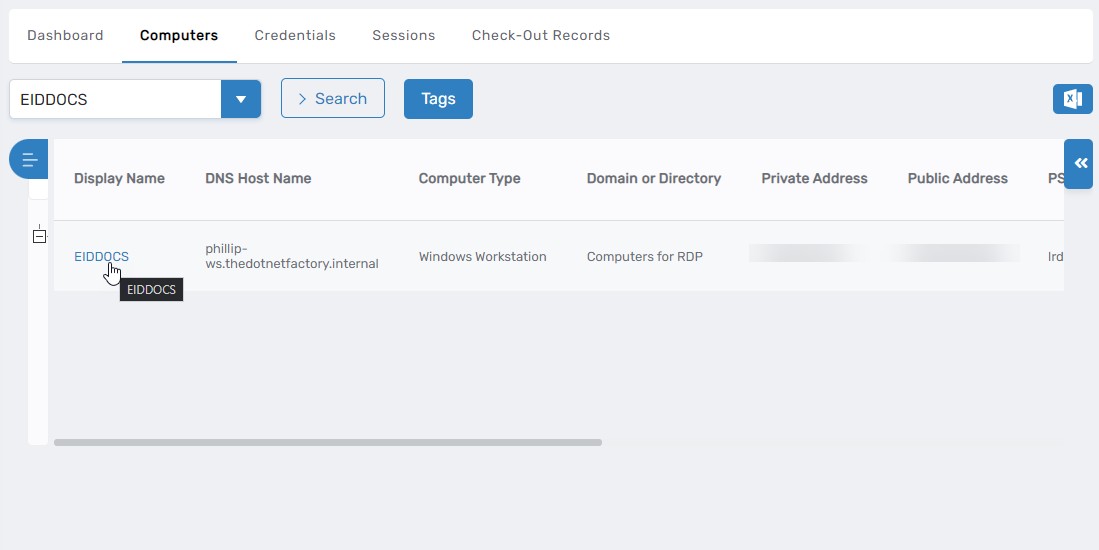
2. Search for the Target Computer
- In the Computers tab, use the search bar to locate the machine you want to enable for PSM.
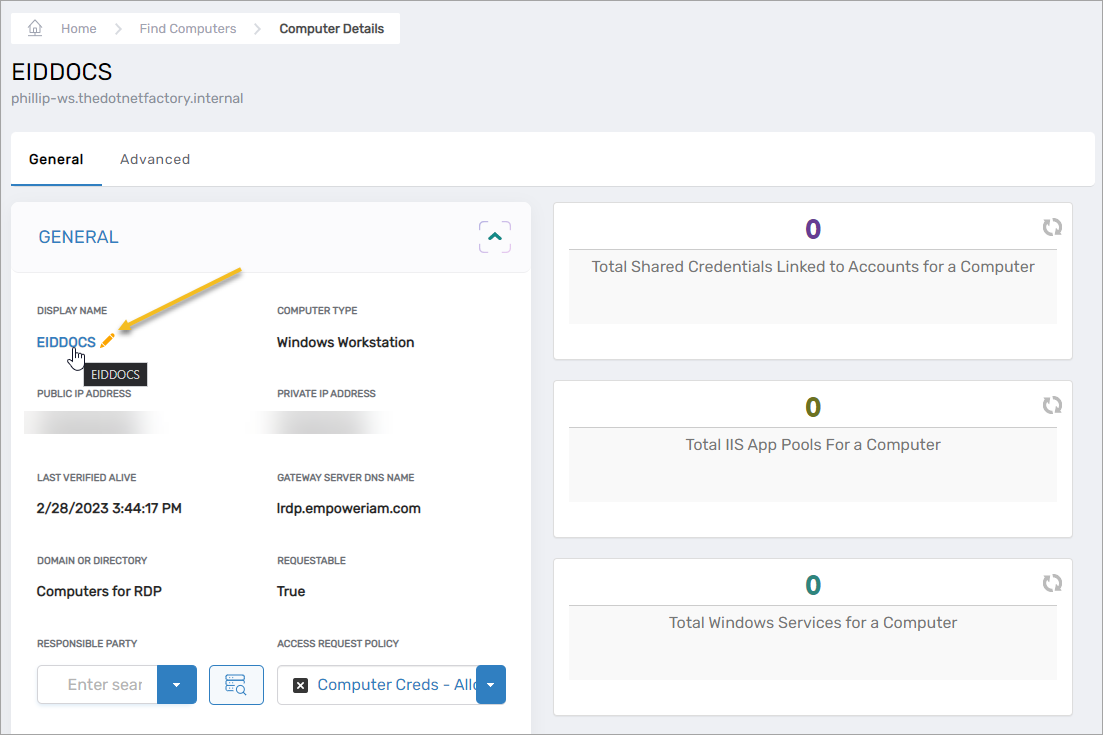
3. Open the Computer Details Page
- Click the Display Name link for the desired computer.
4. Enter Edit Mode
- On the Computer Details page, click the Edit button to enable edit mode.
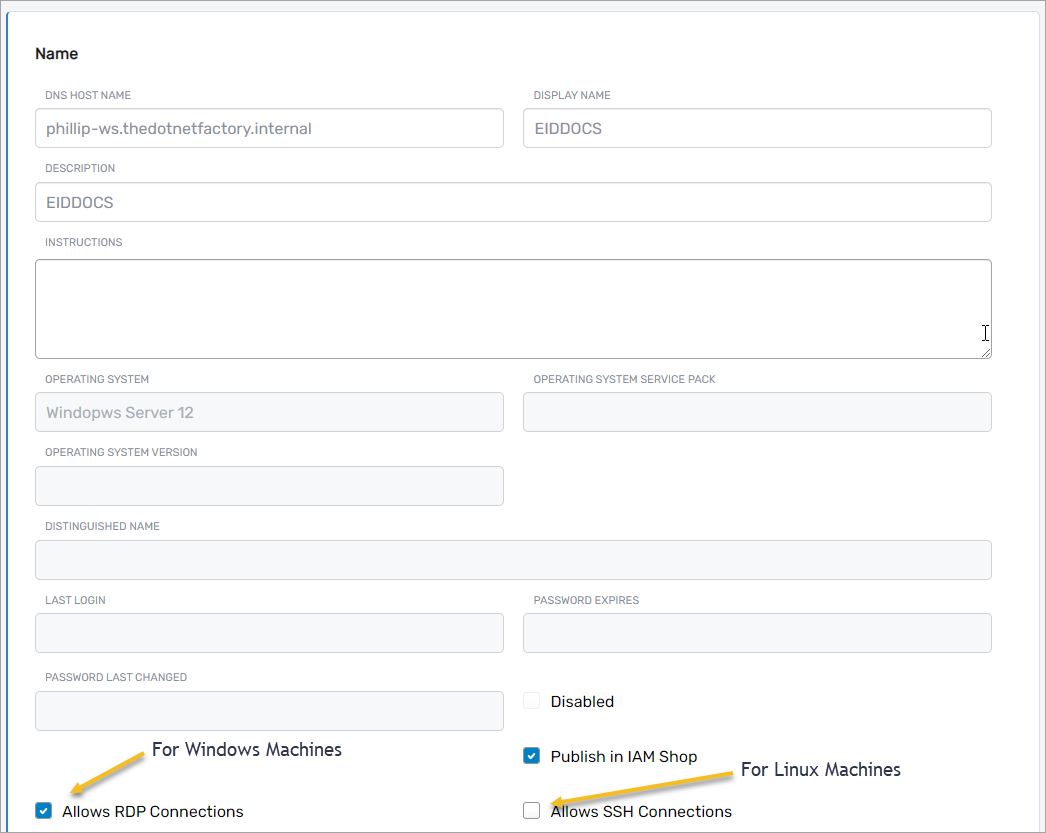
5. Enable RDP or SSH Access
- On the Edit One page:
- For Windows computers, enable the Allows RDP Connections toggle.
- For Linux computers, enable the Allows SSH Connections toggle.
6. Set the PSM Gateway
- In the Privileged Session Manager Gateway field:
- Enter the name of your registered PSM Gateway.
- Click the gateway tile to select it.

7. Locate Just-in-Time Access Settings
Scroll further down on the same page to find the Just-in-Time Access Settings section.
8. Configure Just-in-Time (JIT) Options
Adjust the following settings based on your organization’s policy:
-
Enable Just in Time Account Provisioning
Enable this to allow EmpowerID to dynamically create a user account at the start of a PSM session.⚠️ This only applies if the computer is part of a Local Windows Server account store.
EmpowerID will use the formatEmpowerID Login_RandomNumber(e.g.,joe.kewl_1234567). -
Use Existing Account if Applicable
If enabled, EmpowerID will attempt to log in using an existing account if the user has access—avoiding JIT provisioning. -
Delete JIT-Created Account on Check-In
Enable this if you want EmpowerID to delete the JIT account once the session ends. -
Allow Select Access Levels on Connect
This allows the user to choose a permission level (from configured IAM Shop permission levels) during session initiation.
🔐 Security Note: Any group used for JIT provisioning must have Remote Desktop Permissions on the target computer.
9. Save Your Changes
- Click the Save button at the bottom of the Edit page to apply all configurations.
Once saved, the computer is fully enabled for Privileged Session Management. Authorized users can now initiate PSM sessions through EmpowerID’s IAM Shop.
- Save Changes
Click the Save button to preserve your changes.
With these settings in place, the computer is now PSM-enabled, and users can request sessions.