Assigning IAM Shop Permission Levels
This article provides instructions for assigning IAM Shop Permission Levels to a resource in EmpowerID and mapping them to the appropriate enforcement groups in the native system.
For a functional overview of IAM Permission Levels and their role in access requests, see About IAM Permission Levels.
Prerequisites
Before assigning IAM Shop Permission Levels:
- The target resource (e.g., computer, mailbox, shared folder) must be managed in EmpowerID.
- The IAM Shop Permission Level must exist in your environment.
- To create new levels, see Creating IAM Shop Permission Levels.
- Ensure that the mapped assignee (such as an EmpowerID group) is connected to a native system group that grants the intended permissions.
Procedure: Assign a Permission Level to a Resource
This example demonstrates assigning a permission level to a computer, but the steps are similar for mailboxes, folders, and applications.
Step 1: Navigate to the Resource View Page
- Use the Global Search at the top of any EmpowerID Web page to locate the resource.
- Select the resource to open its View page.
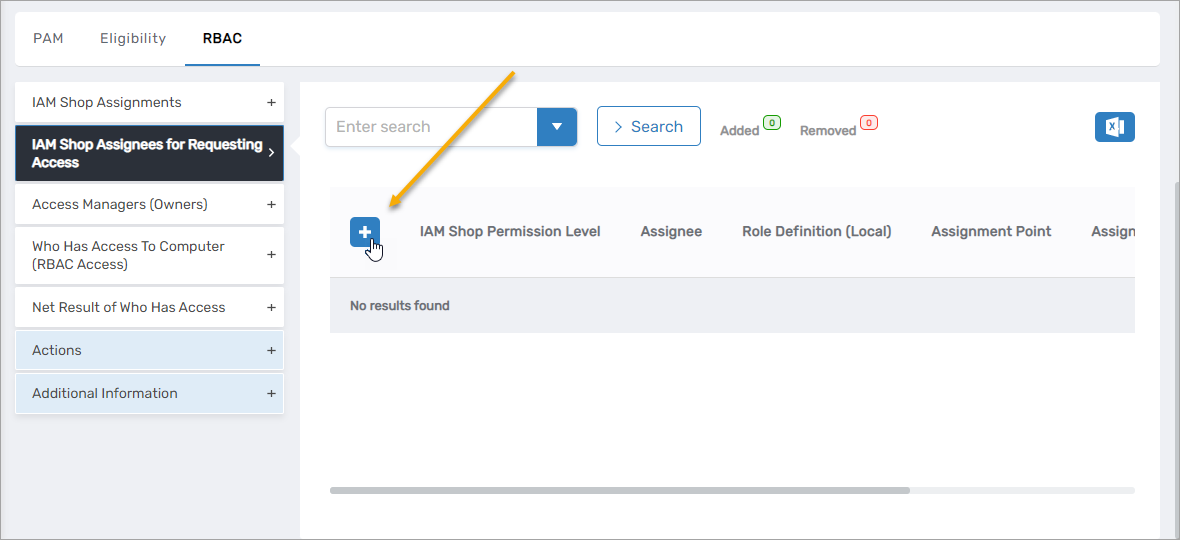
Step 2: Open the IAM Shop Assignment Section
- On the View page, click the RBAC subtab.
- Expand the IAM Shop Assignees for Requesting Access accordion.
Step 3: Add a New Permission Level Assignment
-
Click Add New.
-
Under General, select the desired IAM Shop Permission Level from the dropdown.
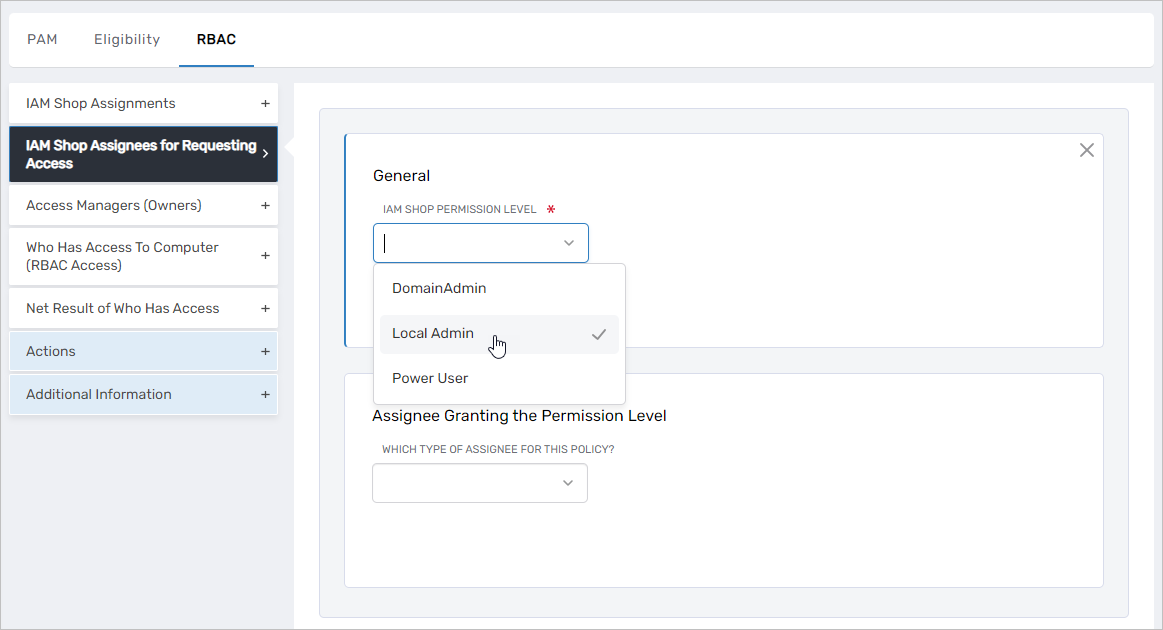
Step 4: Map to a Granting Assignee
- In the Assignee Granting the Permission Level section:
- Choose an assignee type from the Which Type of Assignee For This Policy dropdown.
- Select a specific assignee from the Select <Assignee> To Receive Policy dropdown.
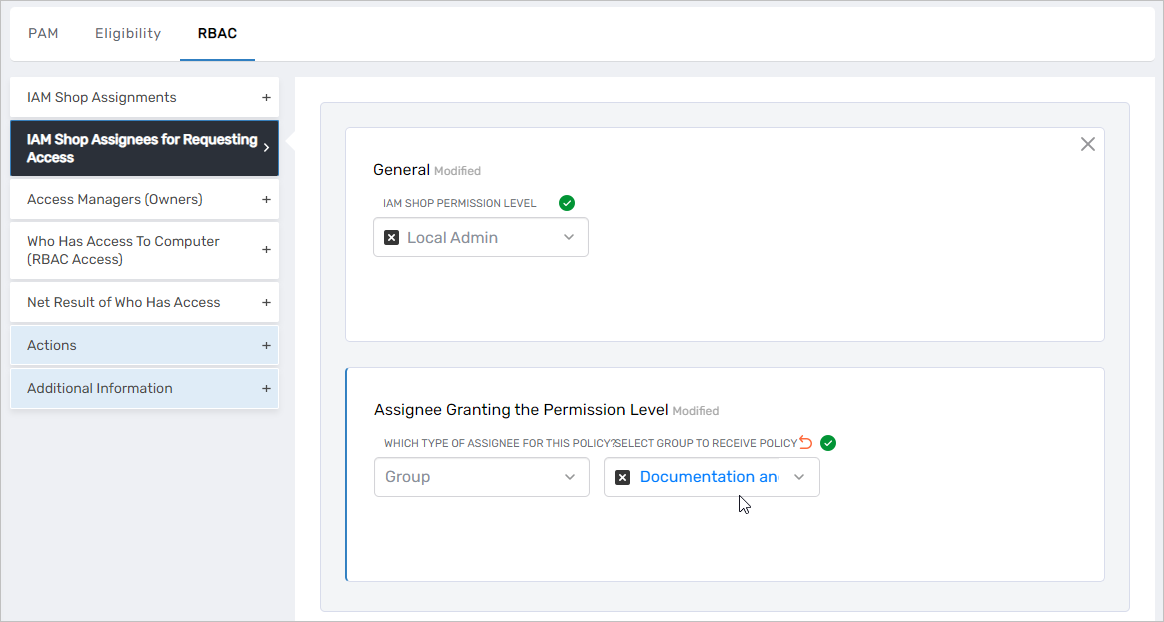
Use an EmpowerID group that is mapped to a group in the native system to ensure effective enforcement of permissions.
Step 5: Save and Submit
-
Click Save to add the permission assignment.

-
Repeat steps to assign additional permission levels as needed.
-
Click Submit to finalize all changes.
Result
The selected IAM Shop Permission Level is now assigned to the resource and mapped to an access-granting assignee. This level will appear in the IAM Shop interface for users requesting access, and EmpowerID will fulfill the request by assigning the user to the configured group.