Adding Operations to Multi-Operation Activities
The Multi-Operation activities that ship with Workflow Studio can be extended to support your own custom operations. In this tutorial we demonstrate this by adding a new operation called "EditNameAttributes" to the Person Multi-Operation activity we created in the Create Operation Activities topic.
What You'll Learn
In this tutorial, you will:
- Open an existing Multi-Operation activity
- Add a new operation to the activity
- Define the operation executor code
- Implement attribute updates for Person objects
- Create an OperationExecutionSummary to return operation results
- Compile and publish the updated activity
Prerequisites
caution
This tutorial assumes you have already created a Multi-Operation activity as described in the Create Operation Activities topic. You should be familiar with basic C# programming and understand how operations work in EmpowerID.
Add Operation to Multi-Operation Activity
- Open the Multi-Operation Operation Activity to which you want to add an Operation. In our example, we are using the Operation activity we created in the Create Operation Activities topic.
- With the Multi-Operation Operation activity open in the Activity Designer, right-click on the activity and select Add New Operation from the context menu.
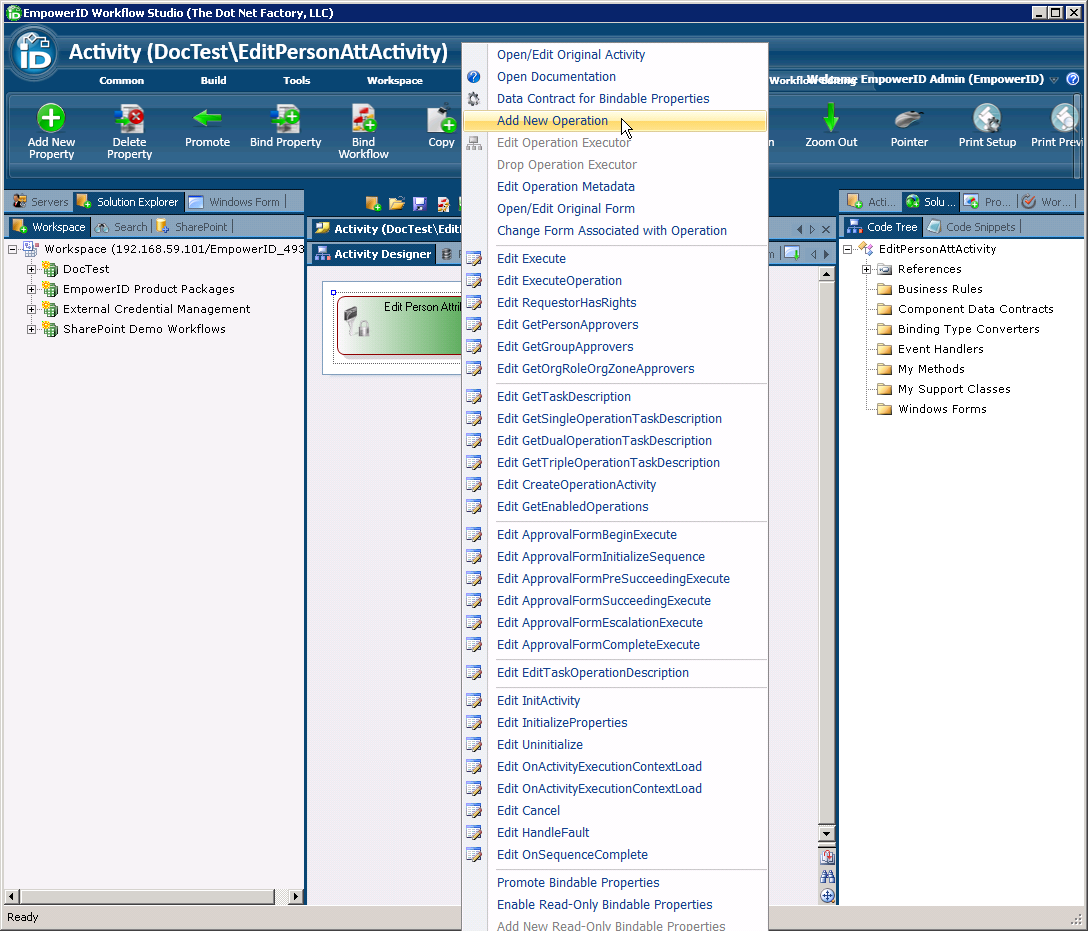
- In the Add New Operation window that appears, enter a name for the operation in the Operation Name field and a friendly or display name in the Friendly Name field and then OK to close the window.

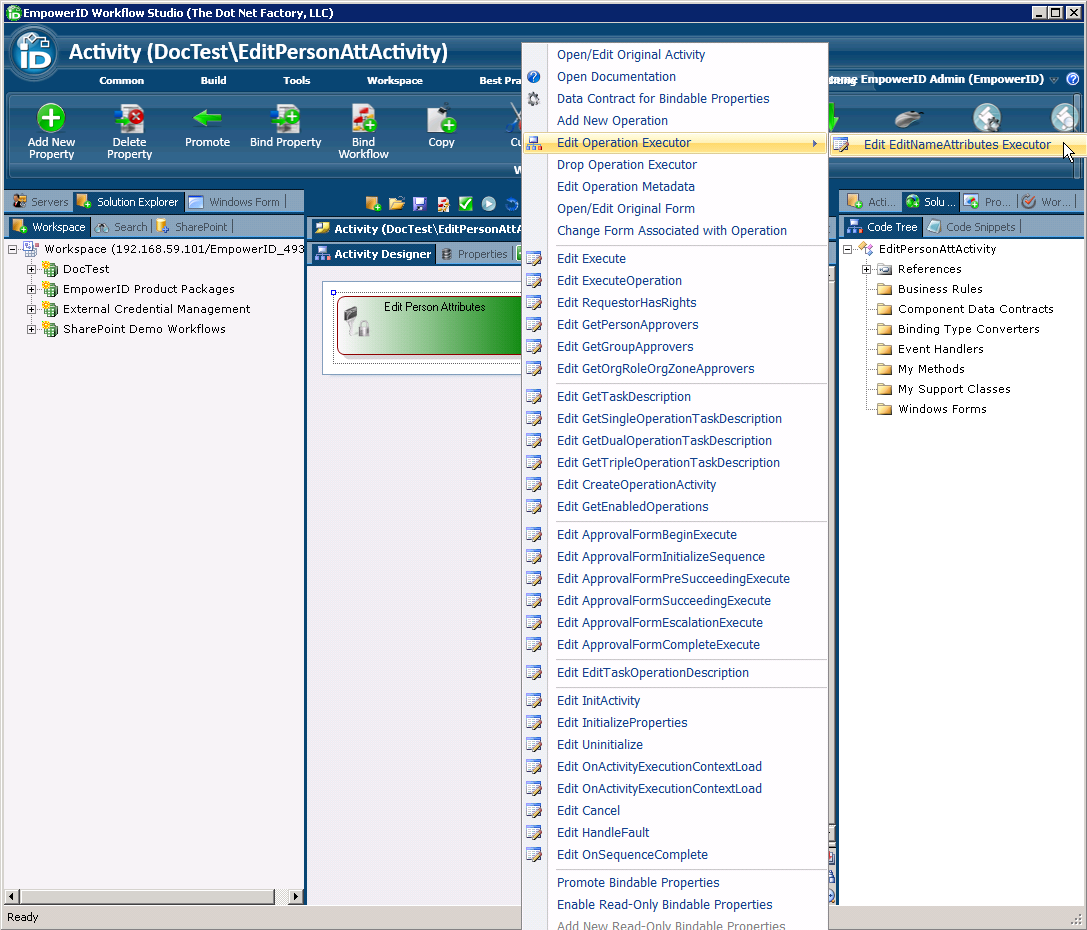
- Right-click on the activity again and select Edit Operation Executor > Edit EditNameAttributes Executor from the context menu. This allows you to define what occurs when the operation is executed against the Person object.
- Type the desired code for the operation executor in the C# Editor that opens. In our example, we have added code to set the FirstName, LastName, and MiddleName attributes to that entered into the workflow form.
// Set the Person against whom the Operation is being executed to the workflow's target resource
C.Person person = CurrentWorkflow.TargetResource.Person;
// Set the first name to the approval form's TargetPerson.FirstName property
person.FirstName = CurrentWorkflow.Form_TargetPerson.FirstName;
// Set the last name to the approval form's TargetPerson.LastName property
person.LastName = CurrentWorkflow.Form_TargetPerson.LastName;
// Set the middle name to the approval form's TargetPerson.MiddleName property
person.MiddleName = CurrentWorkflow.Form_TargetPerson.MiddleName;
- Next, enter the following code to create an instance of the OperationExecutionSummary to return the results of the operation to the workflow user.
OperationExecutionSummary opExecutionSummary = (OperationExecutionSummary) Parameters[person.ResourceID.ToString()];
opExecutionSummary.OperationExecuted = person.Update();
CurrentWorkflow.OperationExecuted = CurrentWorkflow.OperationExecuted || opExecutionSummary.OperationExecuted;
Parameters[person.ResourceID.ToString()] = opExecutionSummary;
- Save your changes.
info
To have your changes take effect in EmpowerID, be sure to compile and publish any new or edited Operation activities.
Compile and Publish Activity
- Click the Compile and Publish button in the Workflow Studio toolbar located above the Activity Designer.
- In the Publish Workflow wizard that appears, click the Next button.
- Select the host server and click Next.
- Click Next again to begin compiling the activity. Upon a successful compilation, Workflow Studio publishes the activity.
- Select Yes when prompted to restart one or more services.
- In the Active Services window that appears, make sure the EmpowerID Web Role Service is selected and click Restart.
- Click No when prompted to restart Workflow Studio.