Create Operation Activities
Operation activities are activities you add to EmpowerID workflows to protect the actions of the workflow against unauthorized access. In this tutorial we demonstrate how to create a Single Multi-Operation Resource Activity. This type of Operation activity allows you to define multiple operations for use in workflows where only one resource type is affected.
What You'll Learn
In this tutorial, you will:
- Create a Single Multi-Operation Resource Activity
- Select the appropriate resource type for protection
- Configure the operation category and description
- Choose the operation base type
- Link a form to the operation activity
- Save the operation activity to a package
Prerequisites
caution
This tutorial assumes you are familiar with basic Workflow Studio navigation and understand EmpowerID's authorization framework concepts. If you plan to use a custom form with your operation activity, you must publish the form before starting this tutorial.
Create Operation Activity
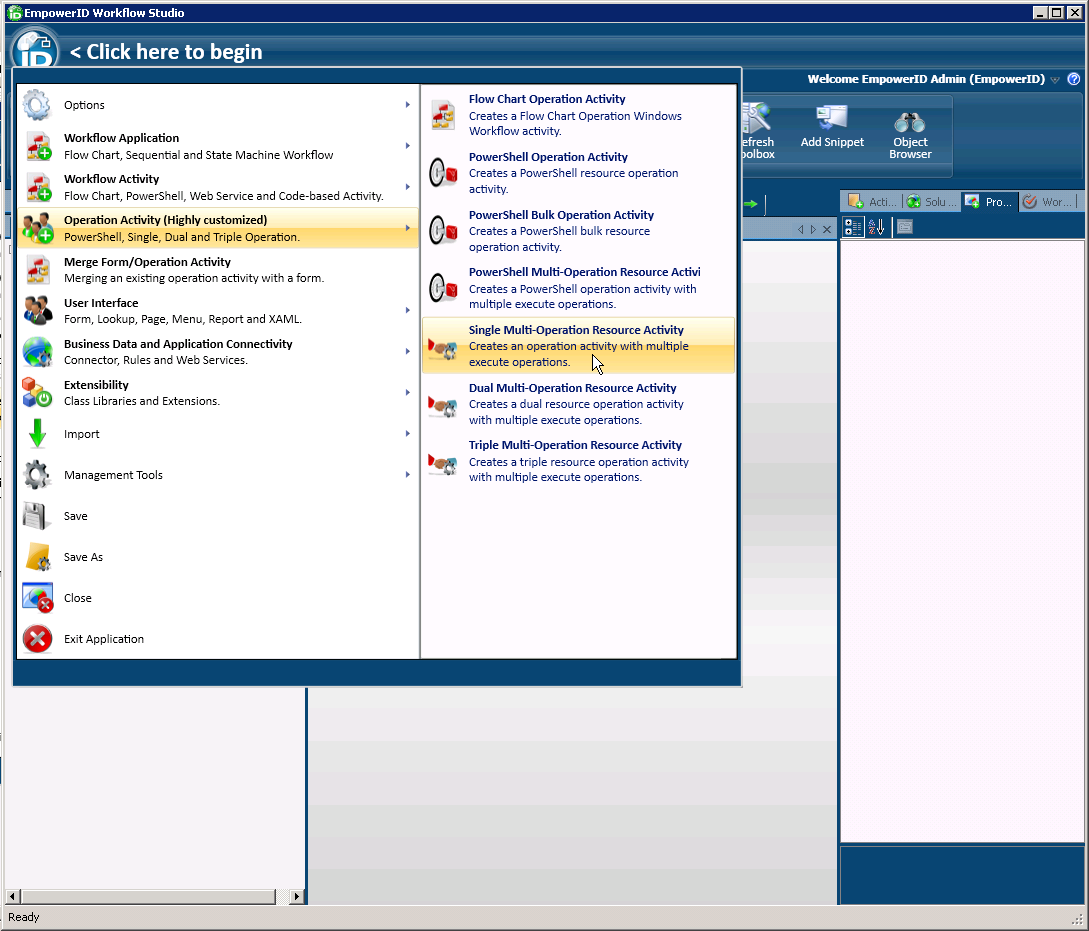
- From the Workflow Studio application menu, select Operation Activity > Single Multi-Operation Resource Activity.
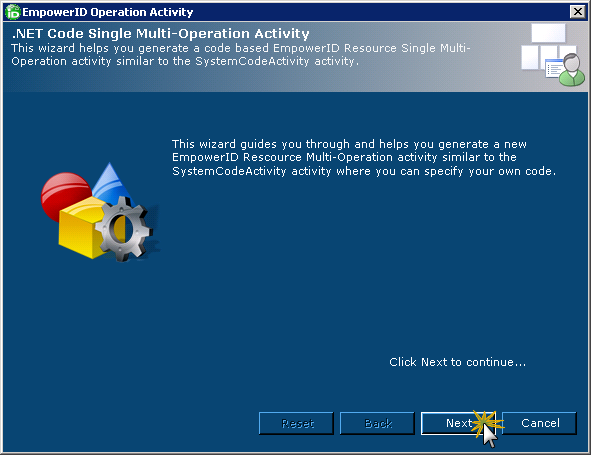
- In the EmpowerID Operation Activity wizard that appears, click Next.
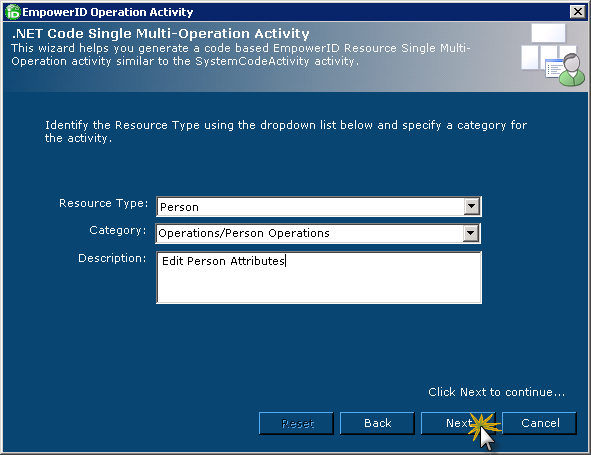
- From the EmpowerID Operation Activity wizard, do the following:
- Select the resource type the Operation activity will be used to protect from the Resource Type drop-down.
- Enter
Operations/<Component> Operationsinto the Category box, where<Component>is the resource type you selected from the Resource Type drop-down. - Enter any desired descriptive text for the activity into the Description field and click Next.
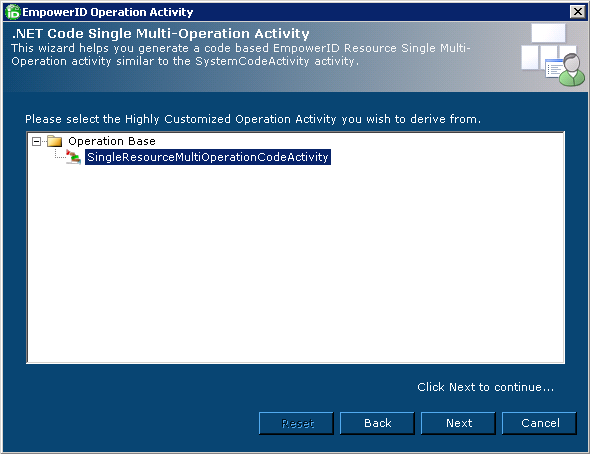
- Under Operation Base, click SingleResourceMultiOperationCodeActivity and then click Next.
- From the wizard, select the form that should be used when approvals are required and click Next. This links the form to the Operation activity. If you are using a custom form, you must first publish the form before it will appear in the wizard.
 This adds the Operation activity to the Workflow Studio Activity Designer and opens the Save Workflow dialog.
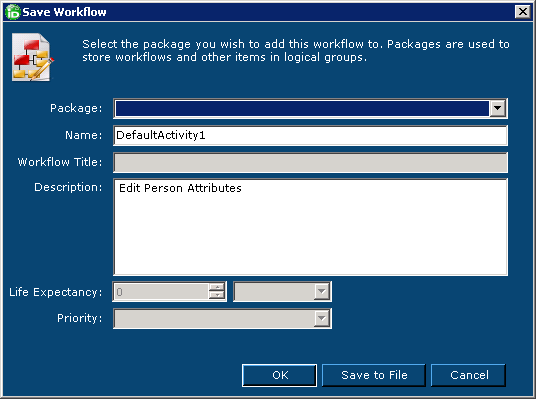
- In the Save Workflow dialog, select a package for the activity from the Package drop-down, type a name in the Name field and then click OK.