Change the Default Product Name
You can customize the product name displayed throughout EmpowerID by updating the value of the ProductName locale key. Changing this value updates visible labels across the UI such as titles, page headers, and other areas where the default product name appears.
You must have access to the Admin section of the Web interface to complete this procedure.
Change the default product name
-
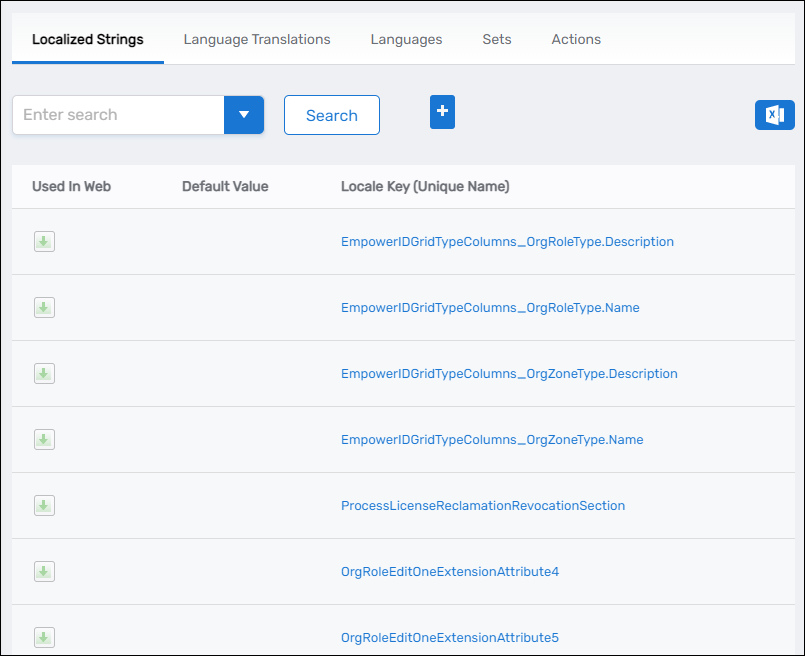
On the navbar, go to Admin > Miscellaneous > Localized Text.
This opens the Locale Key Entry page.
-
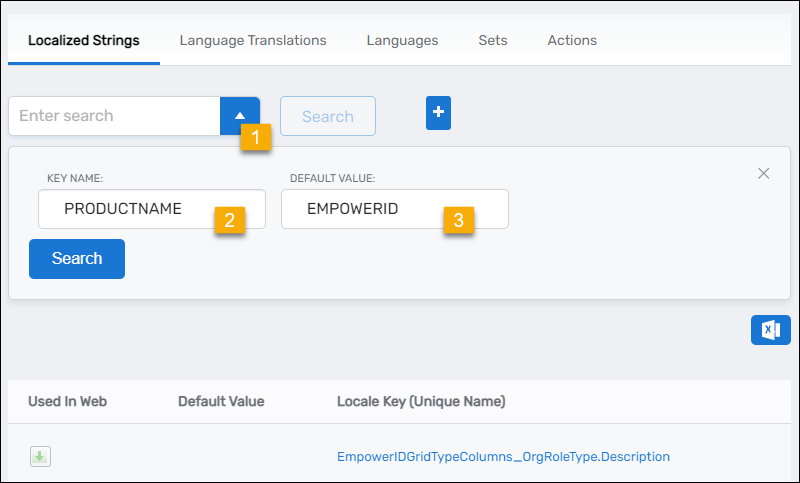
On the Localized Strings tab, open the Advanced Search panel and enter:
- Key Name:
ProductName - Default Value:
EmpowerID
- Key Name:
-
Click Search.
-
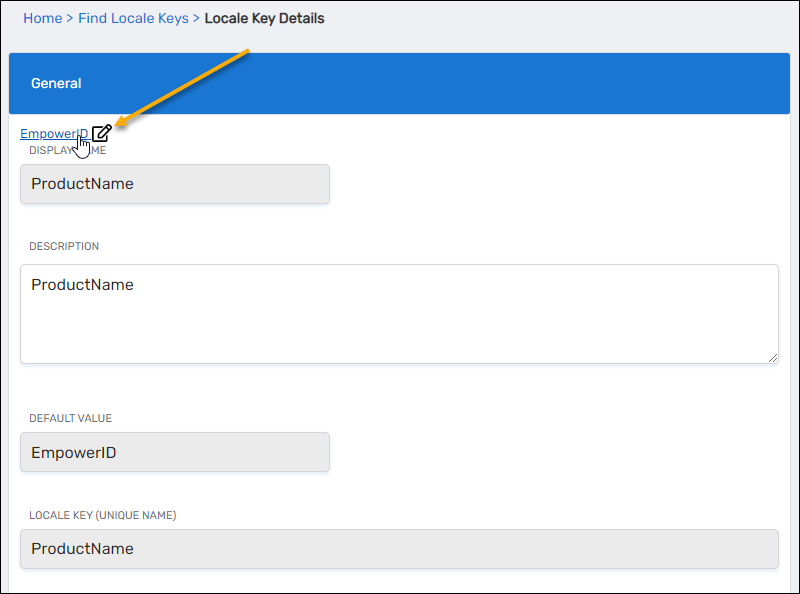
In the search results, click the Locale Key (Unique Name) link.
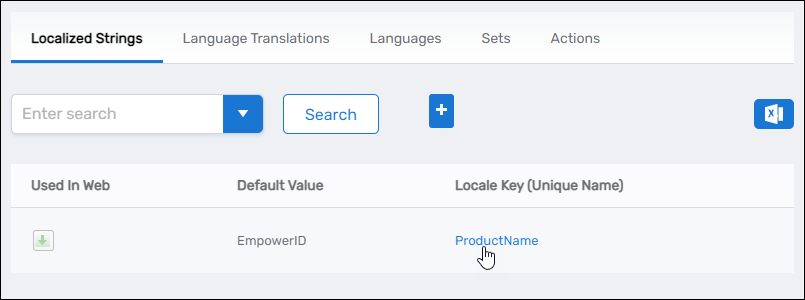
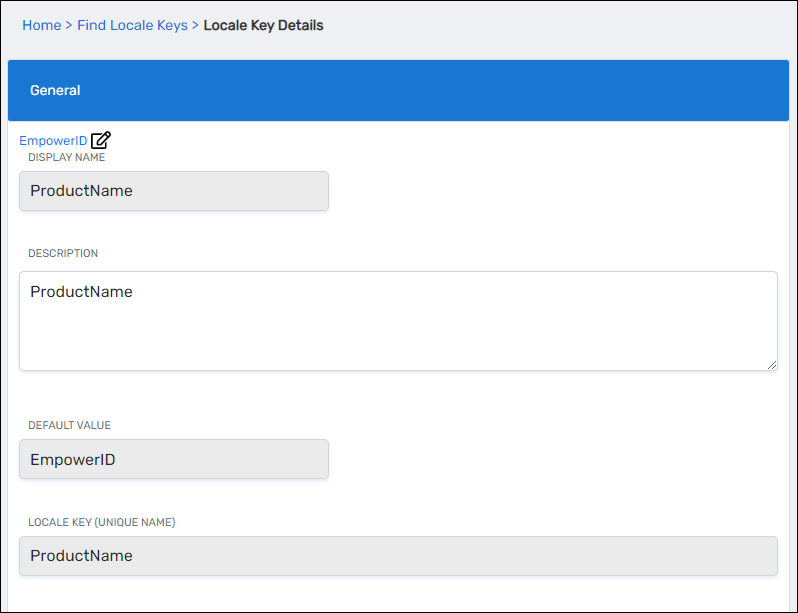
This opens the Locale Key Details page.
-
Click Edit for the key.
-
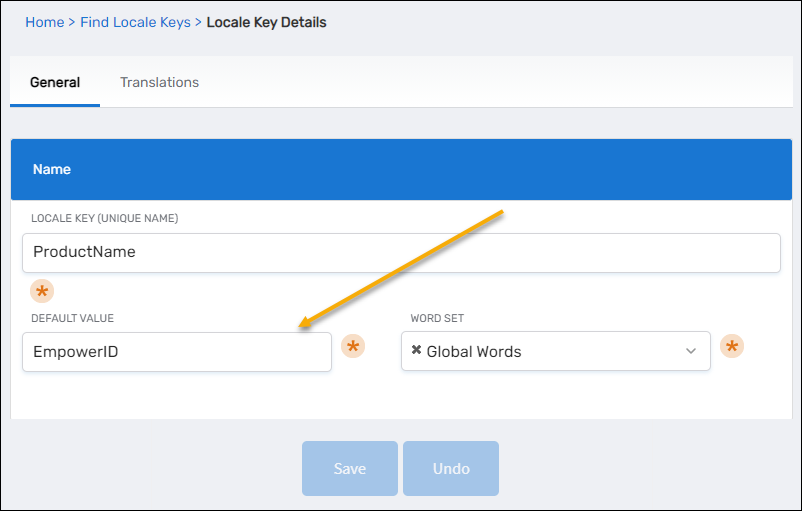
Update the Default Value to the new product name you want displayed throughout EmpowerID, then click Save.
-
To apply the change, go to IT Shop > Workflows and run the Recycle EmpowerID AppPools workflow.
This initiates a controlled recycle so the updated text is loaded across the application. -
After the recycle completes, refresh your browser.
You should now see the updated product name throughout the UI.