Edit IAM Shop Settings for a Client Secret
As an application owner or delegated administrator, you can configure how a Microsoft Entra client secret appears in the IAM Shop, EmpowerID's self-service interface. These settings control the credential's display name, visibility, category, and description.
Steps to Edit IAM Shop Settings for a Client Secret
-
Log in to the Resource Admin portal.
-
In the Resource Type menu, select Applications and search for the Microsoft Entra application containing the client secret.
-
Click the Details button for the application.
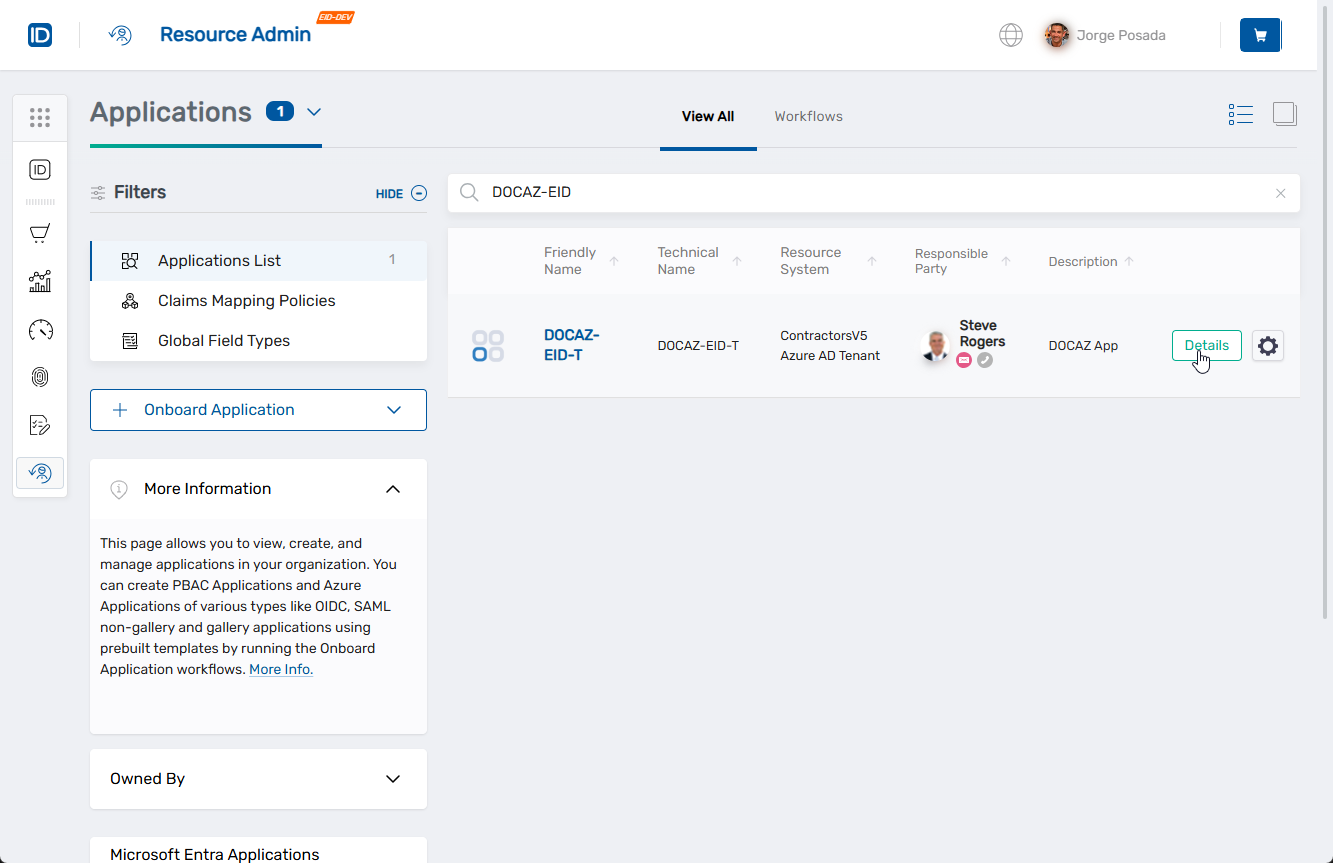
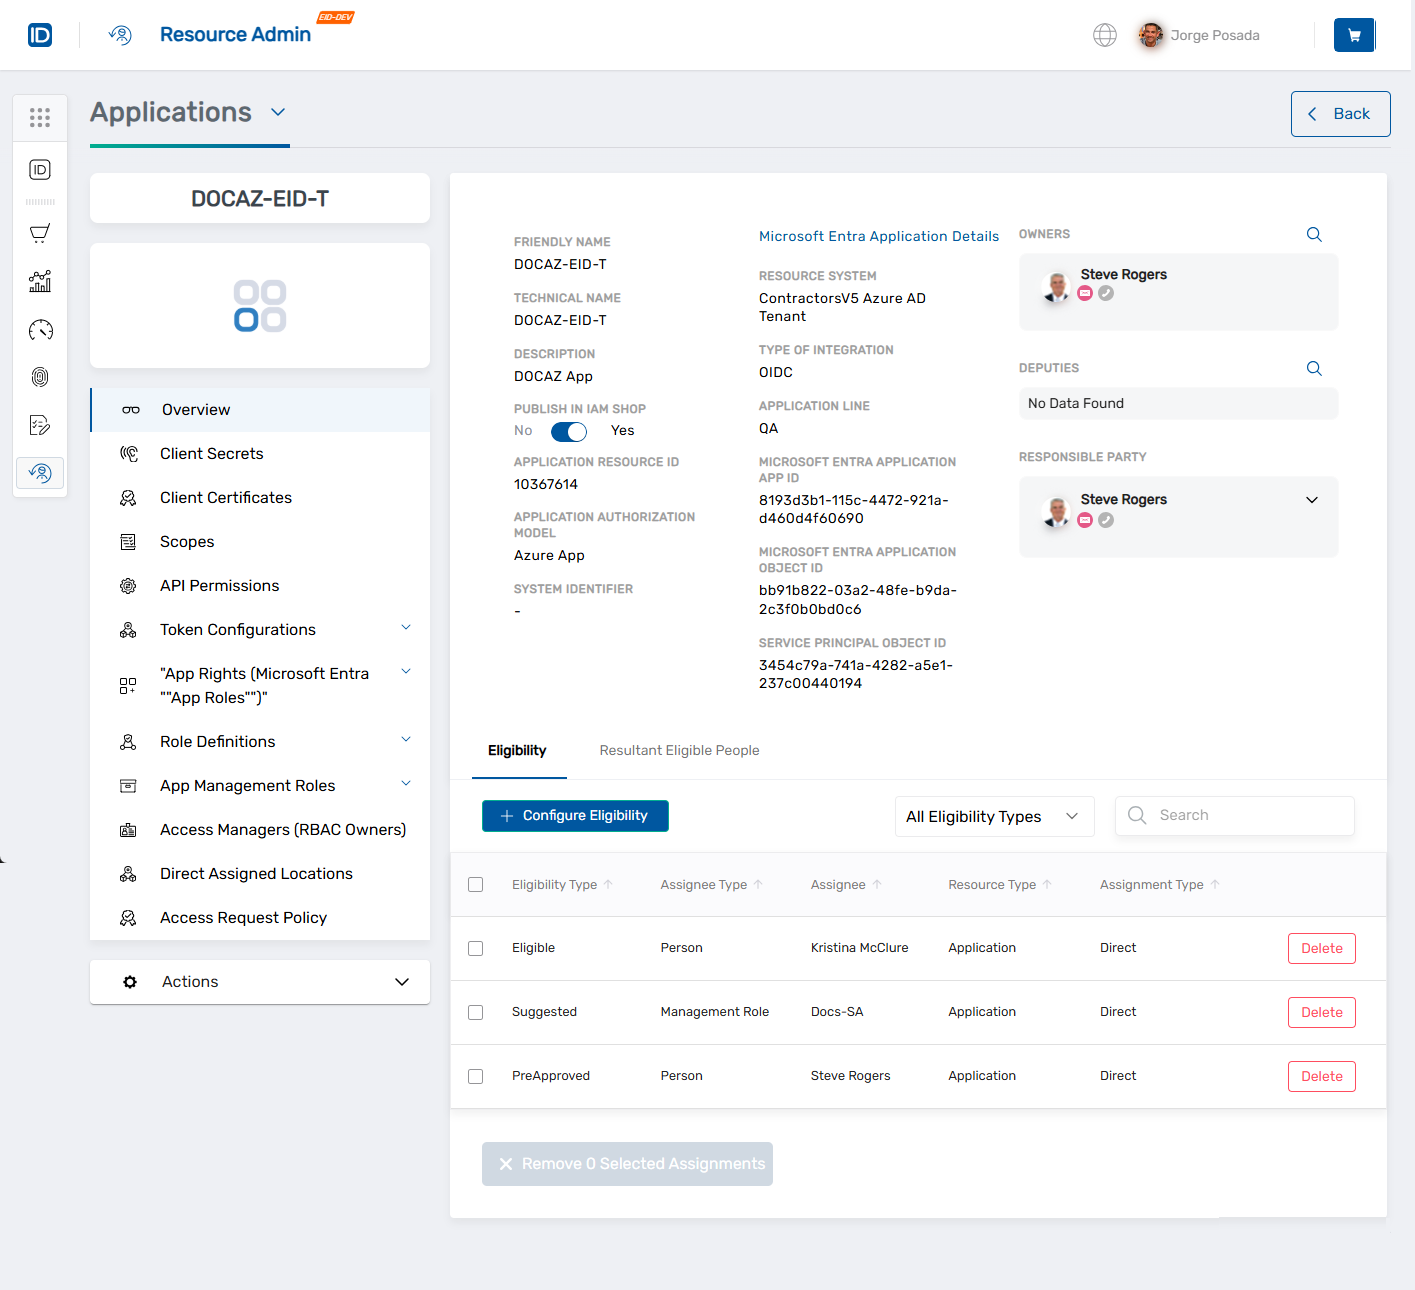
This opens the Overview page for the selected Azure application.
-
In the left application menu, click Client Secrets.
-
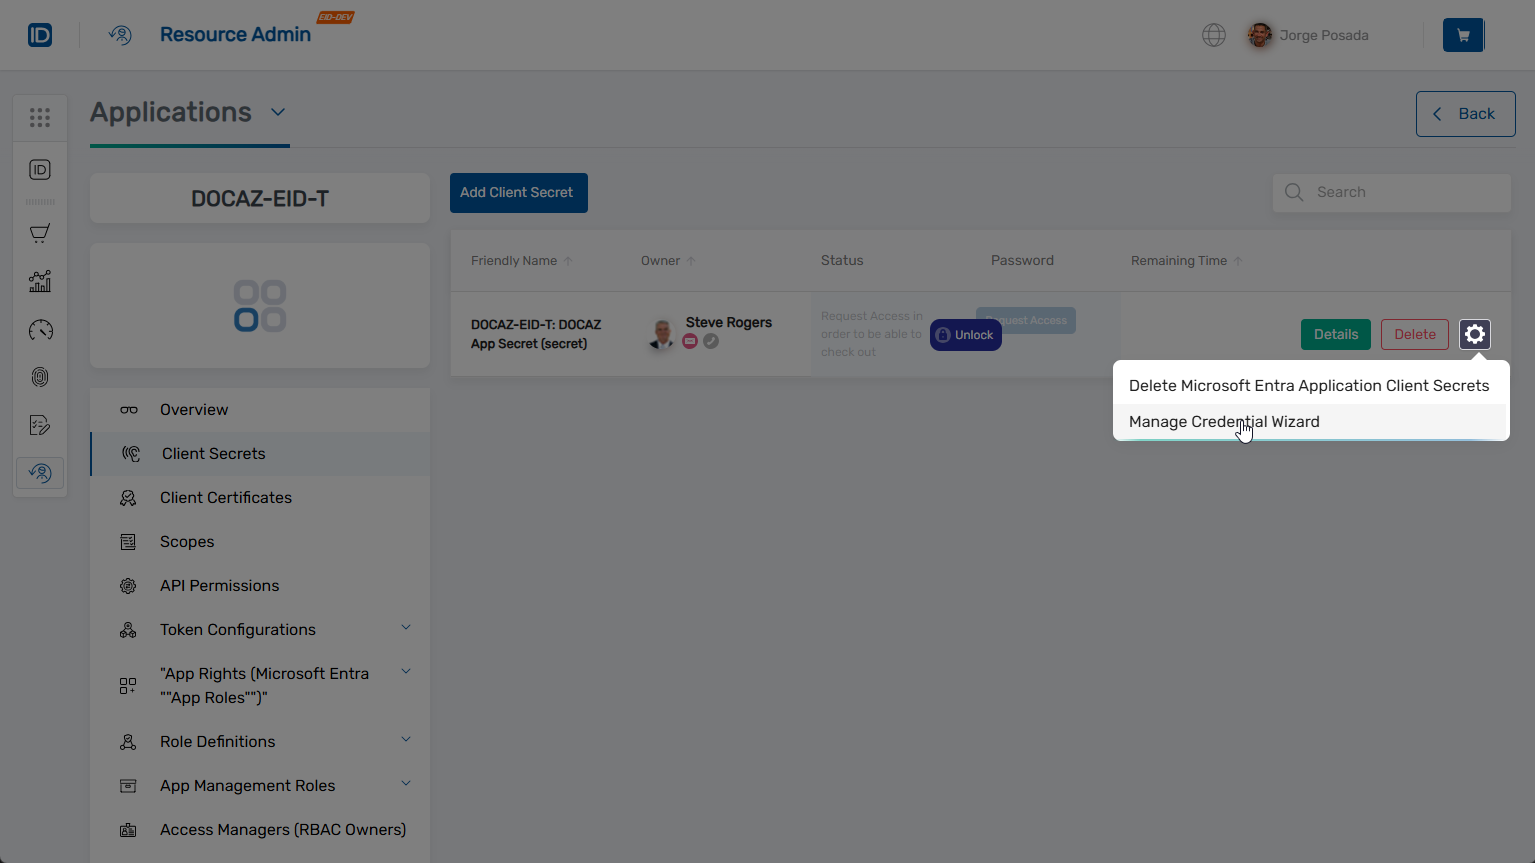
Locate the client secret you want to configure.
-
Click the gear icon on the secret and select Manage Credential Wizard.
-
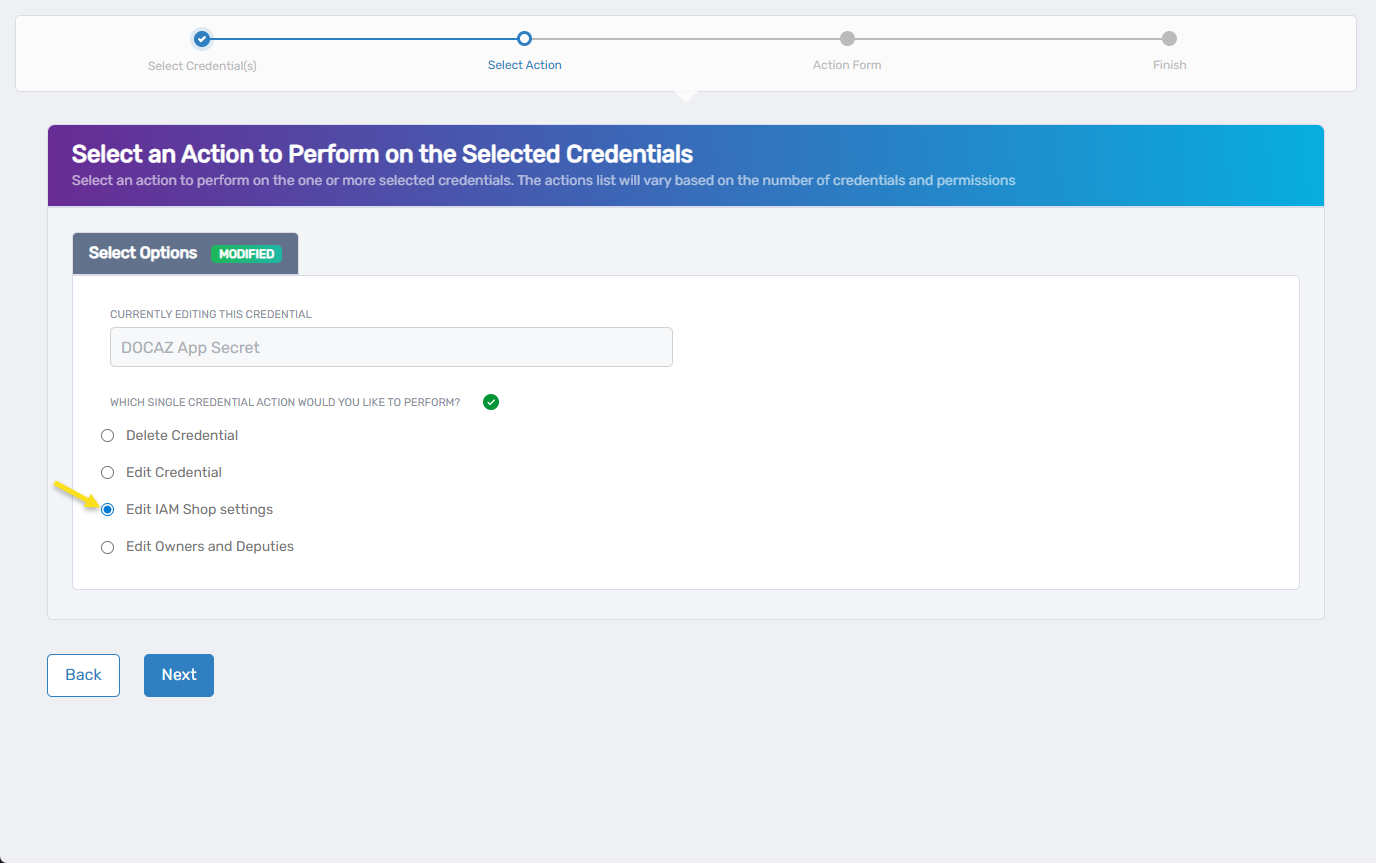
Under Select Options, choose Edit IAM Shop Settings.
-
Click Next.
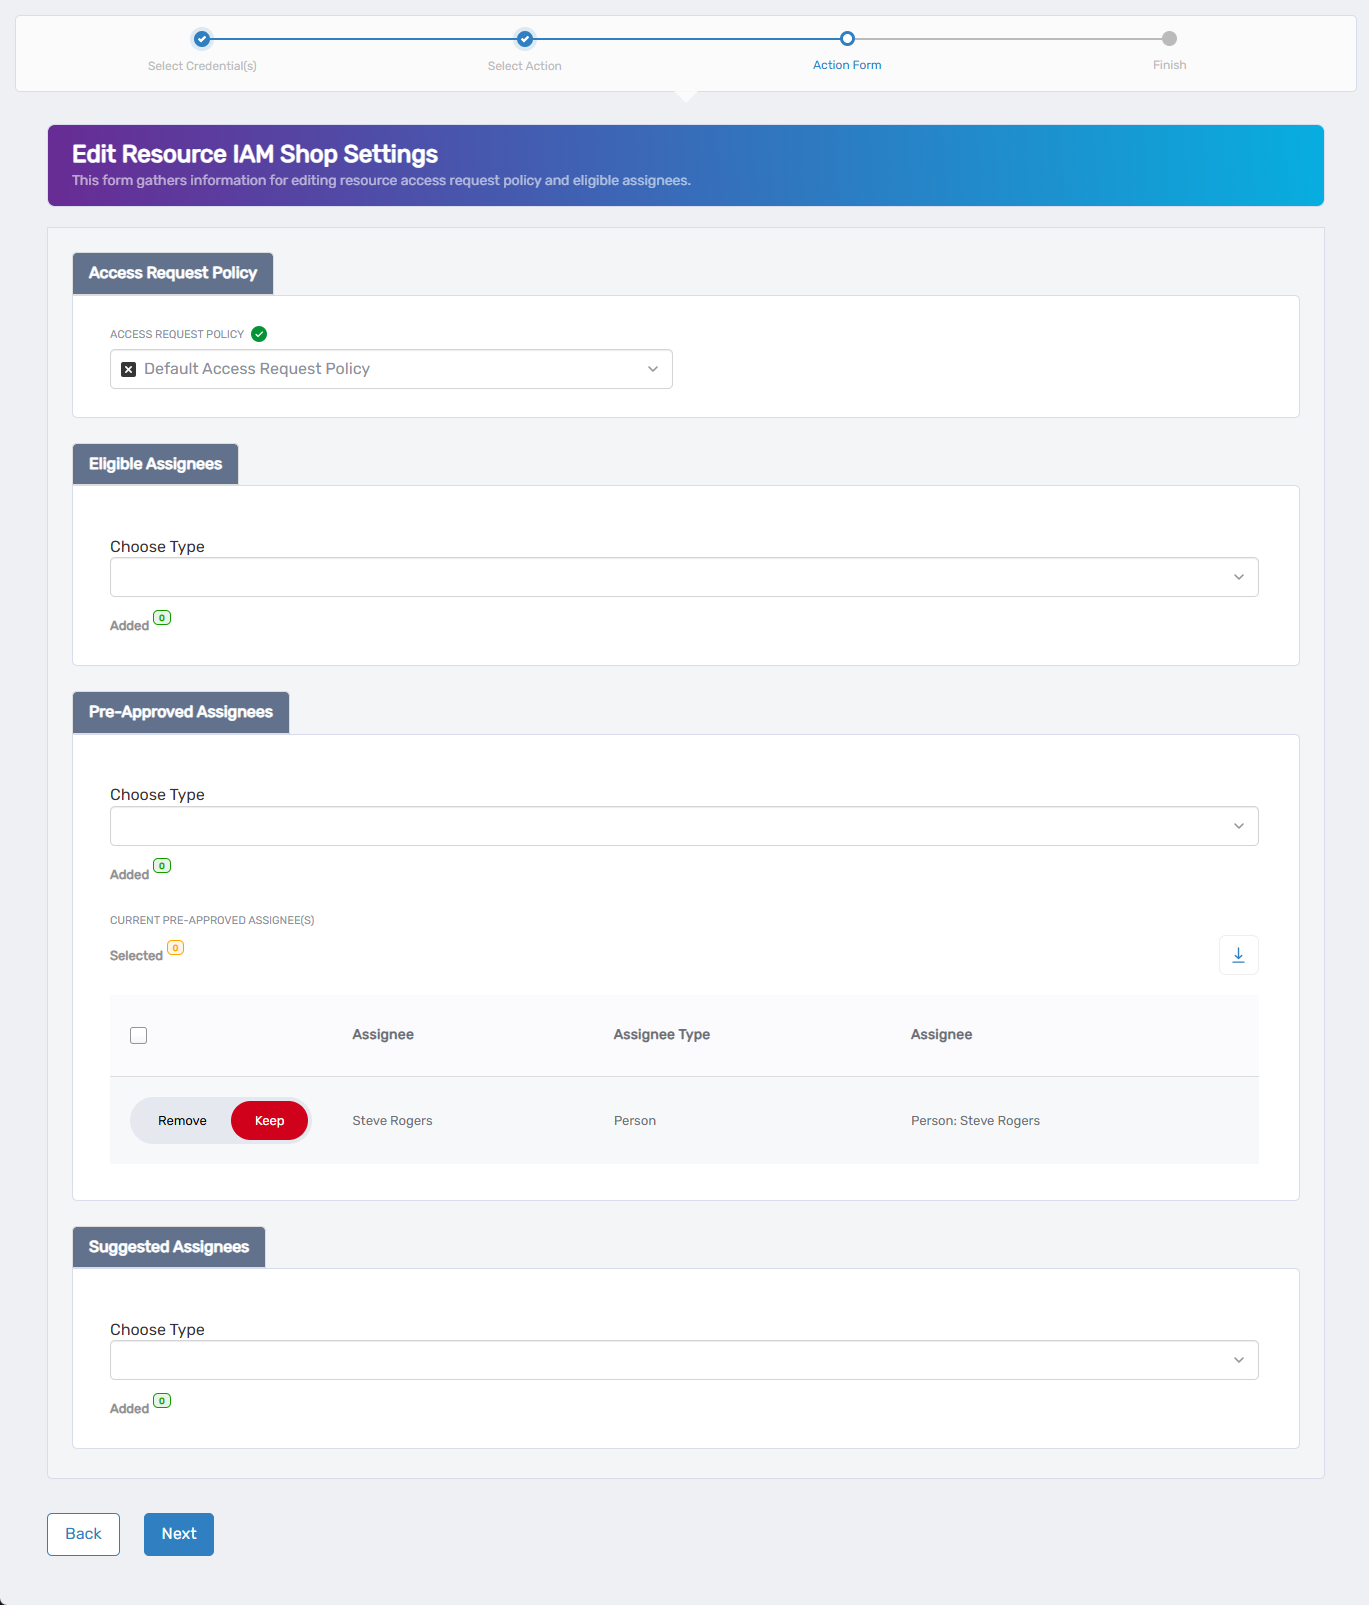
The wizard opens the Edit IAM Shop Settings for This Credential form, where you can manage how access is requested, who can request it, and who is pre-approved.
-
Under Access Request Policy, click the X next to the existing policy to remove it (if present), then search for and select the appropriate policy that defines the access workflow for this secret.
-
Under Eligible Assignees:
- To add: choose an assignee type from the Choose Type dropdown, search for and select the appropriate person, group, or role, click Add, and repeat as needed.
- To remove: locate the assignee in the list and toggle the Keep switch to Remove.
Eligible assignee types include: Person, Group, Set Group, Management Role, Management Role Definition, Business Role and Location.
-
Under Pre-Approved Assignees:
- To add: choose an assignee type from the Choose Type dropdown, search for and select the appropriate assignee, click Add, and repeat to add additional users or roles as needed.
- To remove: locate the assignee in the table and toggle the Keep switch to Remove.
Pre-approved assignee types are the same as eligible assignees.
-
Under Suggested Assignees:
- To add: choose an assignee type from the Choose Type dropdown, search for and select the desired user, group, or role, click Add, and repeat to add others.
- To remove: locate the record in the assignee table and toggle Keep to Remove.
Suggested assignee types match those used for eligible and pre-approved assignees.
-
Review the Operation Execution Summary confirming the changes.
-
Click Submit to continue.
-
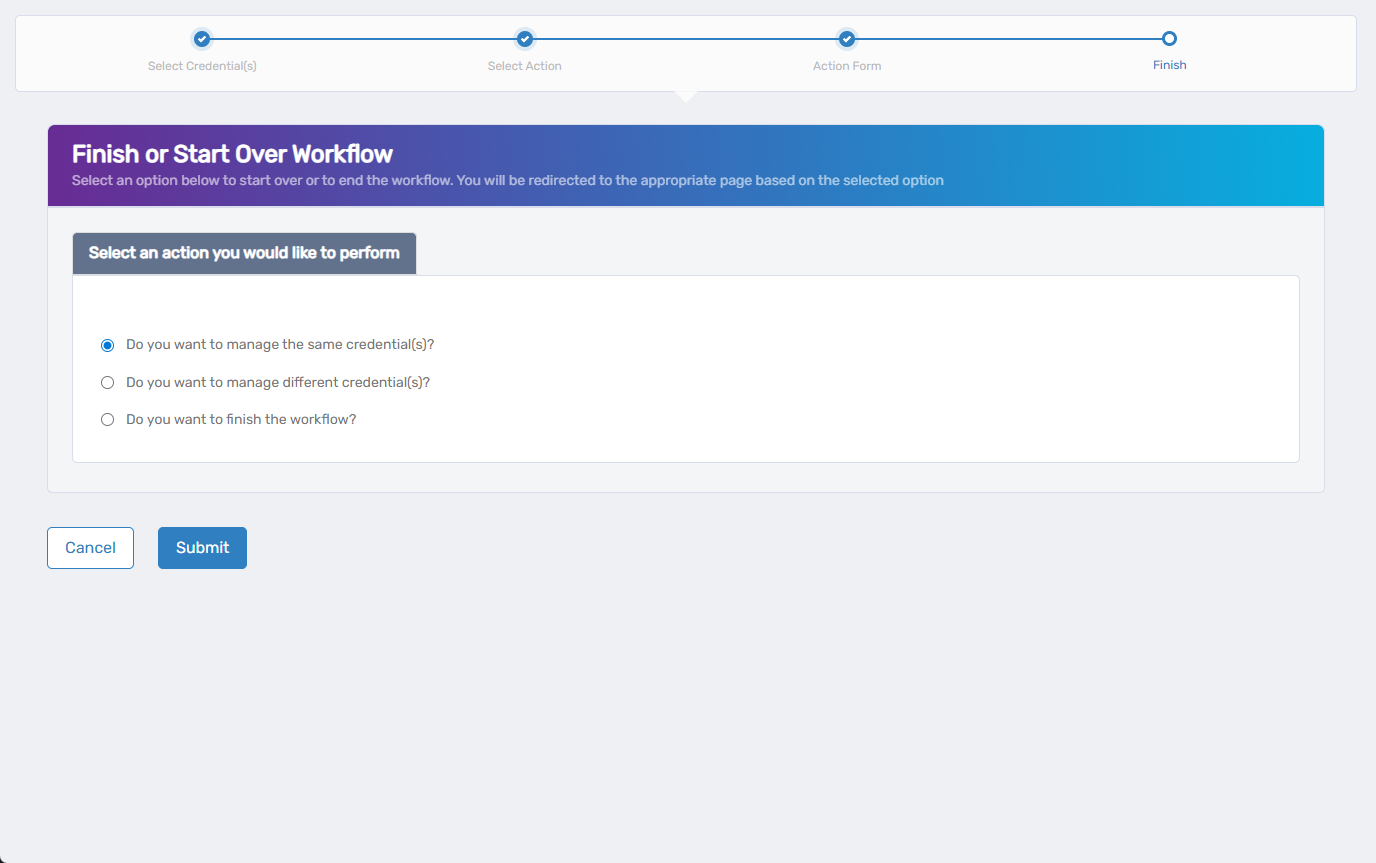
On the Finish or Start Over Workflow screen, choose one of the following:
- Manage the same credential(s)
- Manage different credential(s)
- Finish the workflow
-
Click Submit to complete your selection.
What Happens Next
- IAM Shop access governance settings for the client secret are updated.
- Eligible users can now see and request access to the secret.
- If any pre-approved or suggested assignees were added, those are now reflected in the IAM Shop.
- All updates are logged for audit purposes.