Activating and Deactivating Attributes
This guide provides step-by-step instructions for activating and deactivating Custom Security Attributes in EmpowerID. Deactivation temporarily disables attributes without deleting them or their configurations, while activation restores them for use.
When an attribute is deactivated:
- It is no longer available for new assignments
- Existing assignments remain intact
- The attribute does not appear in IAM Shop or assignment interfaces
- Configuration and predefined values are preserved
- It does not count against the maximum attribute limit
Prerequisites
Before activating or deactivating attributes, ensure:
- Attributes have been created within an attribute set
- The Microsoft Entra account store connection is active
Deactivate Attributes
Deactivation temporarily disables attributes without deleting their configuration or historical assignments.
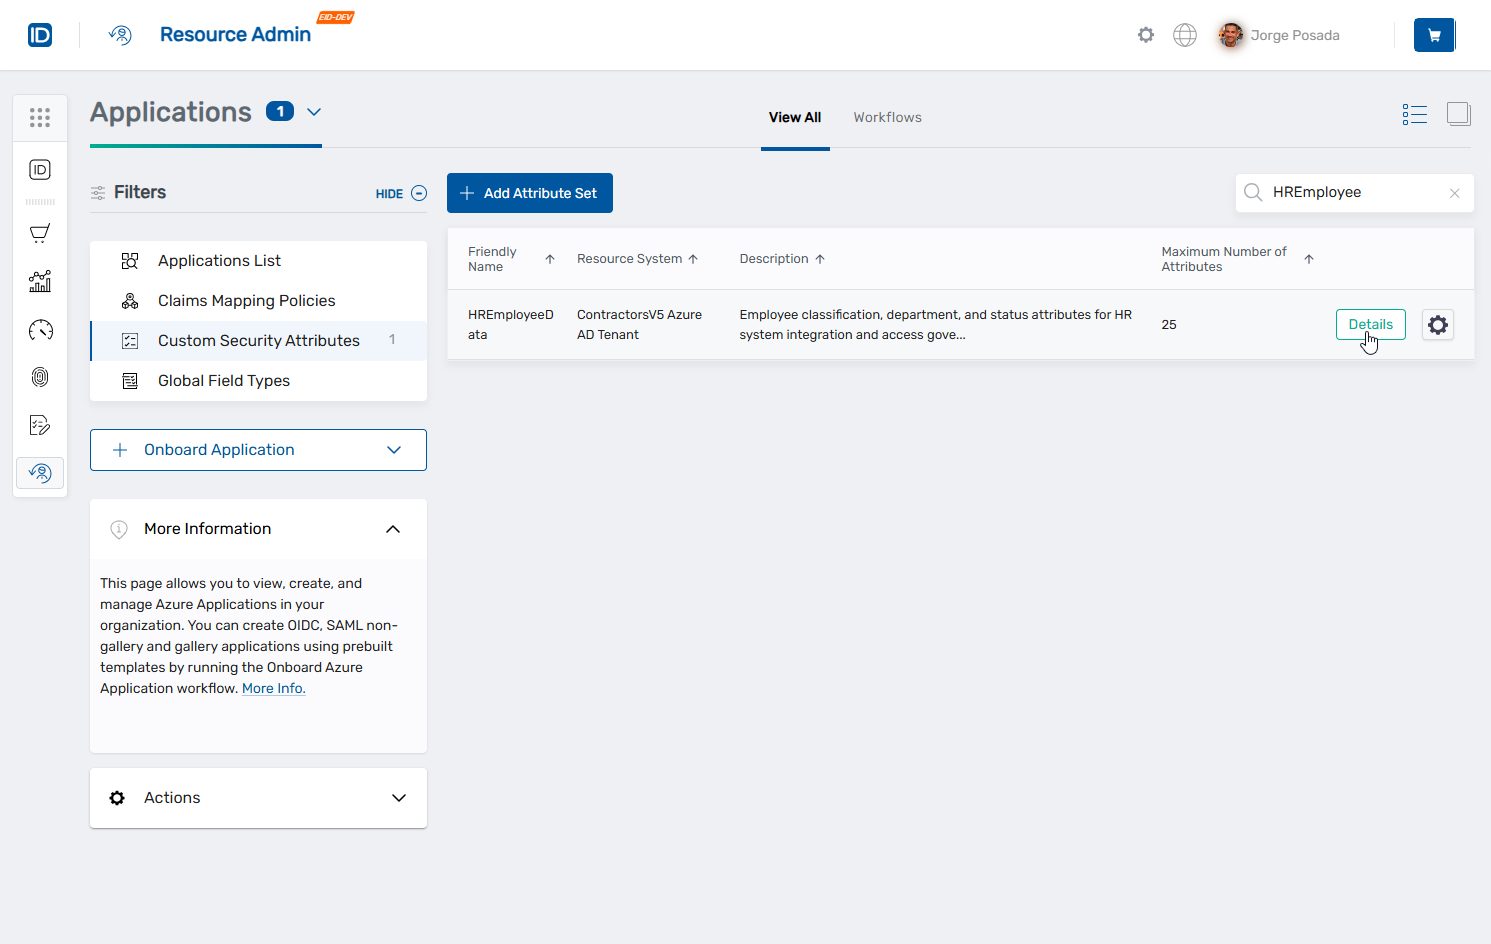
- Navigate to Resource Admin → Applications → Custom Security Attributes.
- Search for and click the Details button for the desired attribute set.
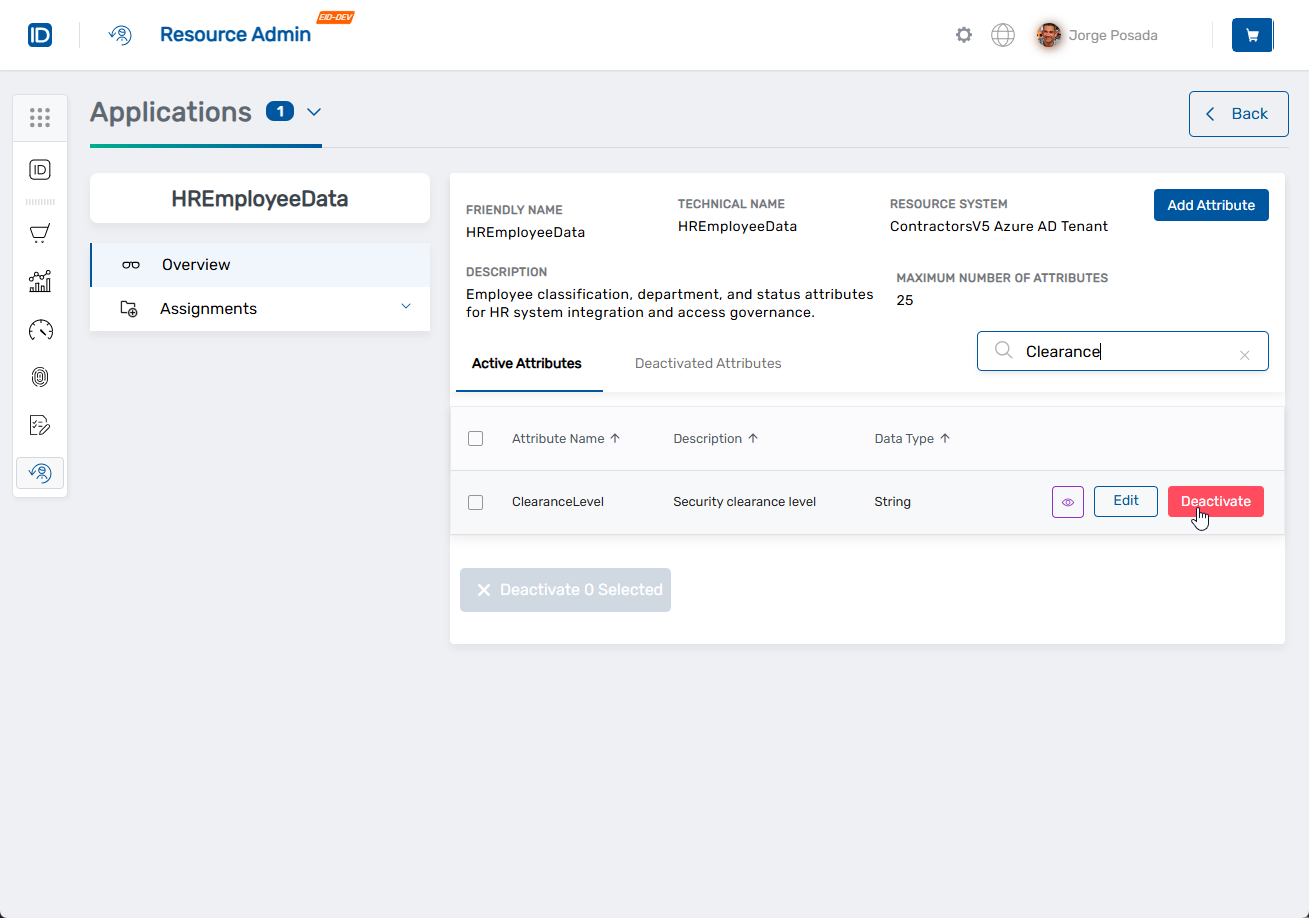
- In the Active Attributes list, locate the attribute(s) to deactivate.
- To deactivate a single attribute, click the Deactivate button in the attribute's row.
 OR
OR
To deactivate multiple attributes, select the checkboxes on the left for each attribute, then click the Deactivate X Selected button at the bottom of the list.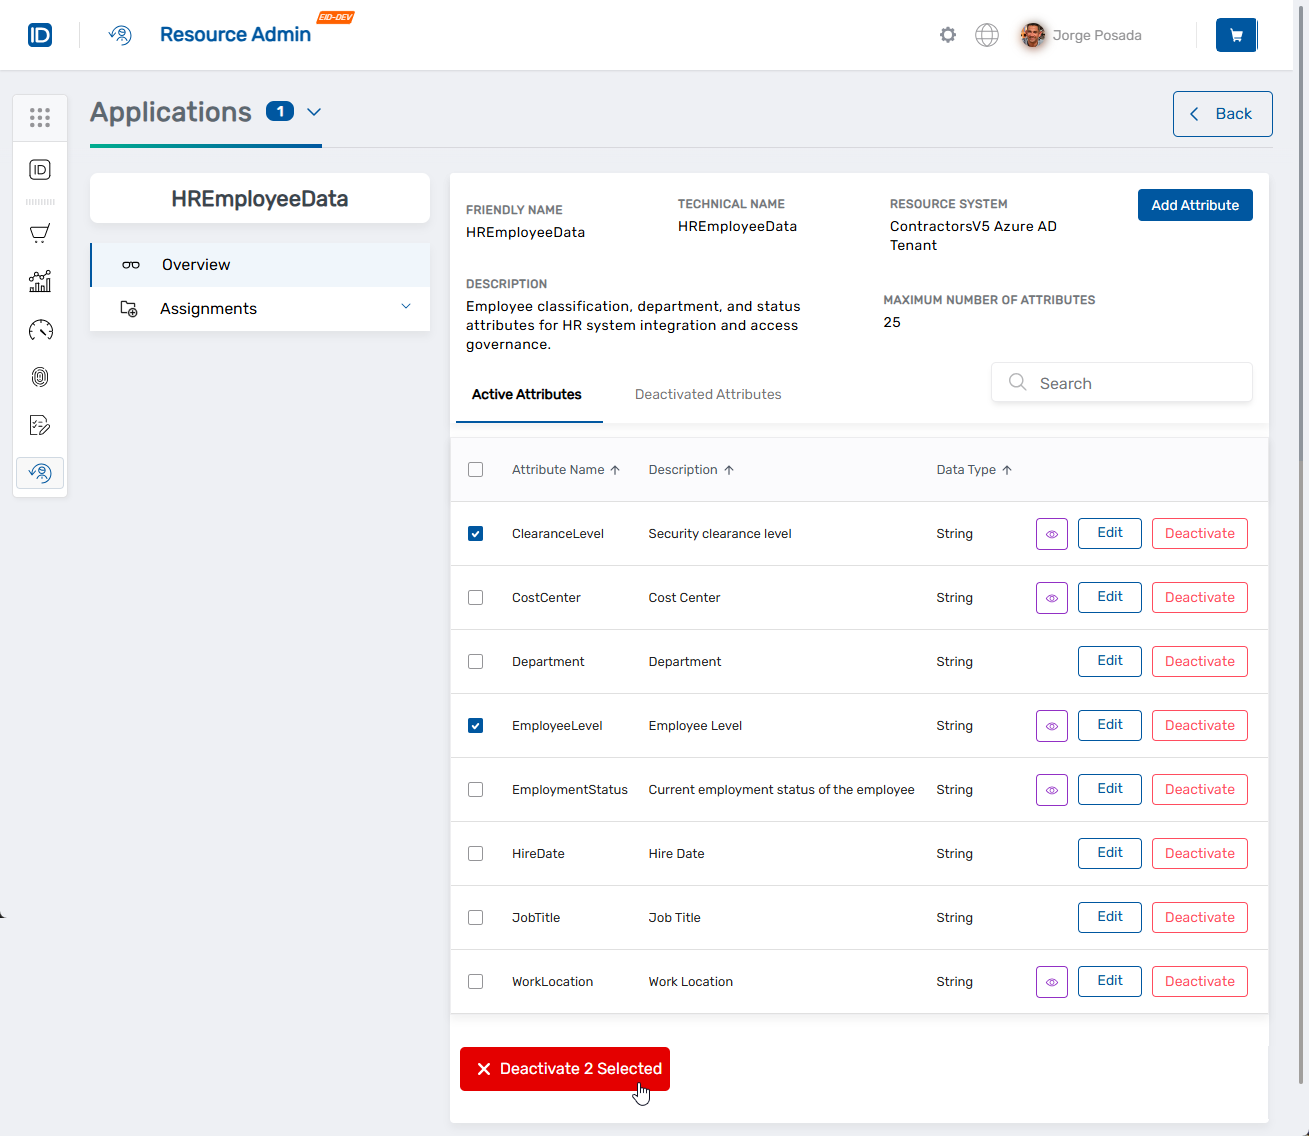
- Confirm the deactivation when prompted.
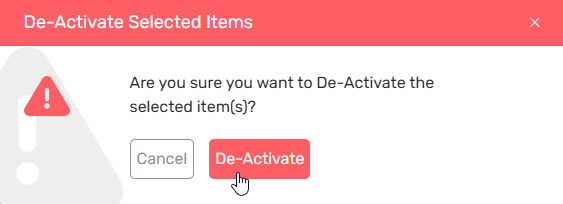 The attribute(s) move to the Deactivated Attributes tab.
Activate Attributes
Reactivate deactivated attributes to make them available for assignment again.
-
Navigate to Resource Admin → Applications → Custom Security Attributes.
-
Search for and click the Details button for the desired attribute set.
-
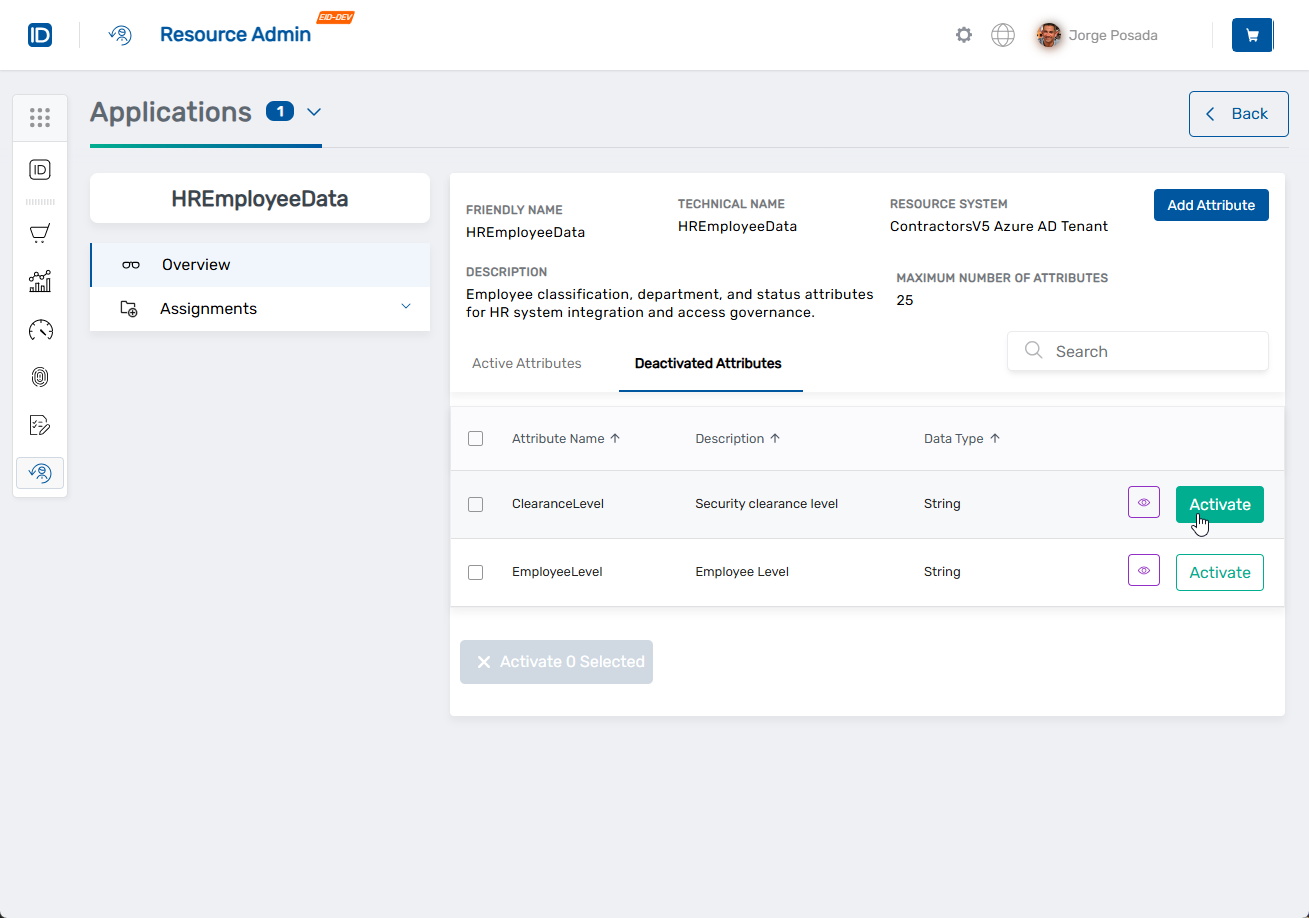
Click the Deactivated Attributes tab.
-
To activate a single attribute, click the Activate button in the attribute's row.
 OR
OR
To activate multiple attributes, select the checkboxes on the left for each attribute, then click the Activate X Selected button at the bottom of the list.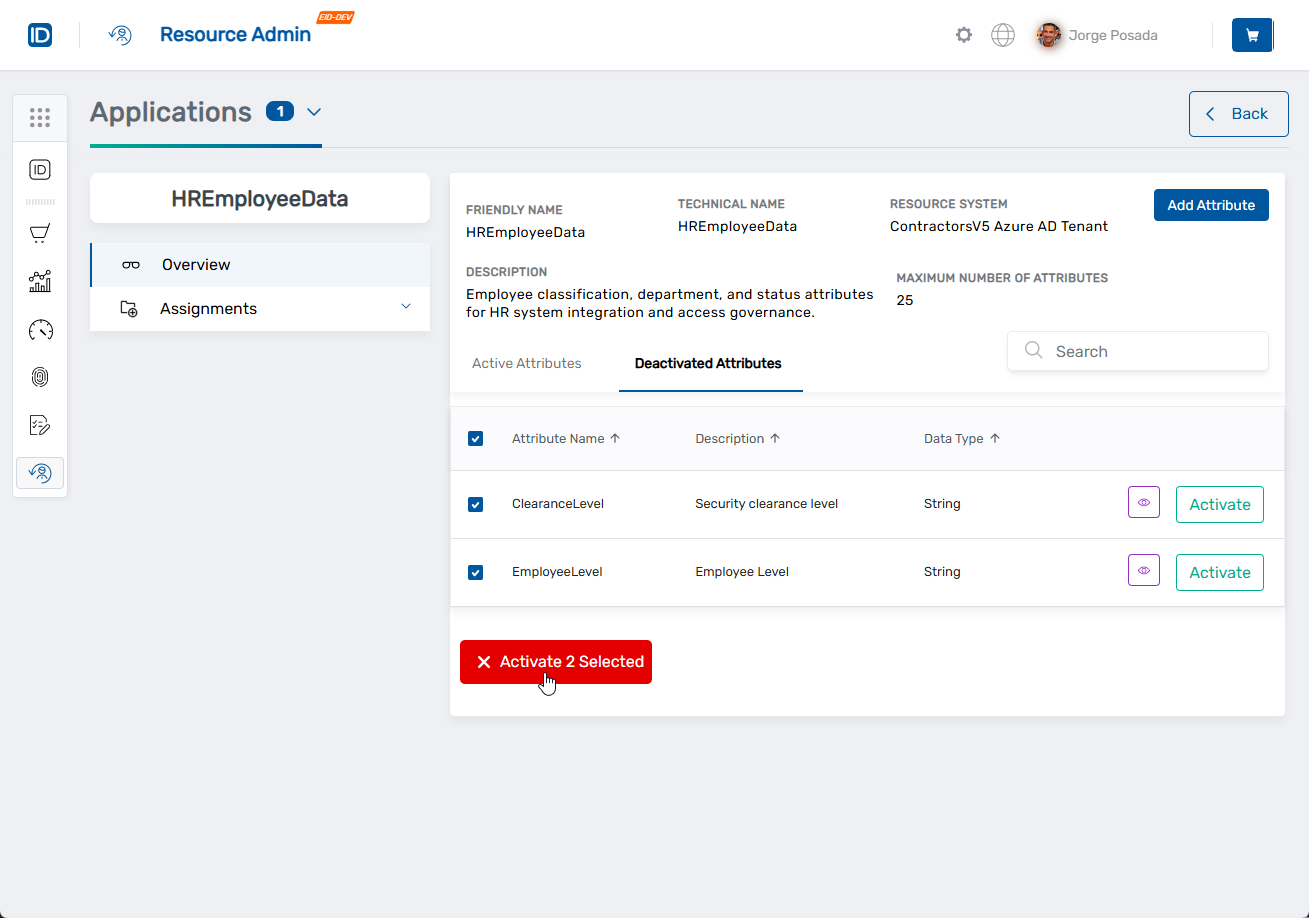
-
Confirm the activation when prompted.
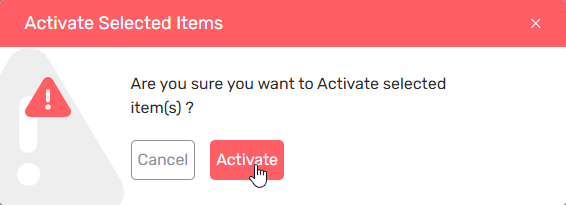
The attribute(s) immediately move back to the Active Attributes list.
Deactivated attributes retain all configuration settings, including:
- Data type and value configuration
- Predefined values
- Eligibility rules
- IAM Shop settings
Reactivation restores the attribute exactly as it was before deactivation.
Next Steps
After activating or deactivating attributes:
- Assign Custom Security Attributes to assign active attributes to users and service principals
- Edit attributes to modify descriptions or manage predefined values
- Review the overview documentation for conceptual information