Configuring Attribute Eligibility
Custom Security Attributes use EmpowerID's standard eligibility framework to control who can view and request attributes in the IAM Shop. Eligibility configuration determines which users can see specific attributes, how they can request them, and whether approval workflows are required.
For a conceptual overview of how eligibility works across all resources in EmpowerID, see Eligibility and the IAM Shop.
Prerequisites
Before configuring eligibility, ensure:
- Attributes have been created within an attribute set
- You have access to edit the attribute
- The Microsoft Entra account store connection is active
Configure Eligibility
-
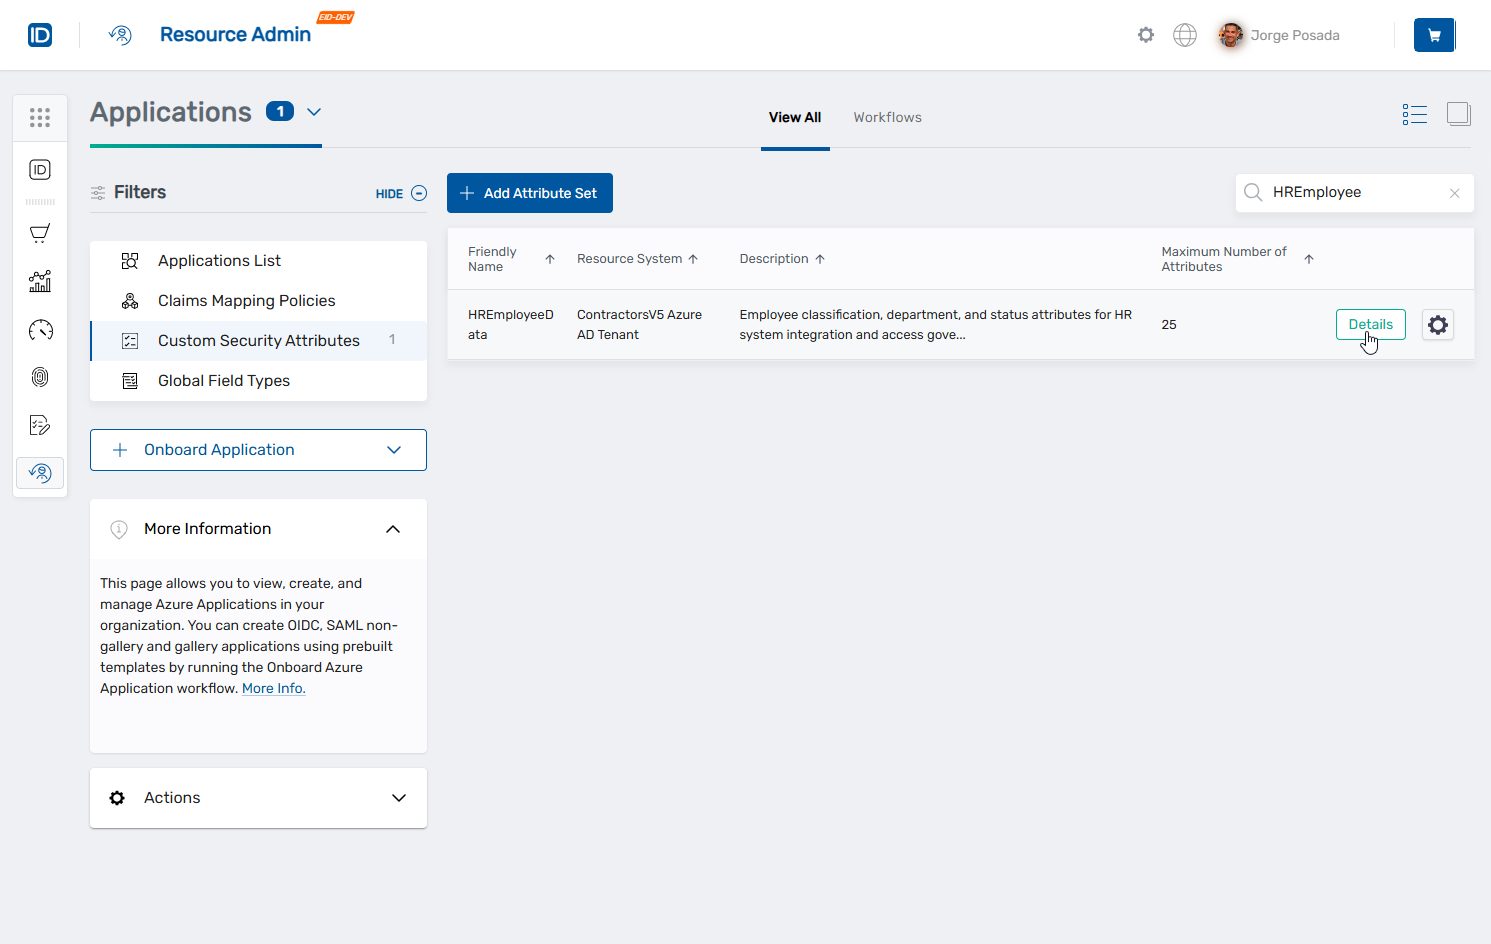
Navigate to Resource Admin → Applications → Custom Security Attributes.
-
Search for the attribute set containing the attribute you want to configure.
-
Click the Details button on the record for the attribute set.
-
In the Active Attributes list, search for the target attribute and click the Edit button on the attribute record.
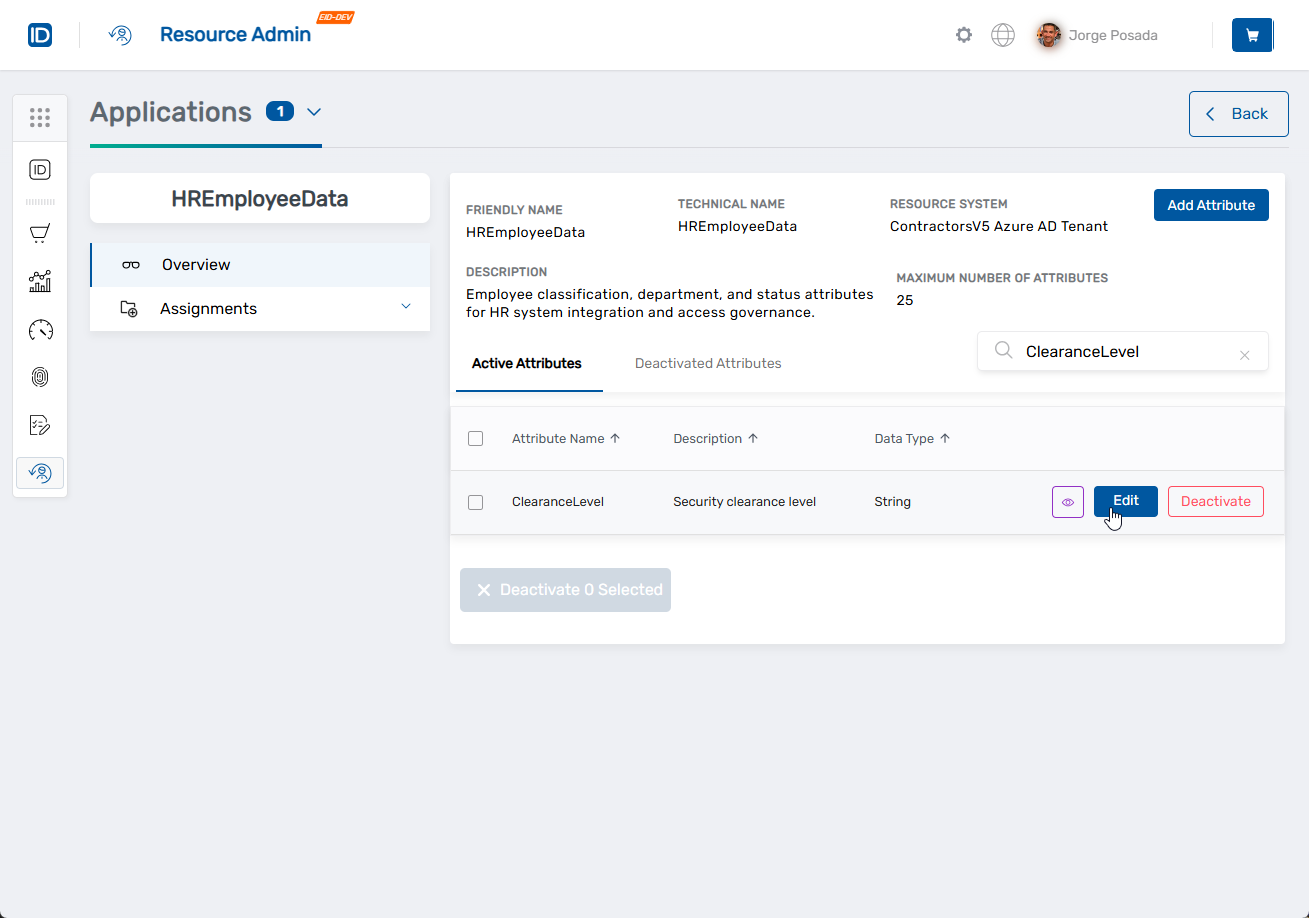
This opens the Details pane for the attribute.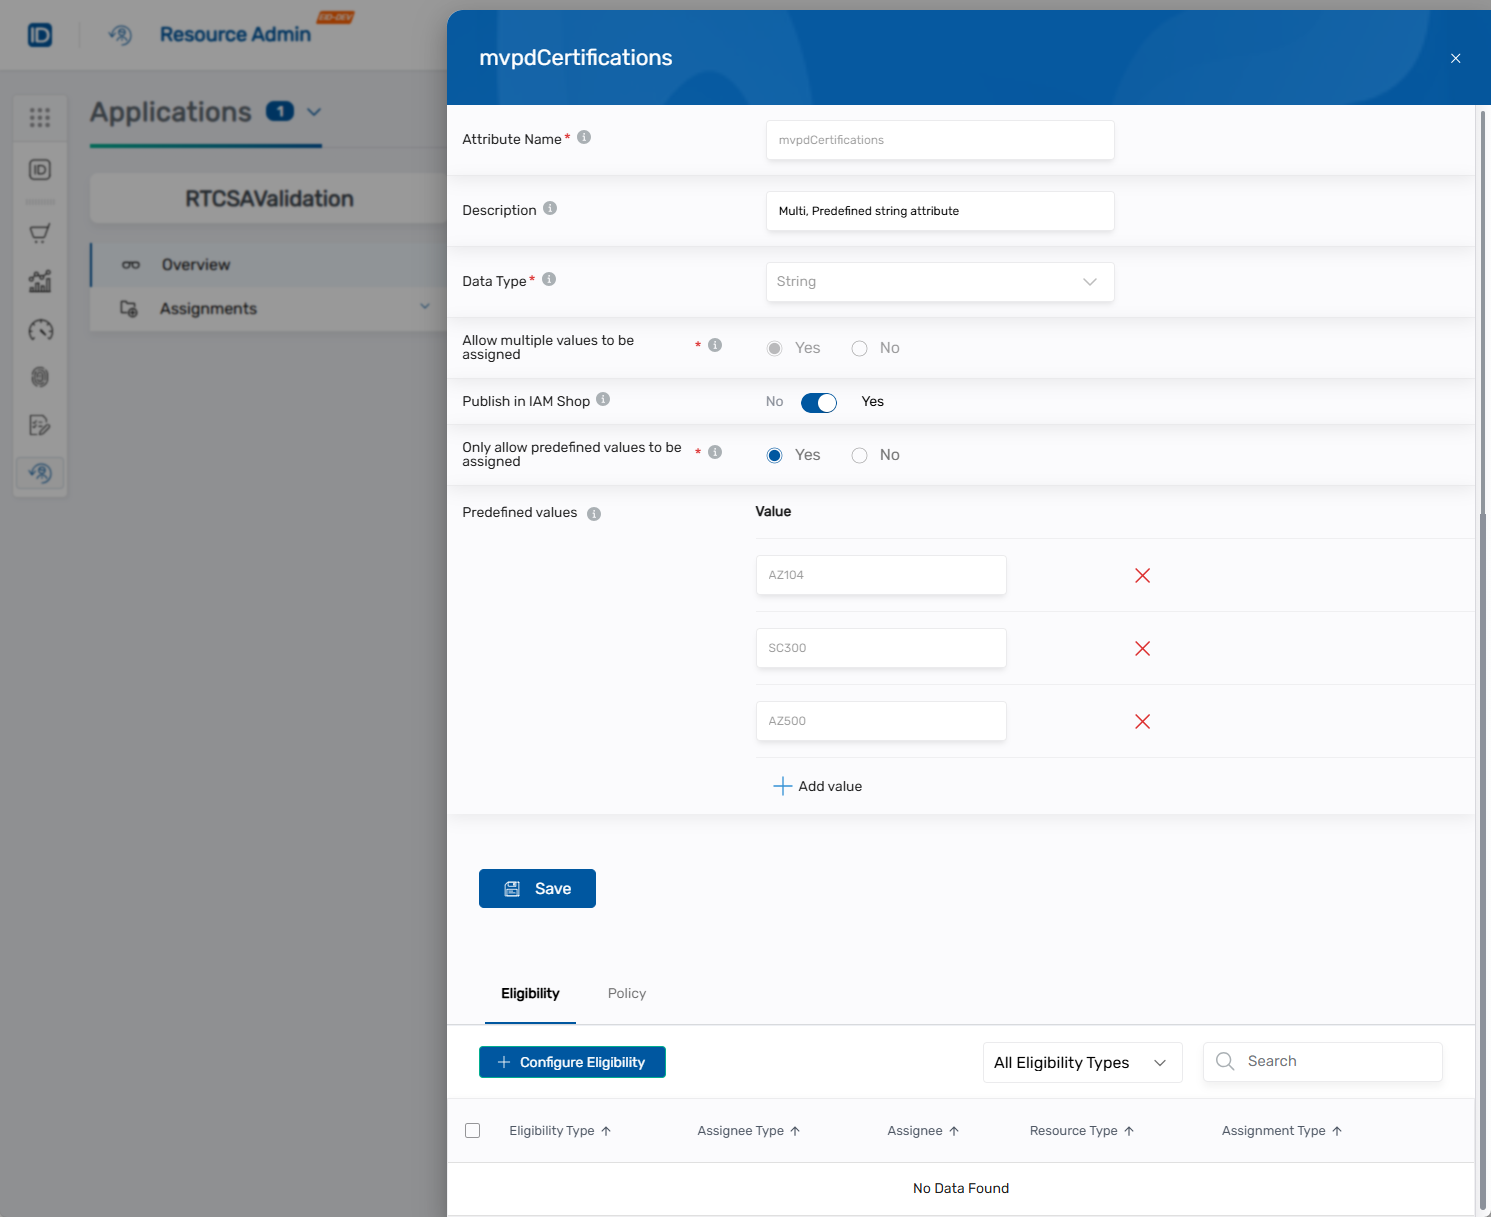
-
Verify Publish in IAM Shop is toggled to Yes.
-
Click the Configure Eligibility button in the Eligibility section.
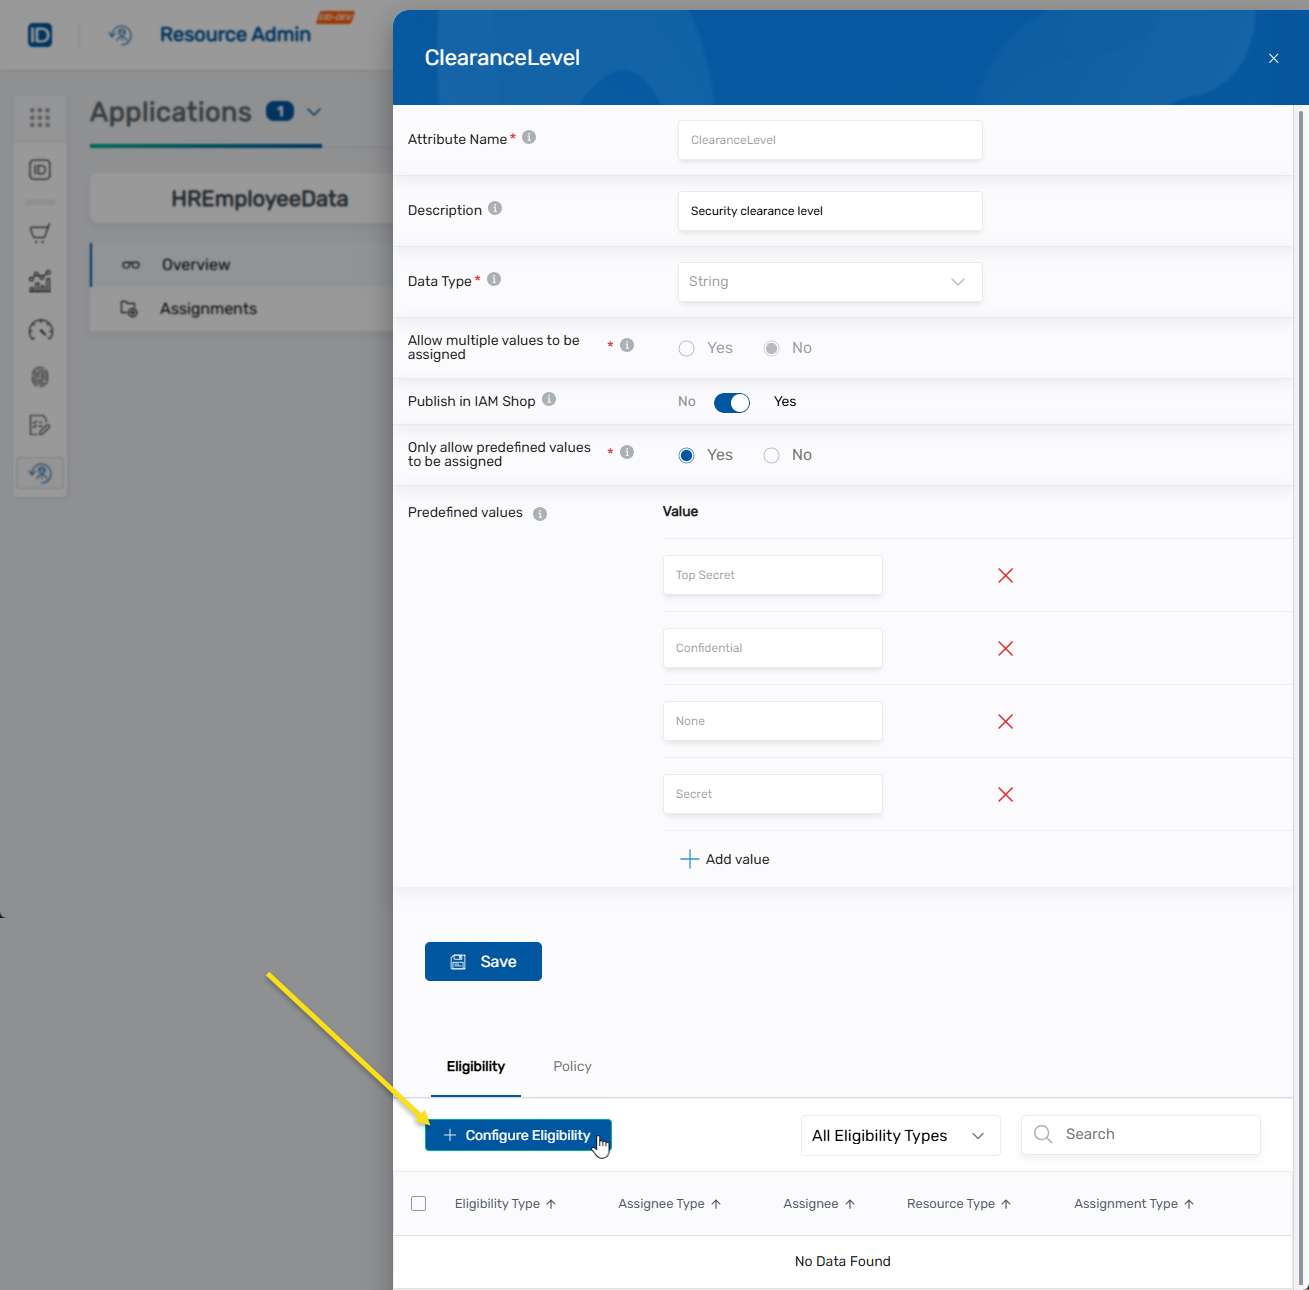
This opens the Configure Eligibility modal.
-
Under Eligibility Type, select the desired eligibility. Types include:
- Eligible - Users can request access to the attribute in the IAM Shop
- Suggested - Users will see the attribute as a suggested resource that they can request access to
- Pre Approved - Users are approved for the attribute and can activate their access to it without needing to go through an approval process
-
Under Which Type of Assignee for This Policy, select Accounts.
-
Under Select an Account, search for and select the desired account.
-
Click Save.
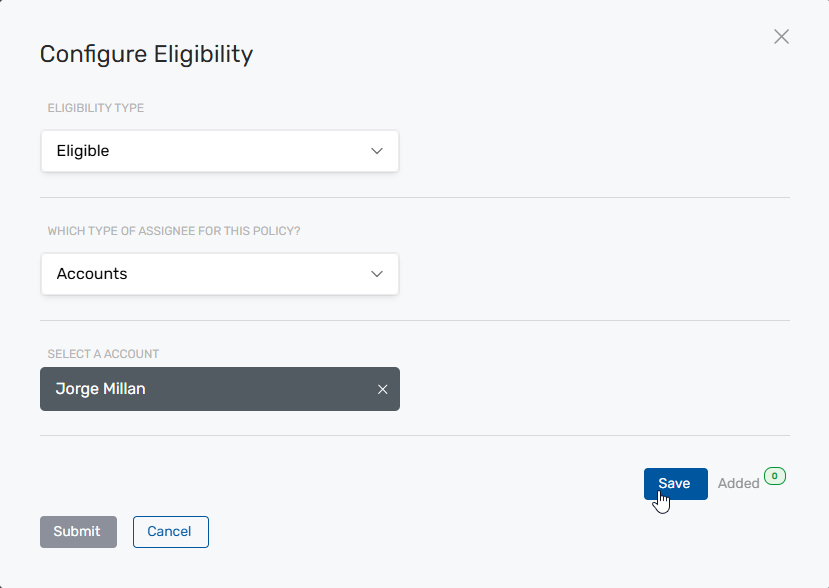
The account is added to the eligibility configuration. The Added count increments. -
To add additional accounts, repeat steps 9-10.
To clear the search field, click the X next to the account name in the Select an Account field.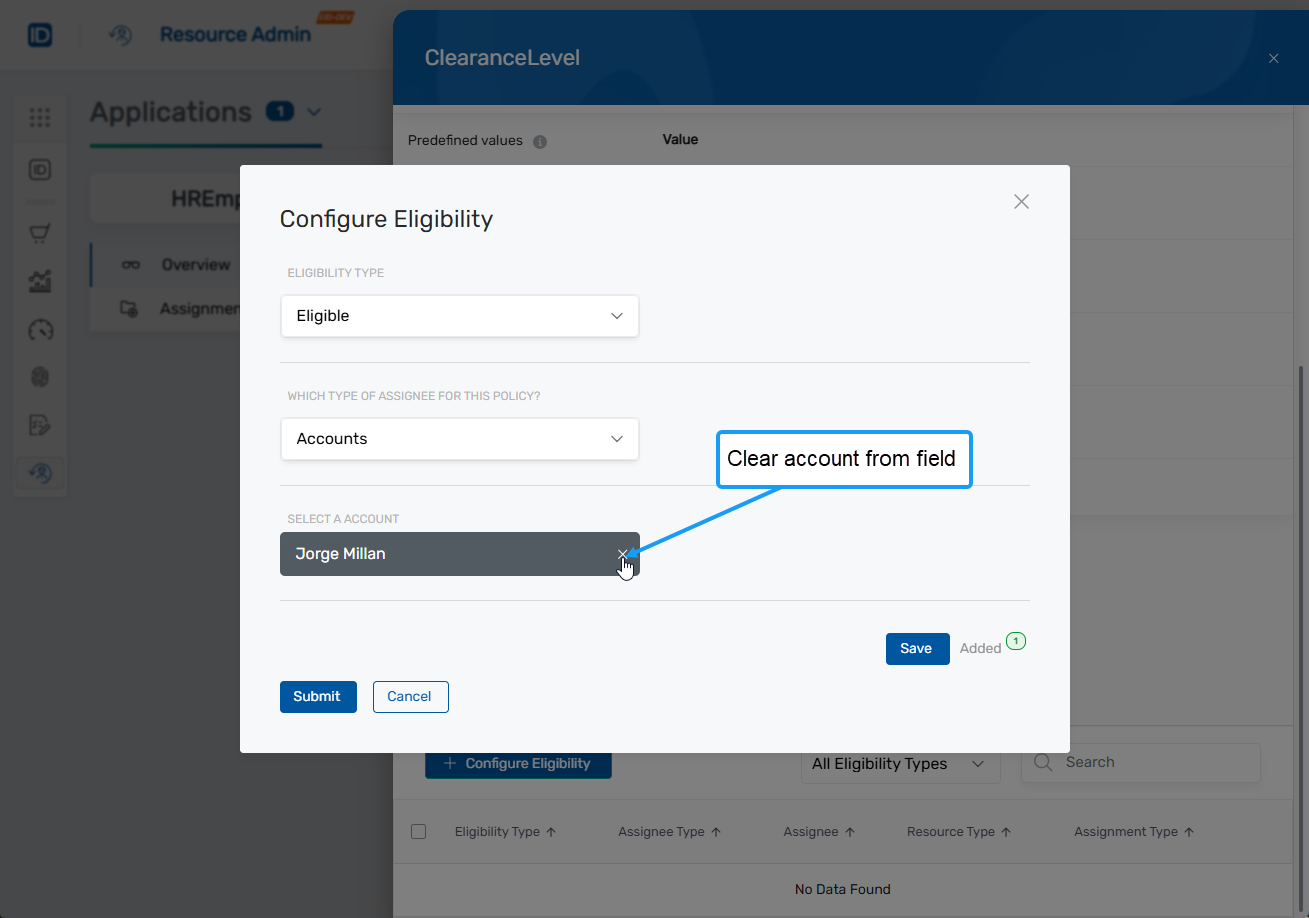
To remove an account from the eligibility configuration before submitting, click the Added count to open the list, then click the Remove icon next to the account.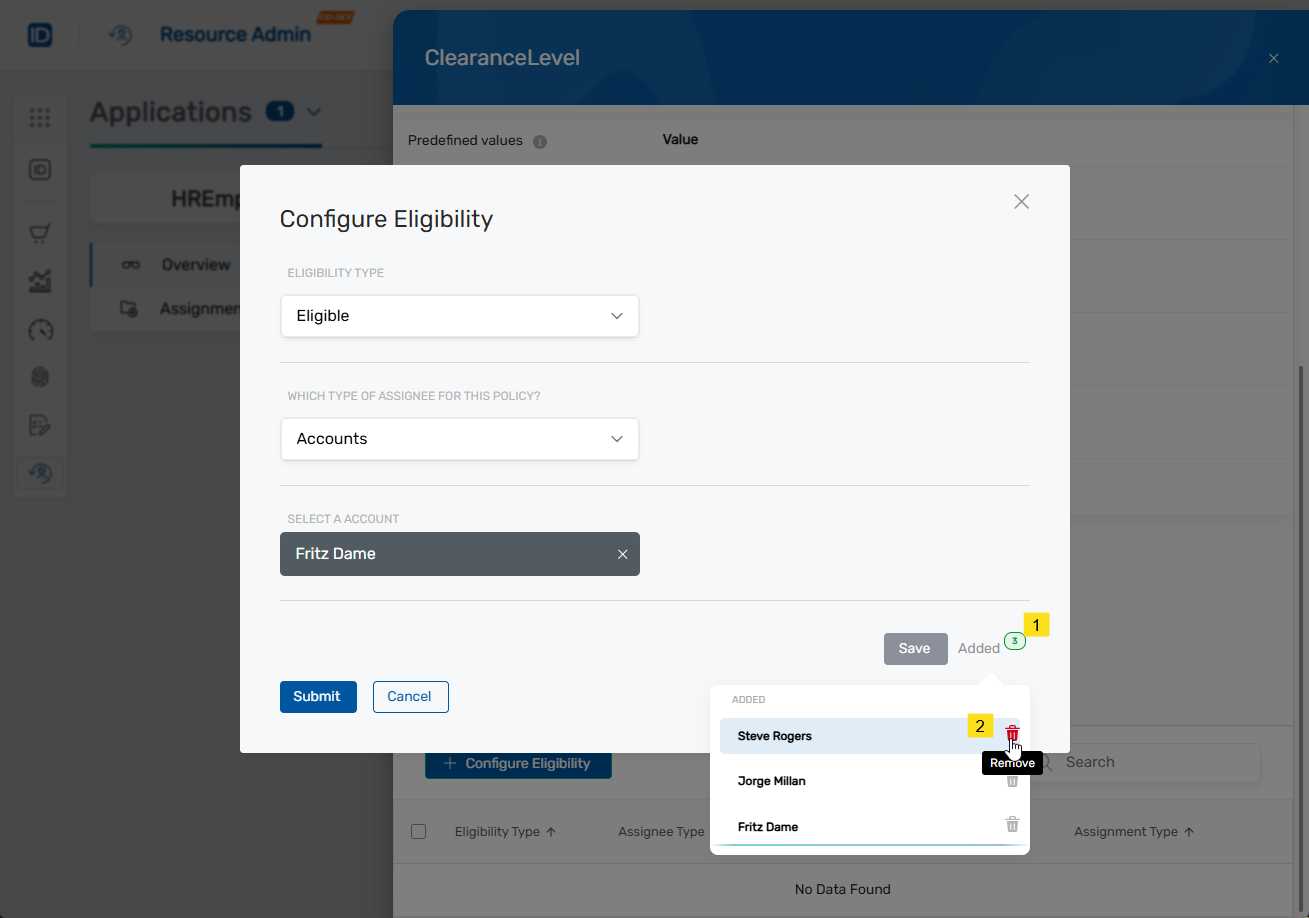
-
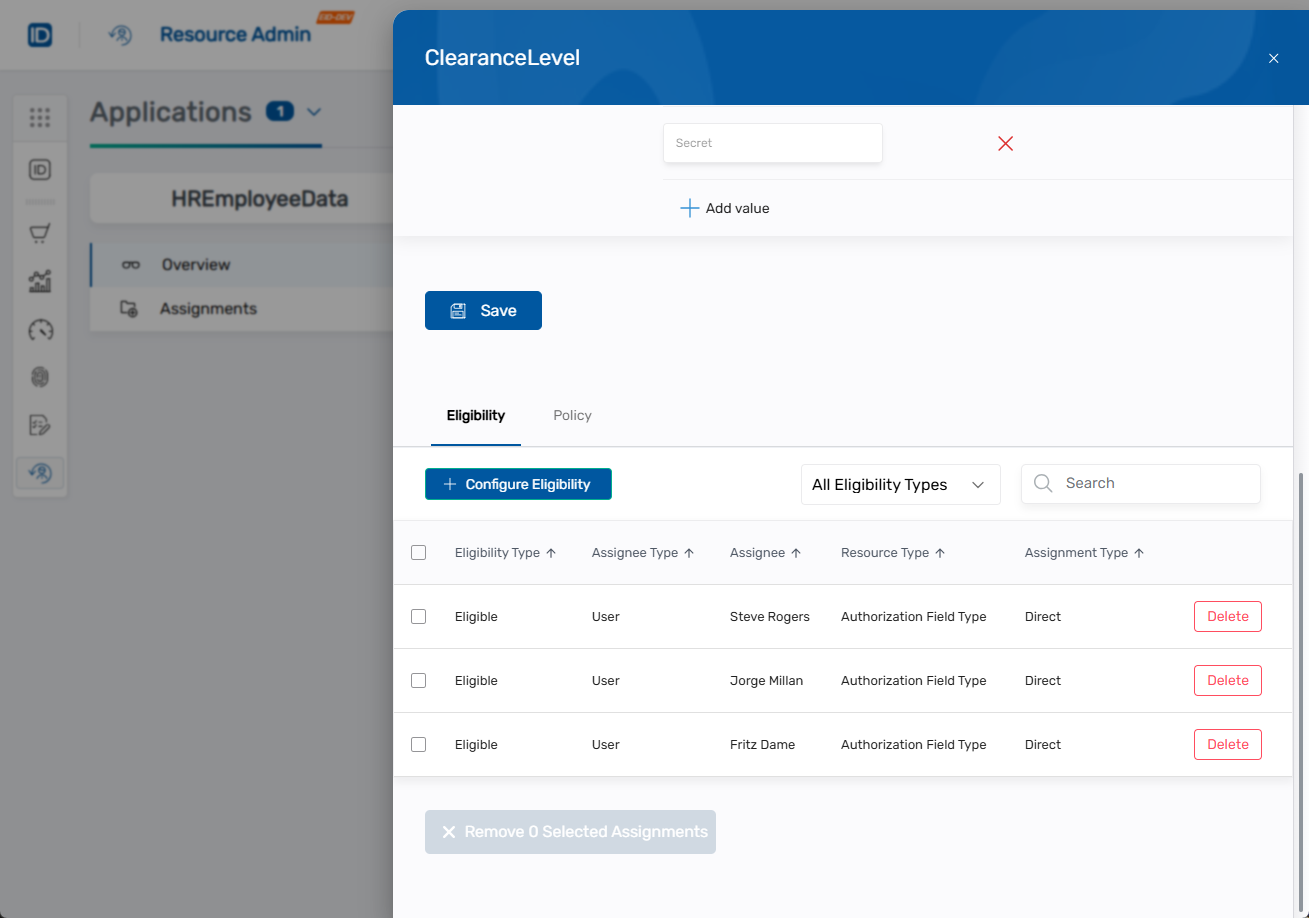
When finished adding accounts, click Submit.
The eligibility assignments appear in the Eligibility grid.
Next Steps
After configuring eligibility:
- Assign Custom Security Attributes to assign attributes to users and service principals
- Review the overview documentation for conceptual information about Custom Security Attributes