Editing Attributes
This guide provides step-by-step instructions for editing Custom Security Attributes in EmpowerID. You can update attribute descriptions and manage predefined values for attributes configured with predefined value lists.
The following properties cannot be changed after attribute creation:
- Attribute name
- Data type
- Allow multiple values setting
- Only allow predefined values setting
Only the description and predefined values (for attributes with predefined values) can be modified.
Prerequisites
Before editing an attribute, ensure:
- Attributes have been created within an attribute set
- The Microsoft Entra account store connection is active
Edit an Attribute
-
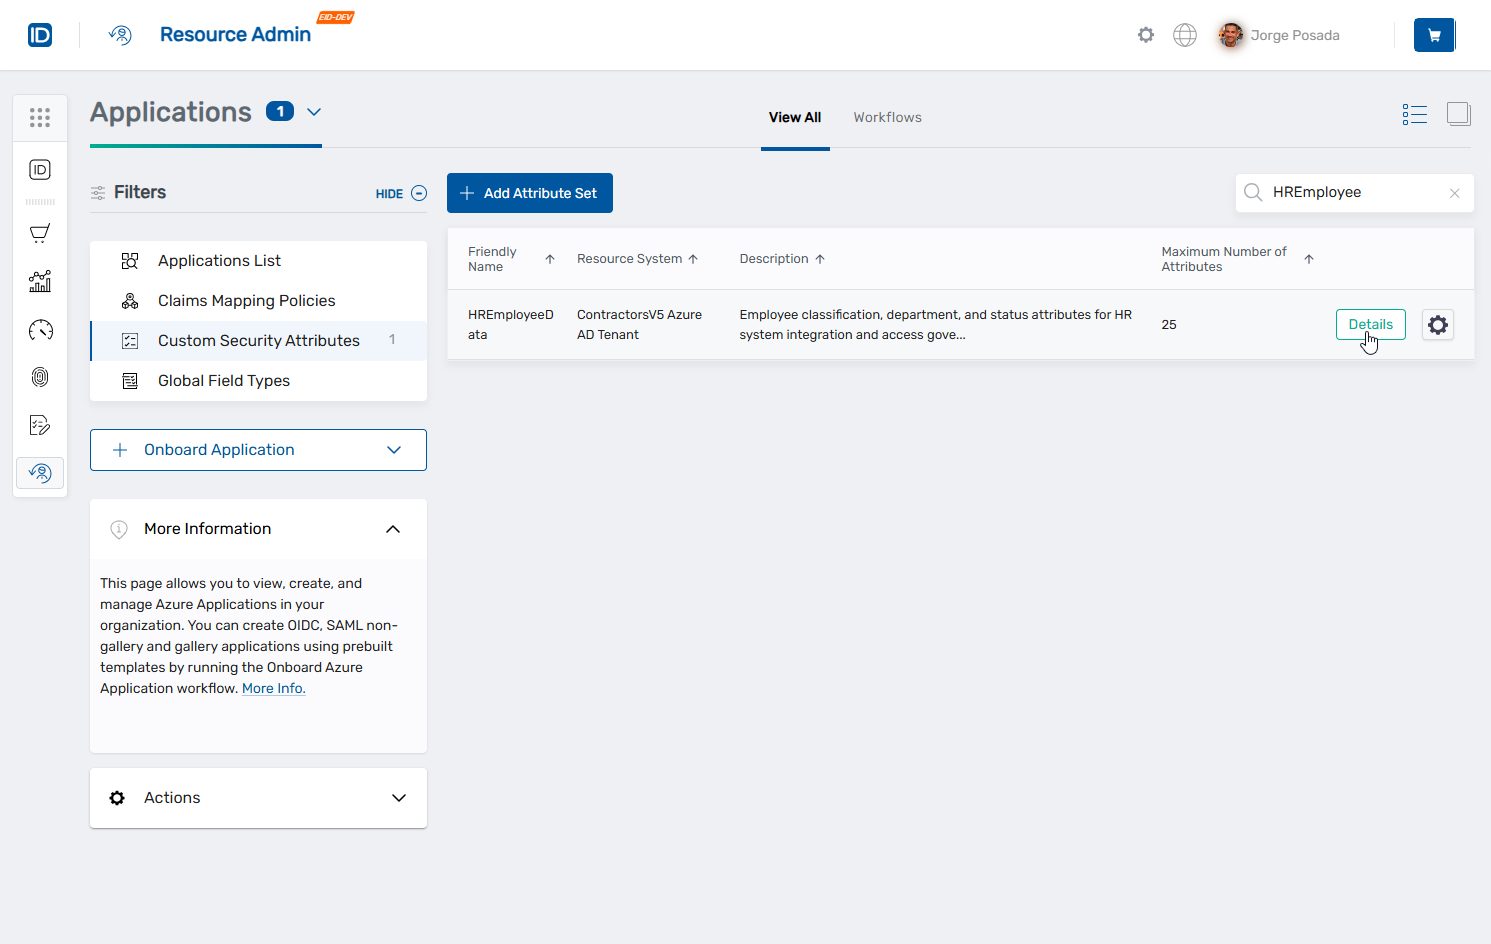
Navigate to Resource Admin → Applications → Custom Security Attributes.
-
Search for and click the Details button for the desired attribute set.
-
In the Active Attributes list, locate the attribute and click Edit.
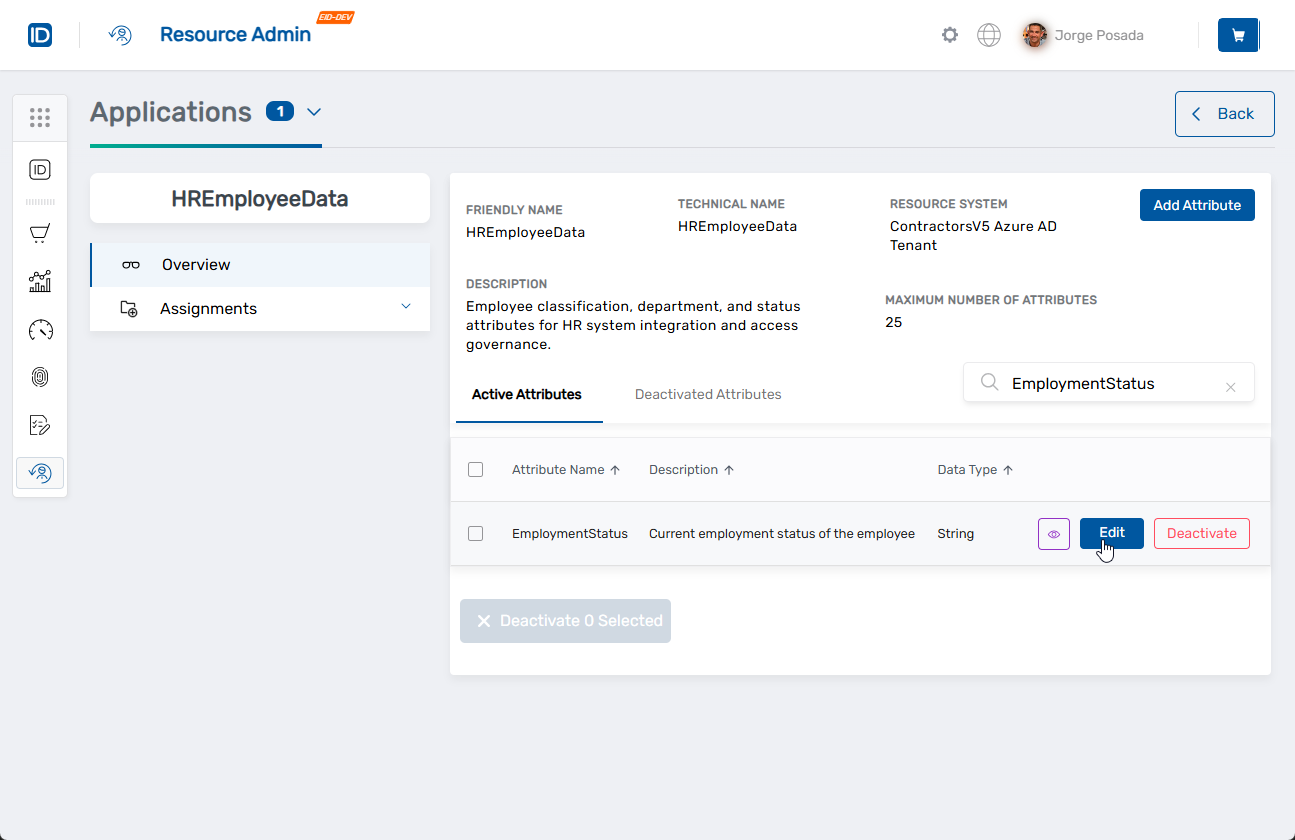 The Edit Attribute dialog opens.

-
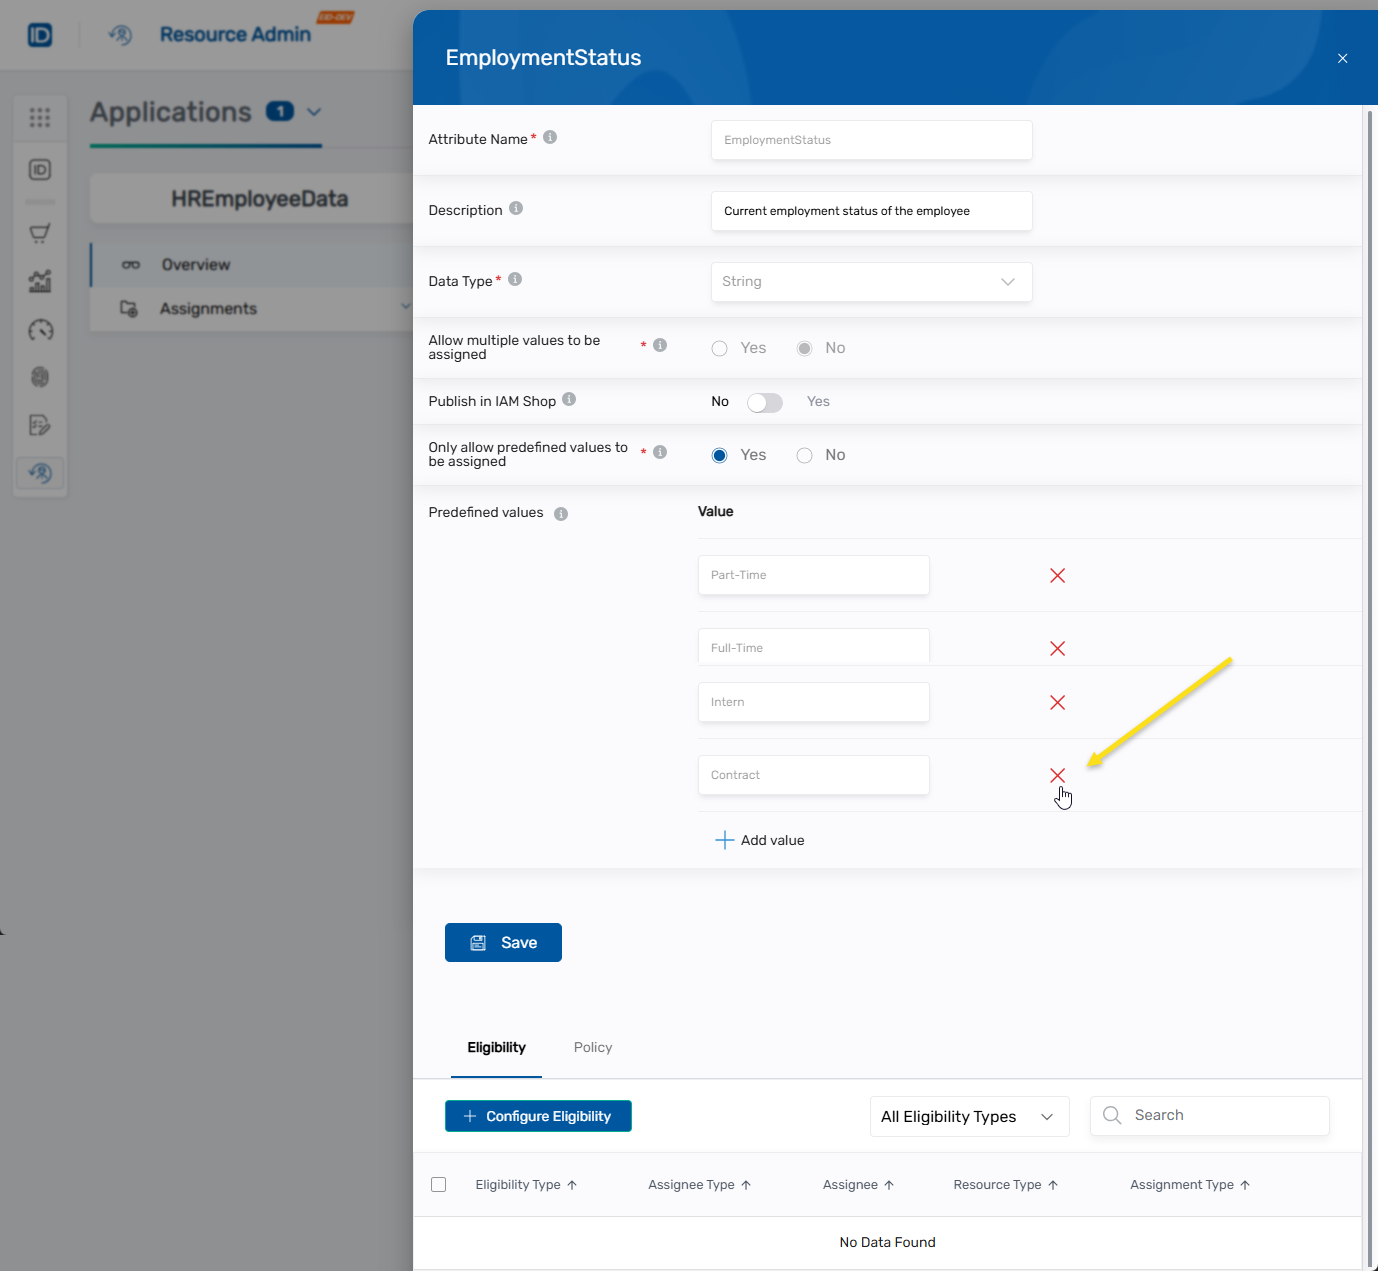
To update the description, modify the Description field with new or revised information.
-
To update whether the attribute is available in the IAM Shop, toggle Publish in IAM Shop accordingly.
-
To manage predefined values (for attributes configured with predefined values):
To add new values:
- Click Add value.

- Enter the value in the Value field and press ENTER.
- Repeat to add additional values.
To remove values:
- Click the X next to the value you want to remove.
- Click Add value.
-
Click Save to apply the changes.
The updated attribute appears in the Active Attributes list with your changes.
Removing predefined values has different effects in each system:
Microsoft Entra ID:
- Value is marked as "Inactive"
- Remains in the system for historical reference
- Cannot be assigned to new objects
EmpowerID:
- Value is completely removed from available options
- Existing assignments with this value remain visible but cannot be reapplied
Before removing values, verify that no active assignments use that value, or plan to update those assignments.
Next Steps
After editing attributes:
- Activate or deactivate attributes to manage visibility
- Assign Custom Security Attributes to assign attributes to users and service principals
- Review the overview documentation for conceptual information