Build a Manifest
Manifest files contain metadata that describes all development objects required for a specific project developed in Workflow Studio. The manifest plays a key role when sharing and deploying your project to team members and environments. After you create a new manifest or update an existing one, you need to build the manifest. When you build manifests, Workflow Studio will ensure all output files (assemblies and external files) for manifest items are present, including those used in workflows and activities of which you were not aware. To complete this operation, Workflow Studio will restart several times.
Workflow Studio integrates with MS Build to build any manifest items that have been developed in Visual Studio. This operation occurs behind the scenes; Visual Studio will not start up.
What You'll Learn
In this guide, you'll learn how to:
- Build a manifest to generate required output files
- Ensure all dependencies and assemblies are properly compiled
- Review build results using the Batch Activity Log
- Identify and resolve build failures
Build a Manifest
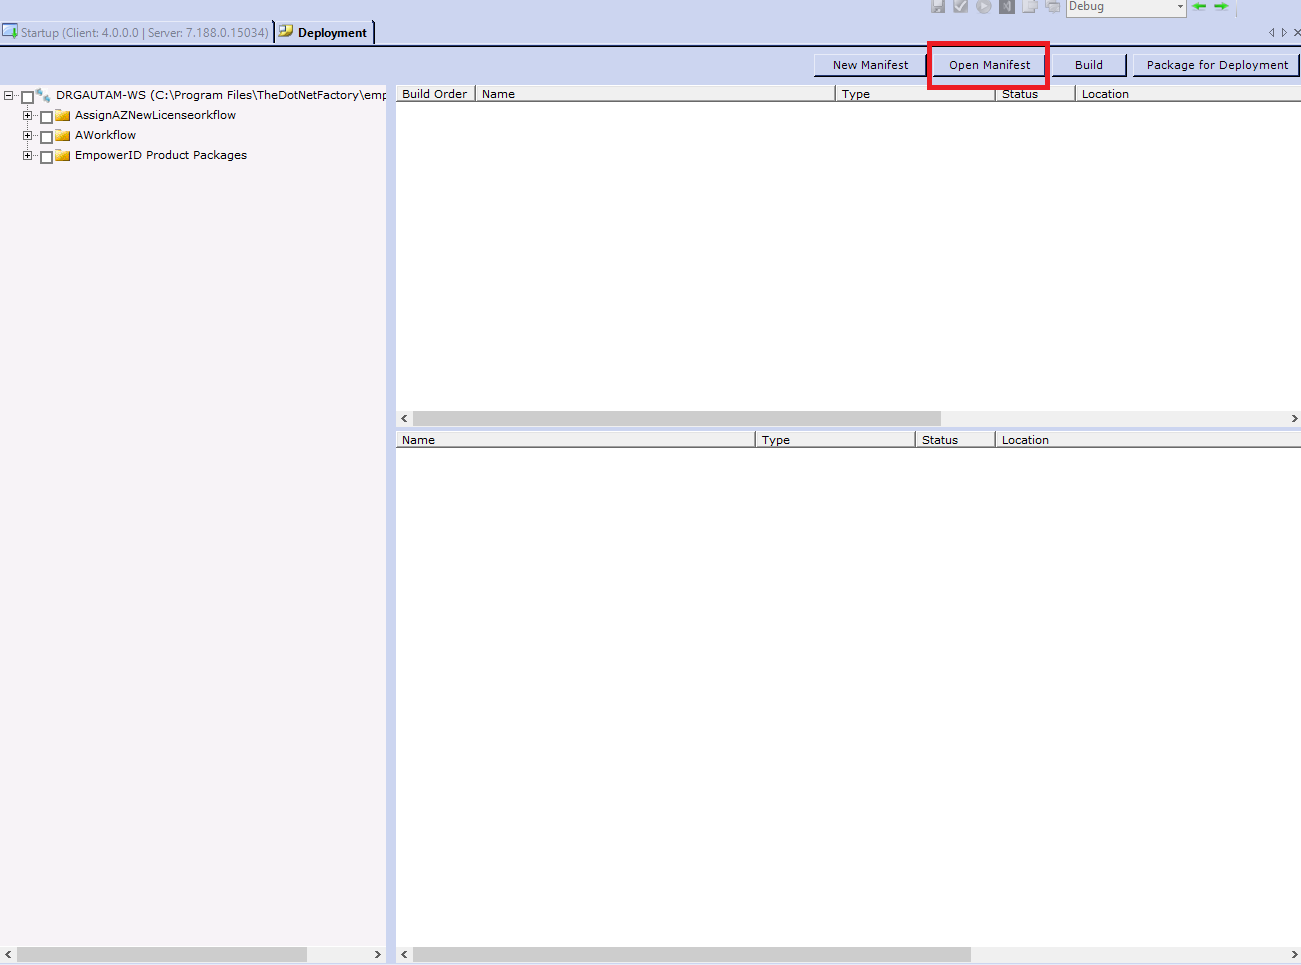
- In Workflow Studio, open the Deployment pane by selecting either Deployment Services from the Common menu or Deployment from the Build menu.
- Click the Open Manifest button located above the Build Order pane.
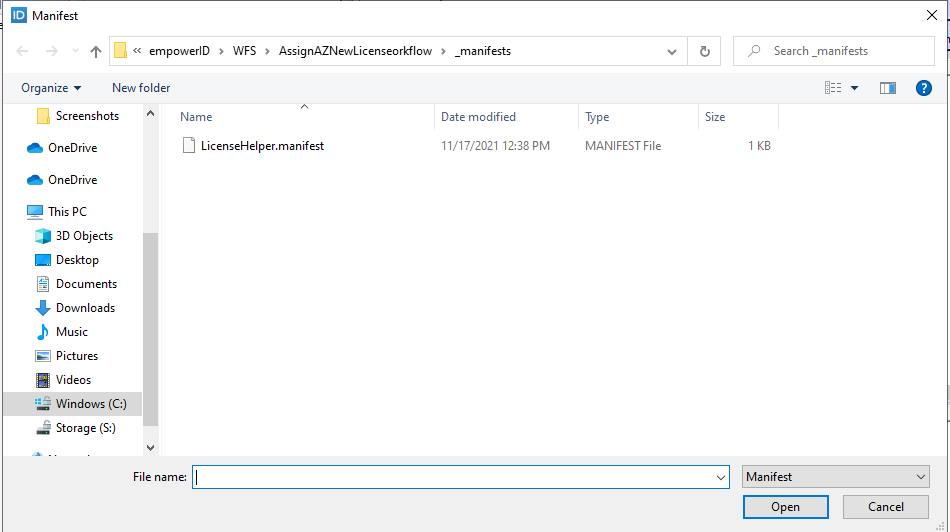
- Search for and select the manifest file you want to package for deployment.
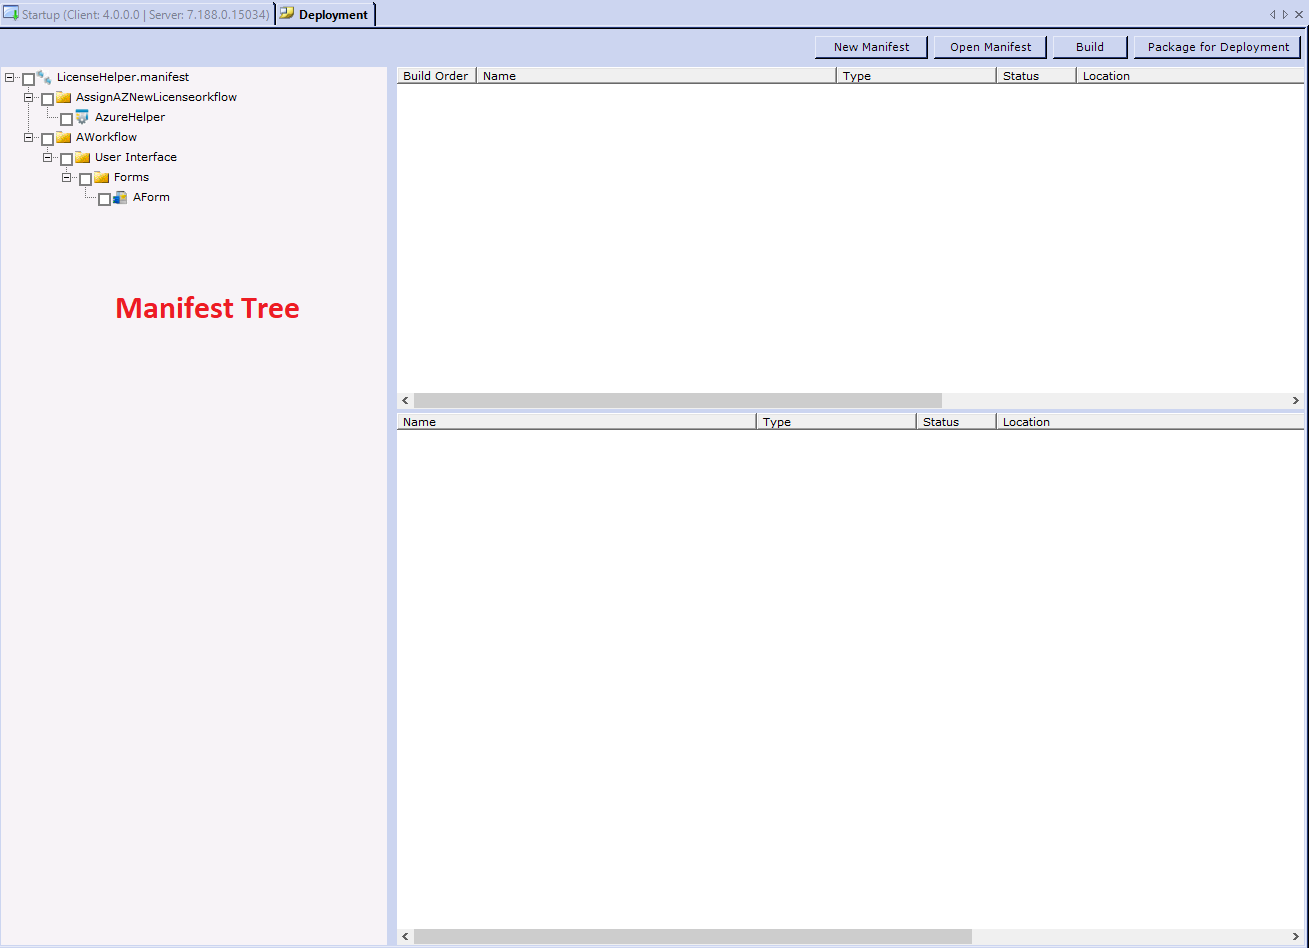
 You should see the manifest tree open.
- Click Build.
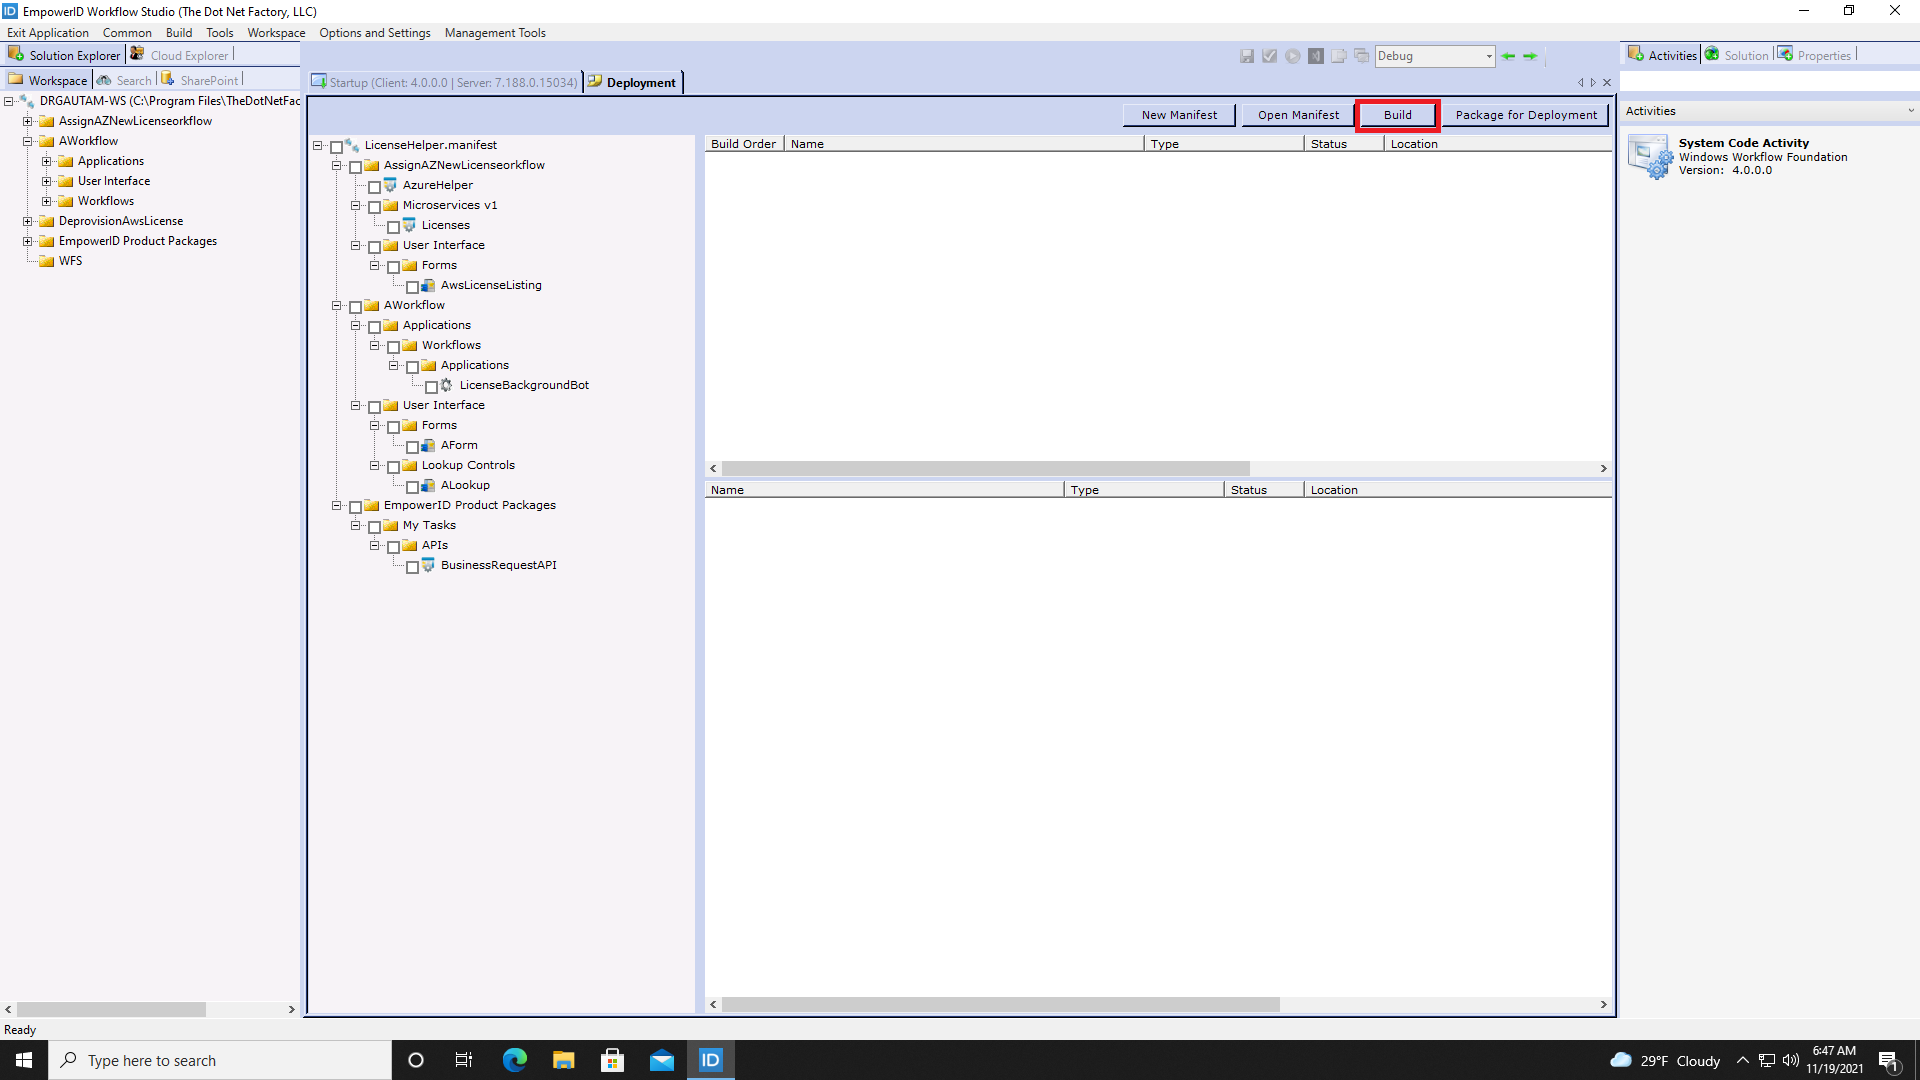
- Click Yes to confirm that you want to continue.
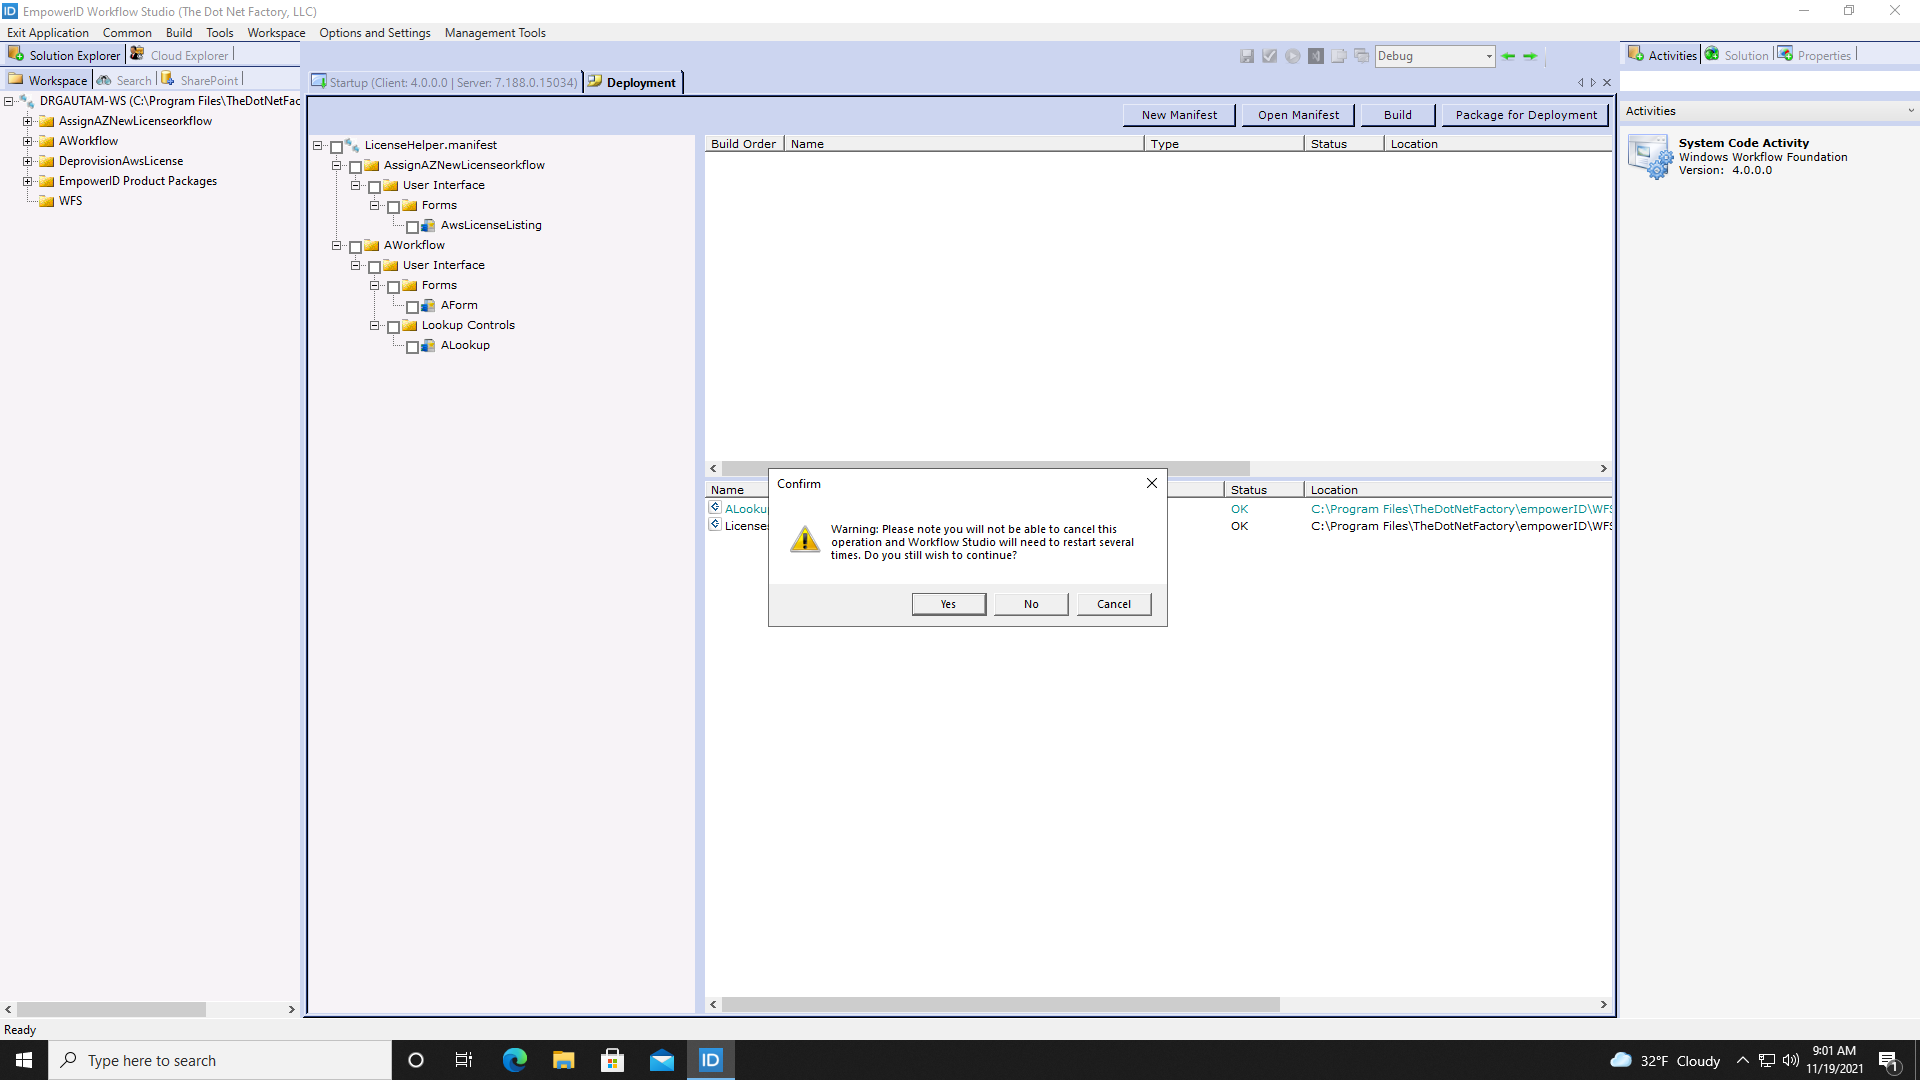
- Wait for Workflow Studio to complete the build operation. This requires one or more restarts.
- Review and close the Batch Activity Log.

If a publishing event failed, you will need to resolve the issue and rebuild the manifest.