Package Manifest for Deployment
Packaging a manifest for deployment creates a .deploy file containing all the files referenced by the manifest of your Workflow Studio project. Deploy files are essentially ZIP files that you can deliver to other developers or environments requesting the application.
What You'll Learn
In this guide, you'll learn how to:
- Open and select a manifest file for packaging
- Create a .deploy file from a manifest
- Save and share the deployment package
- Resolve missing .pub file errors
Package Manifest
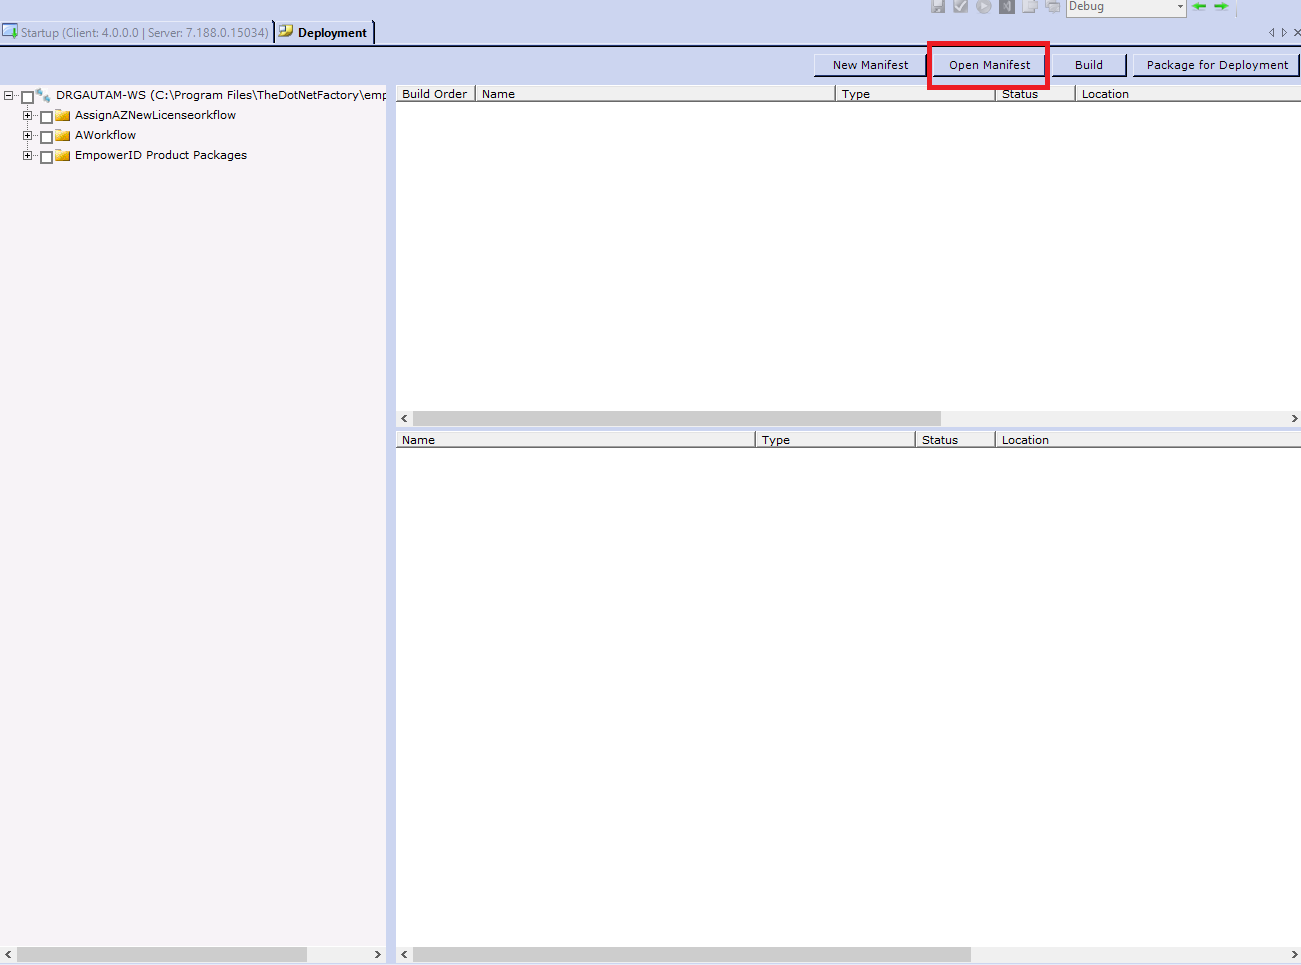
- In Workflow Studio, open the Deployment pane by selecting either Deployment Services from the Common menu or Deploy from the Build menu.
- Click the Open Manifest button located above the Build Order pane.
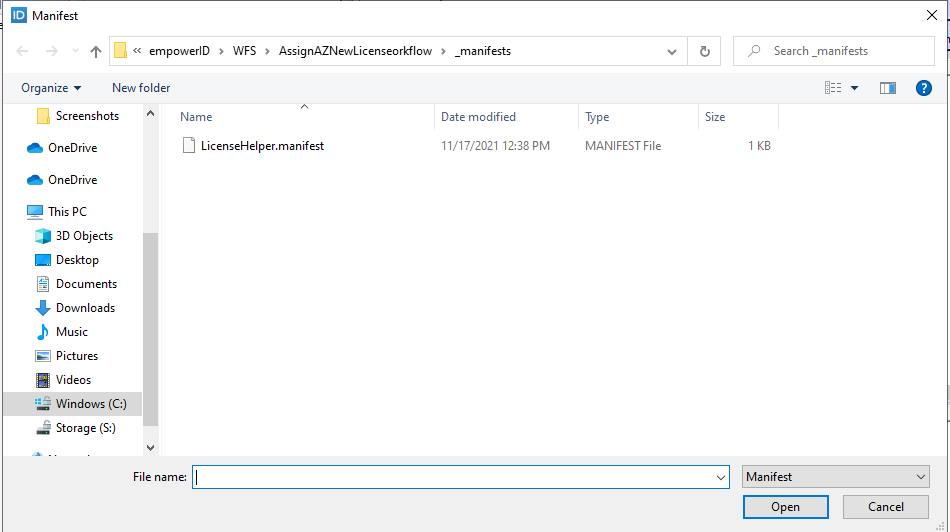
- Search for and select the manifest file you want to package for deployment.
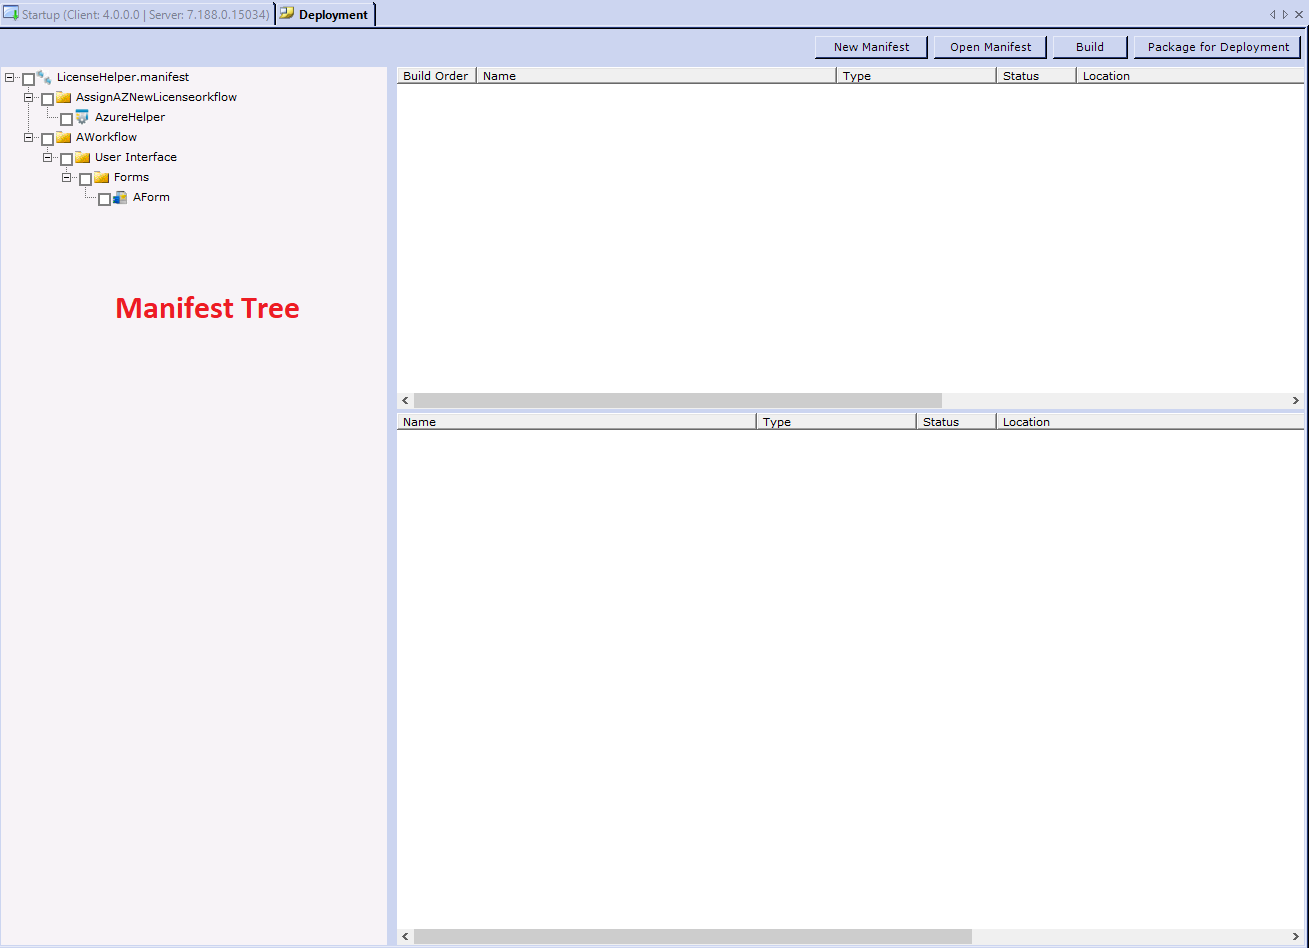
 You should see the manifest tree open.
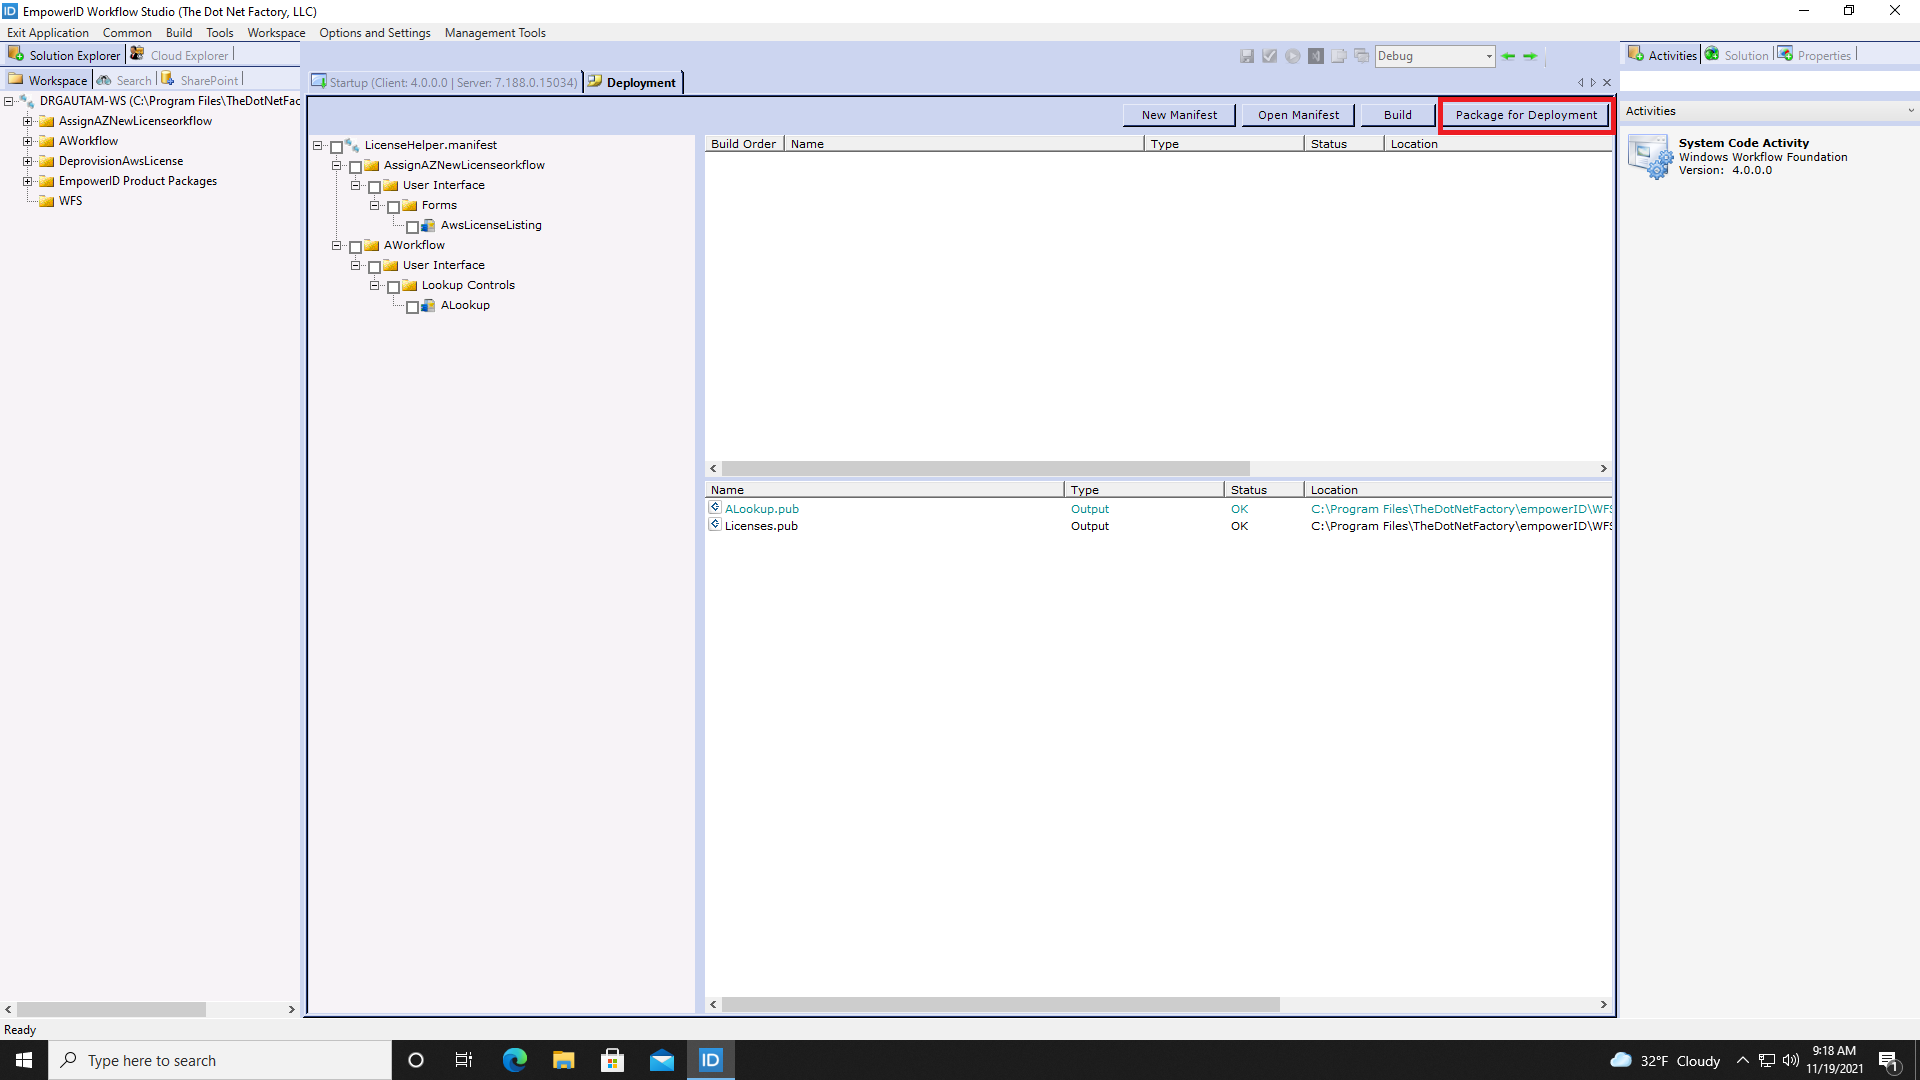
- Click Package for Deployment.
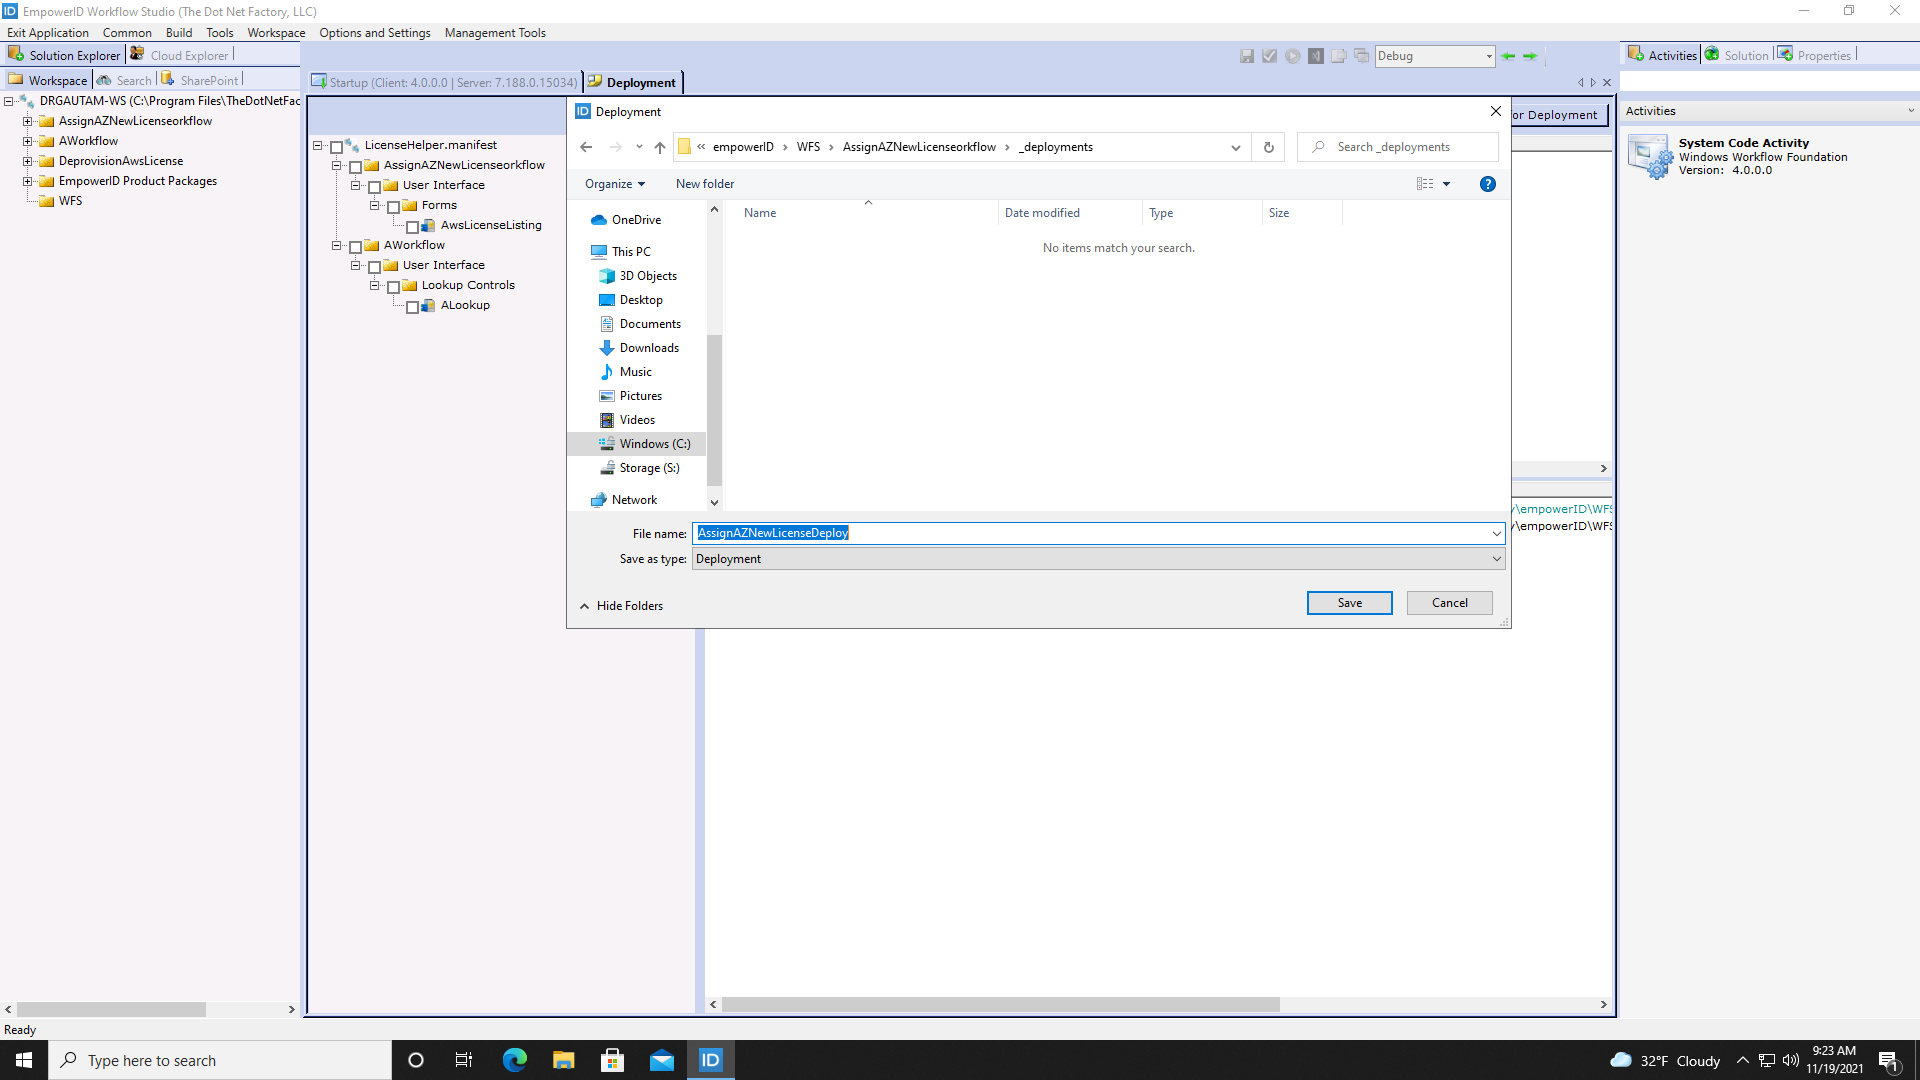
- Navigate to a folder on your machine in which to save the Deployment file that Workflow Studio creates, name it accordingly and click Save.
- Click OK to close the Build success message.

You can now share the Deployment file with others.
caution
If after clicking Package for Deployment, you receive an error message stating that a .pub file is missing, you must publish the item in question before you can successfully package the manifest. If this is the case, open the item in Workflow Studio and publish it. After publishing it, reopen the manifest and try to package it once more.