Create Business Roles
Business Roles are user-defined hierarchical containers for grouping people based on job functions within your organization. Creating Business Roles enables you to delegate access to resources according to a person's role, such as Sales Representative, Contractor, or Manager.
By default, the following fields are required when creating Business Roles: Name, Display Name, Description, and Parent Business Role. You can override these requirements if needed by modifying the RoleModelValidateBeforePublish system setting (see Optional Configuration section below).
Procedure
-
In the EmpowerID web application, navigate to Role Management > Business Roles and Locations.
-
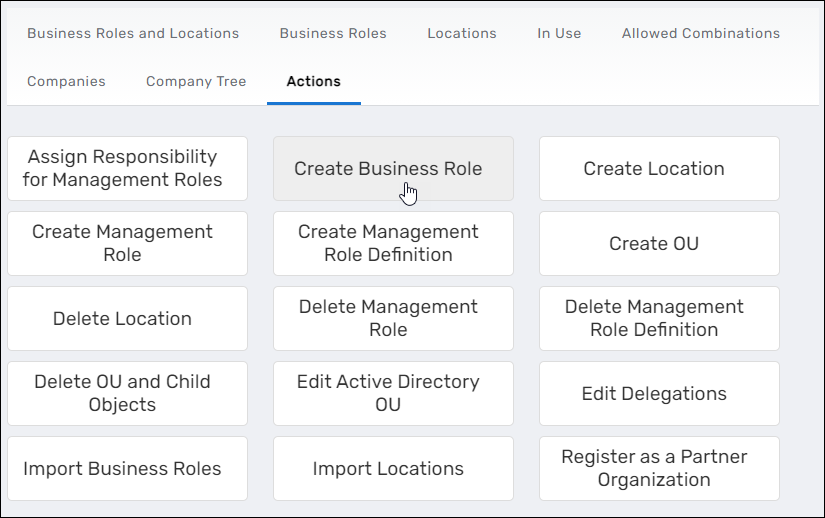
Select the Actions tab and then click Create Business Role.
The Business Role Details form opens.
-
On the General tab, enter the following information in the Name section:
- Name — Enter a name for the Business Role
- Check Button — Click to verify whether the name is unique; a message confirms if the name is available
- Description — Enter a description for the Business Role
- Locale Key (Unique Name) — Enter a name to create a locale key for the Business Role. EmpowerID uses locale keys to provide translations for users with different locale settings.
- Locale Key for Description — Enter a description for the locale key
- Parent Business Role — Click Select a Business Role and search for and select the parent role from the Business Role tree
- Location — By default, All Business Locations is selected. To change this, click the X to remove the location, then search for and select the desired location from the location tree.
-
In the Classification section, enter the following information to classify the Business Role for IAM Shop availability:
- High Level Classification — Select the usage type: Default or Maintenance
- Owners — Search for and select the owner(s) of the Business Role. Owners can approve or reject business requests for membership in the role.
- Business Domains (Locations) — Search for and select the business domain for the role
- Approvers — Search for and select an approver for business requests for membership in the role
- Is Assignable — Select this option to allow users to be assigned to the Business Role
- Publish in IAM Shop — Select this option to make the Business Role requestable in the IAM Shop
-
Optionally, click the Advanced tab and configure additional settings:
- Select Do Not Delete to prevent the Business Role from being deleted in the EmpowerID UI
- Search for and select a Responsible Party for the Business Role
- Add the Job Code for the role, if applicable
- Configure any additional extension attributes as needed
-
Click Save to create the Business Role.
Verification
The newly created Business Role appears in the Business Roles tree under its parent role. You can verify the creation by navigating to the Business Roles and Locations page and locating the role in the hierarchy.
Optional Configuration: Override Required Fields
By default, EmpowerID requires Name, Display Name, Description, and Parent Business Role when creating Business Roles. If you want to create Business Roles without providing Display Name or Description, you can override this requirement by modifying a system setting.
Change the RoleModelValidateBeforePublish Setting
- In the EmpowerID web application, navigate to Infrastructure Admin > EmpowerID Servers and Settings > EmpowerID System Settings.
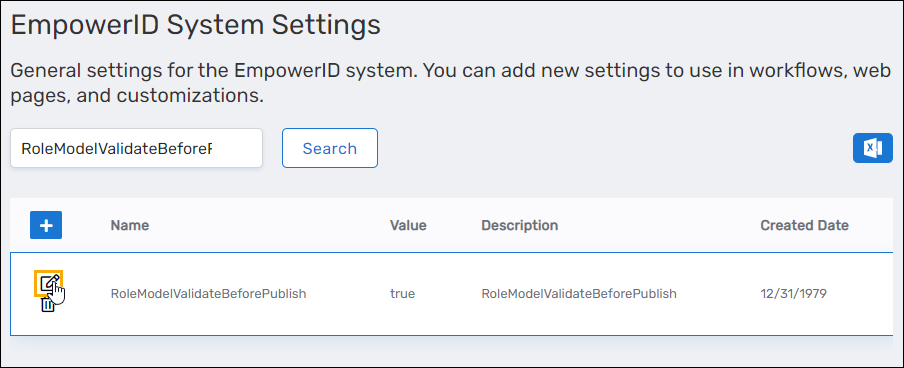
- Search for RoleModelValidateBeforePublish and click the edit button for the setting.
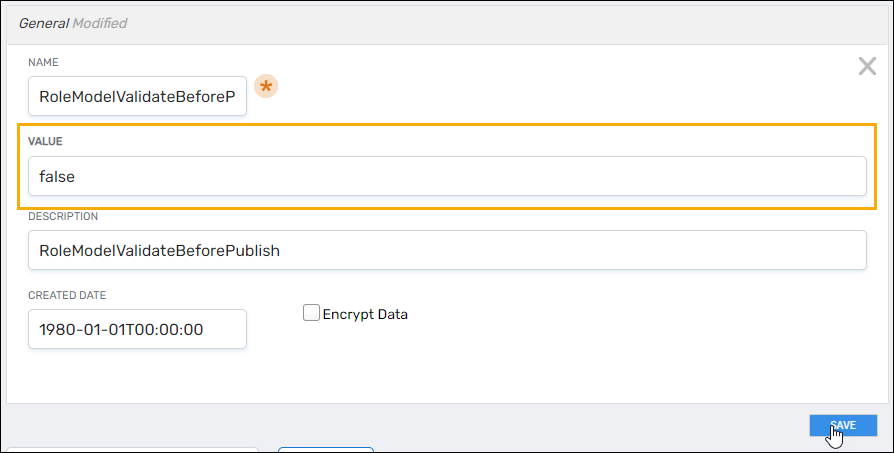
- Set the Value to false and click Save.
Once this setting is changed, the Display Name and Description fields are no longer required when creating Business Roles.